Cowling - Section 45
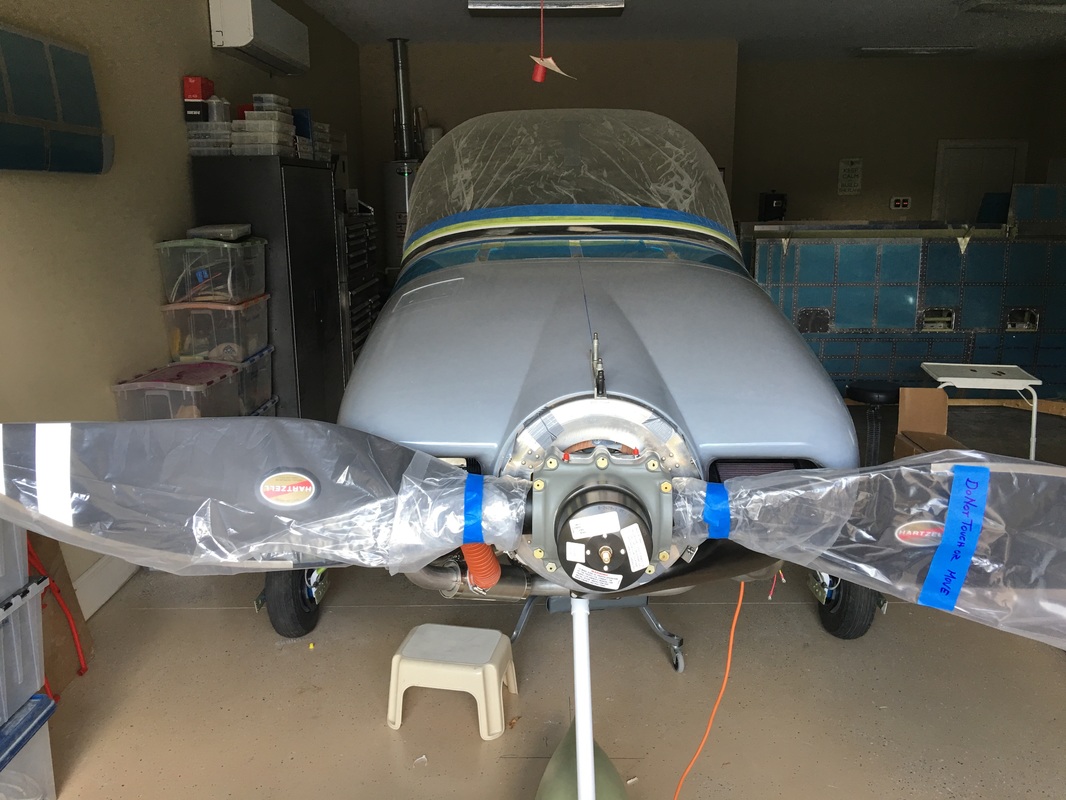
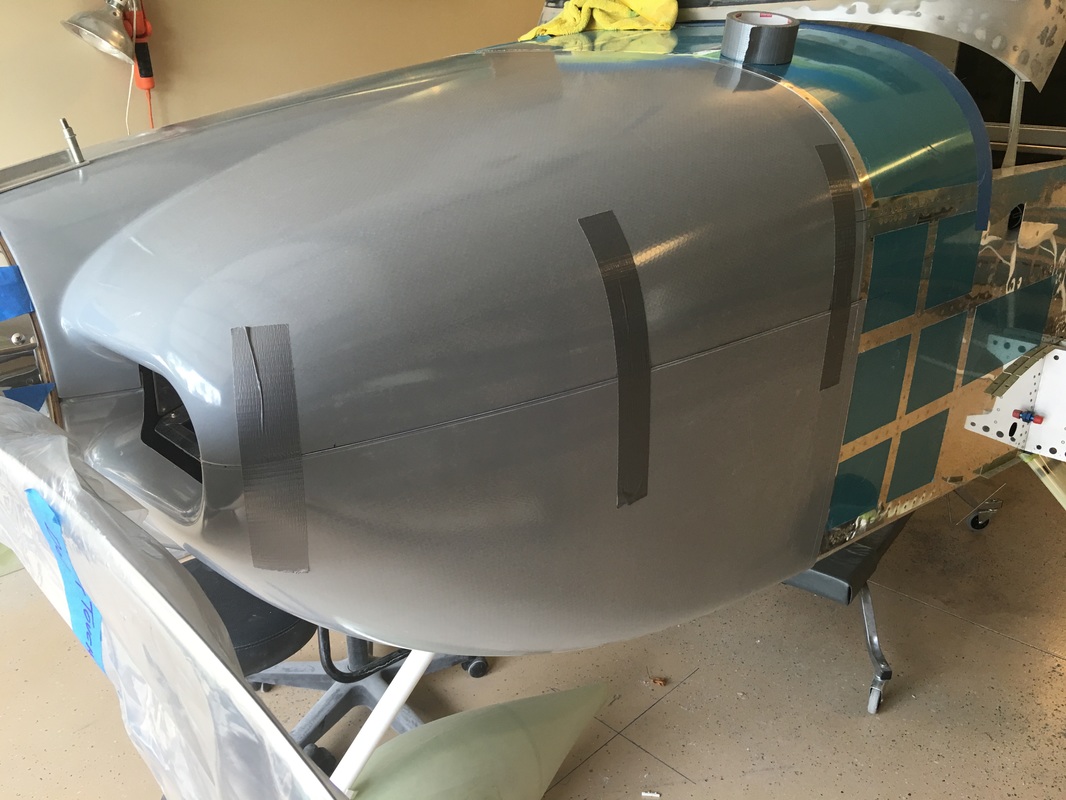
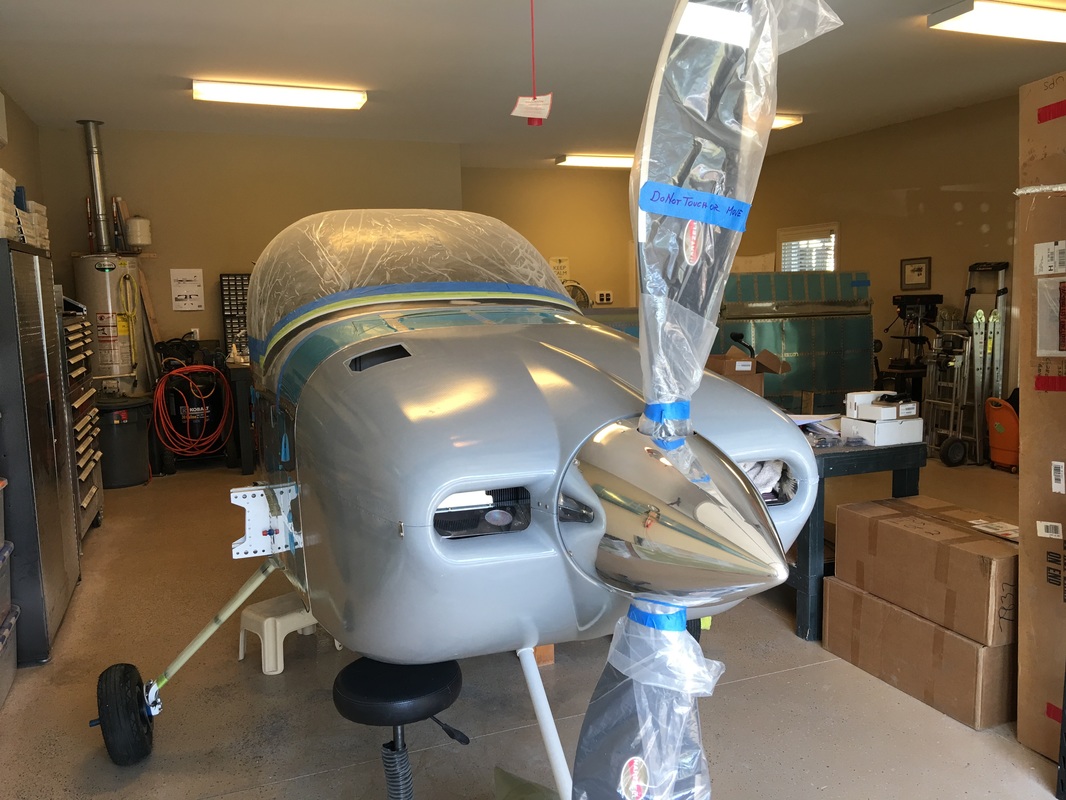
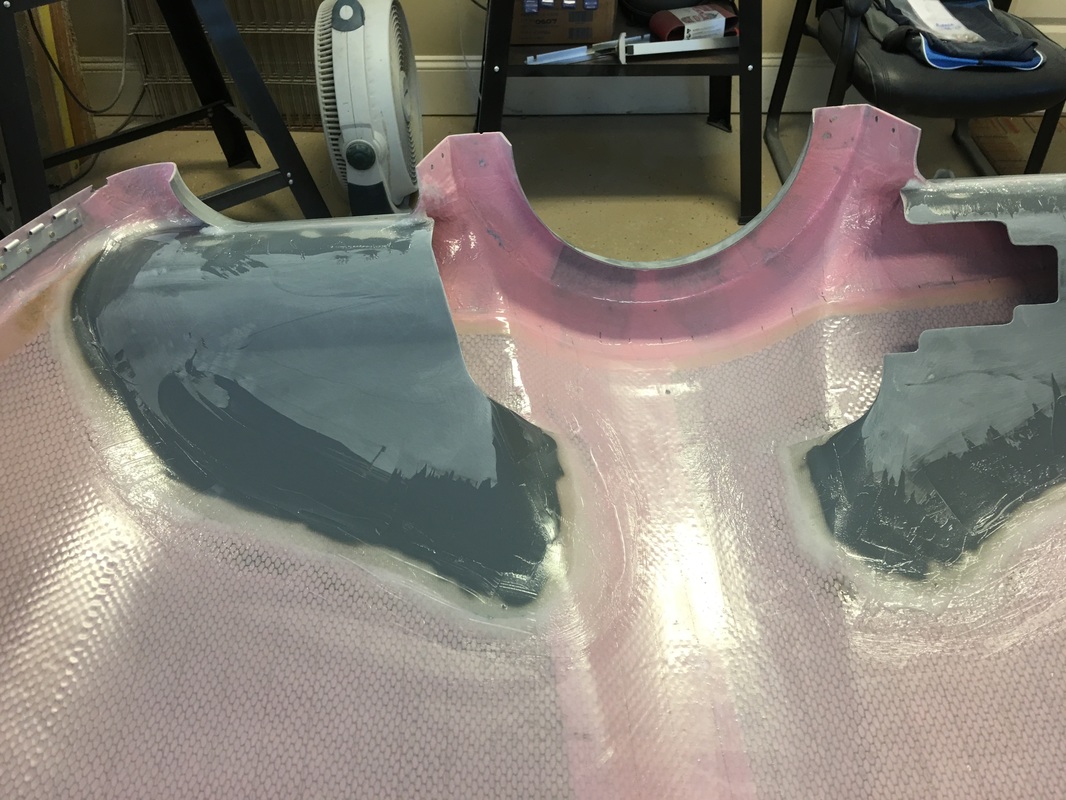
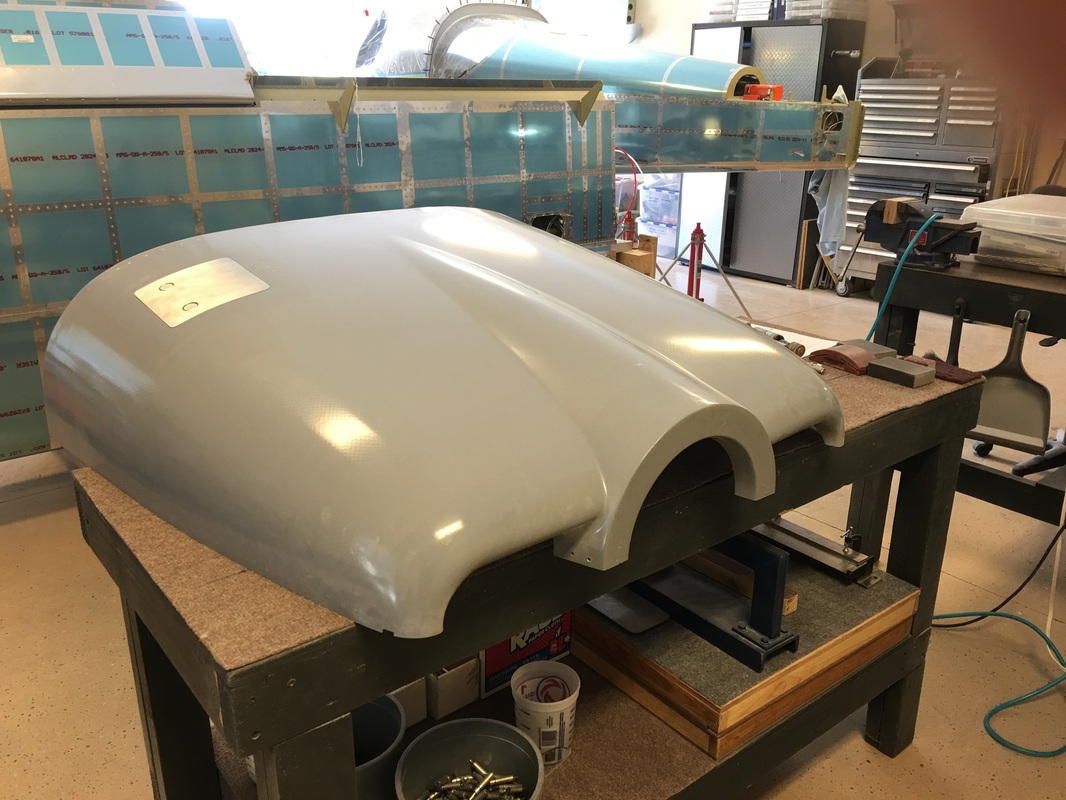
We started the cowling May 12th and I have been remiss in updating the BLOG since there were some issues. As it turns out the Carbon CS Hartzel prop hub is different then the metal hub. The is the case because the blades are wider and they would hit the cowl in full pitch if there wasn't more separation. This has happened, and we were not aware of it when we bought our propeller from Van's with the IO 390. The good news, the cowling will fit, but we needed to ignore the scribe lines. After messing with it for a few days, I don't think the scribe lines for either prop are as close as they should be and I would recommend fitting the cowl the old fashion way shown below. I used a plywood spacer for the separation, then Vans plans using the angle and washer to hold the cowl the right height. After that I clecoed the cowl nose ring to the plywood spacer to hold it in place and then used my home made edge duplicator to make the firewall line. I made it a little big to begin with and then block sanded the edge until it fall in place on the hinges. Follow the plans in getting the nose ring close to final position and the top and bottom fitting together, then sand the rest of the way by hand and a 18" block with 100 grit.
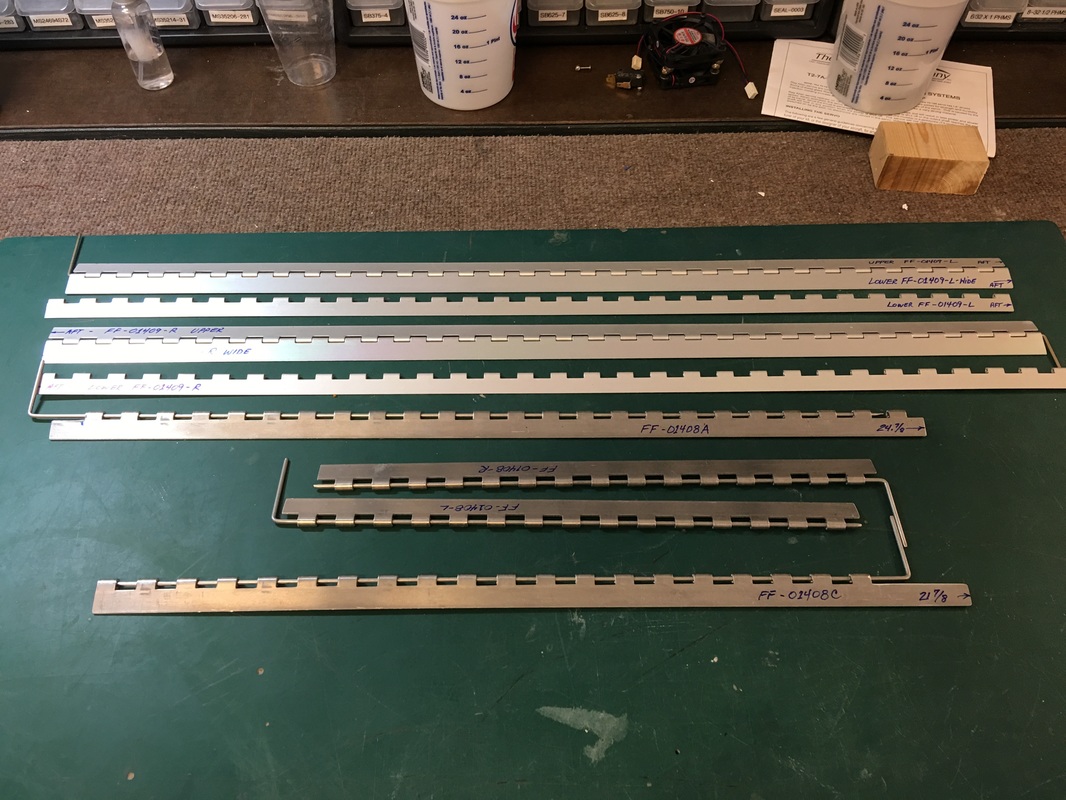
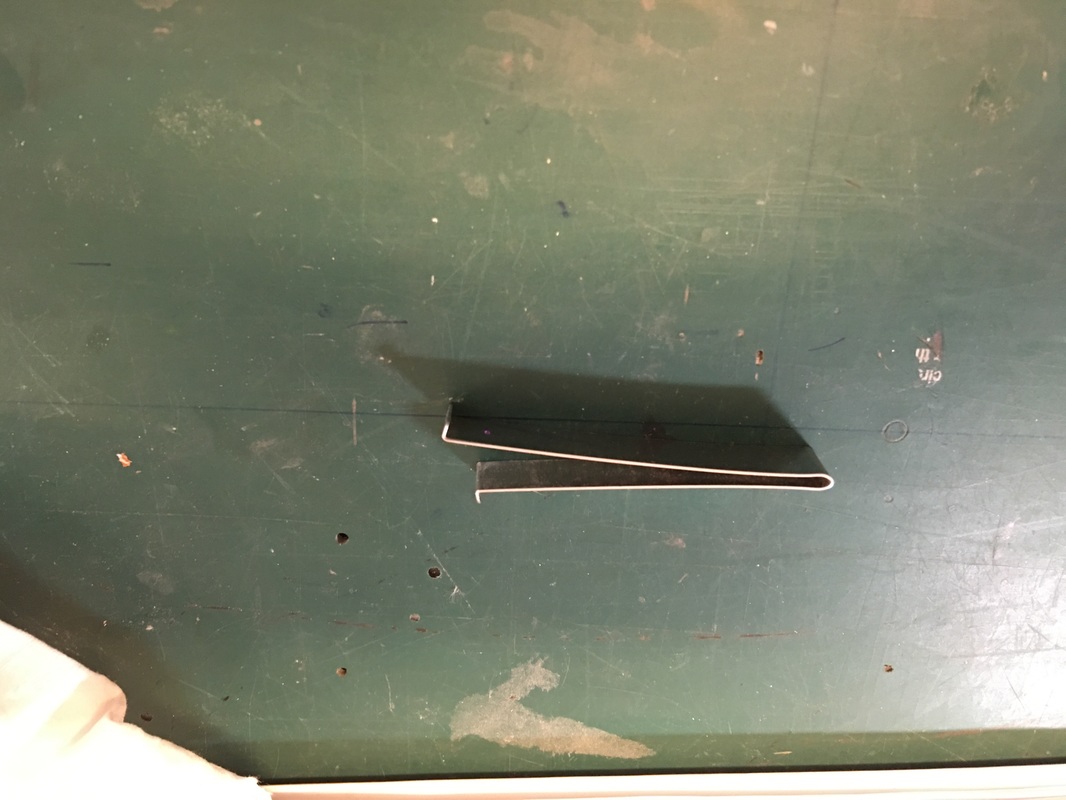
Making the hinges per the plan
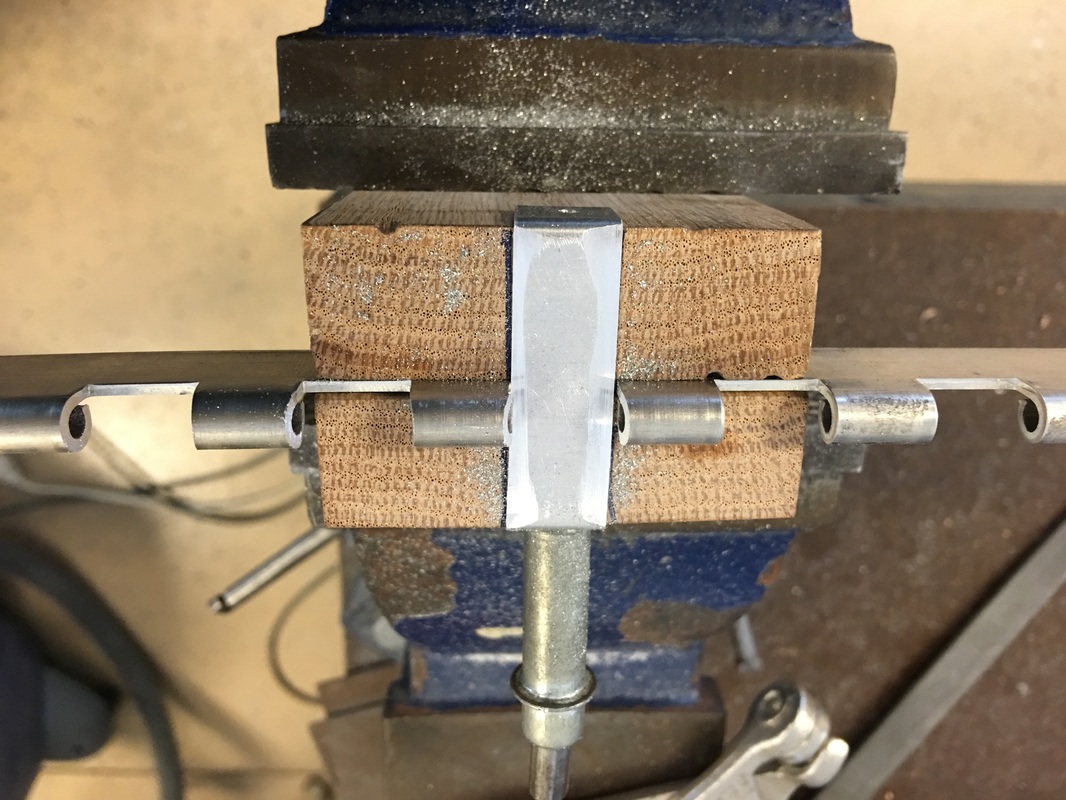
A couple of hardwood blocks and some thin .024 to protect the hinge web, and you can file nice angles in the curving hinges loops without messing up the hinge web. Use a fine finishing file, it doesn't take much.
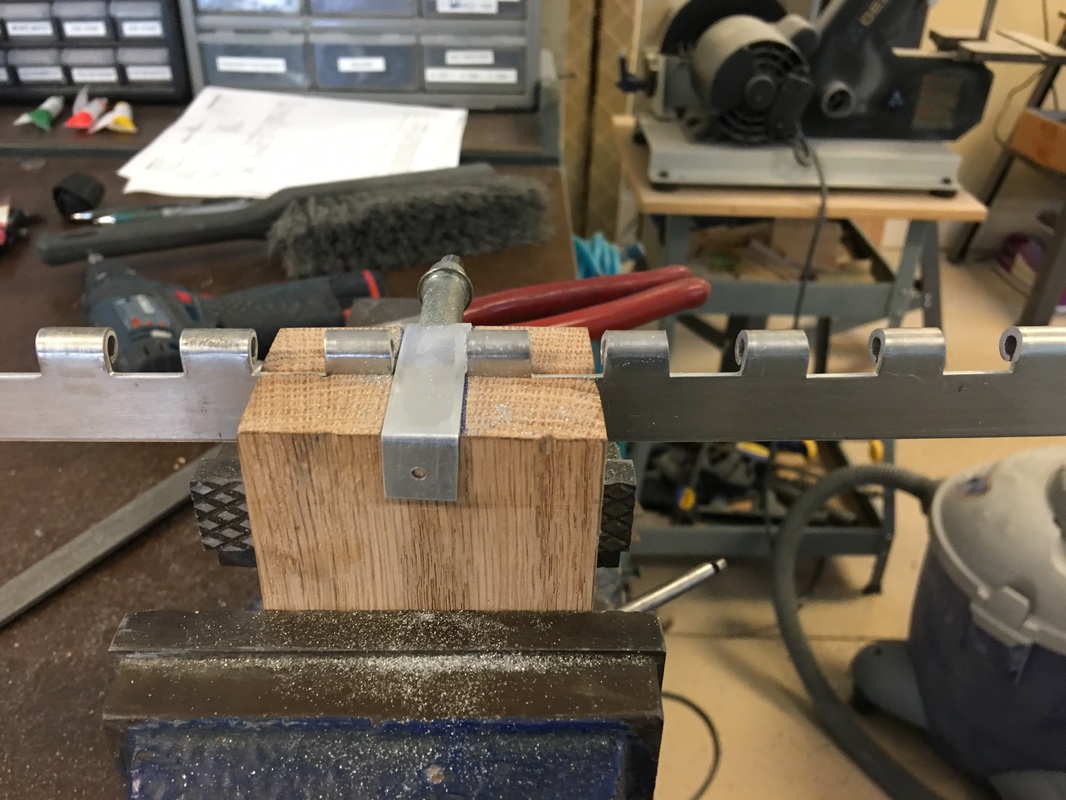
Another view of filing the hinge angles on there face
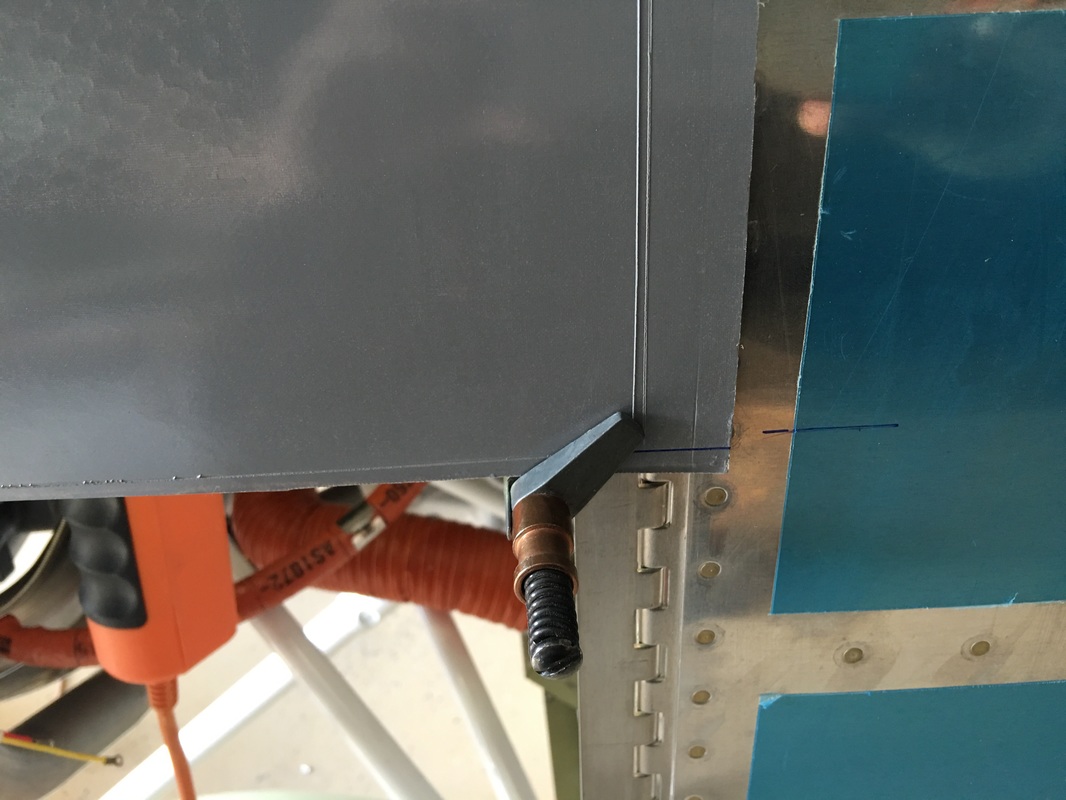
Clamping the cowl in place for using the homemade edge find tool

The edge tool find the skin edge of the firewall and the small hole on the top side of it allows you to put a make on the outside of the cowl showing where the edge is. Simple and it works well.
Keep working the spacing around the spinner plate, making the edge distance smaller on the top in preparation for the engine to sag a 1/8" or so in the first 50-100 hours
The edge marking tool, not the relationship of the little hole in the top to the edge bend in the bottom.
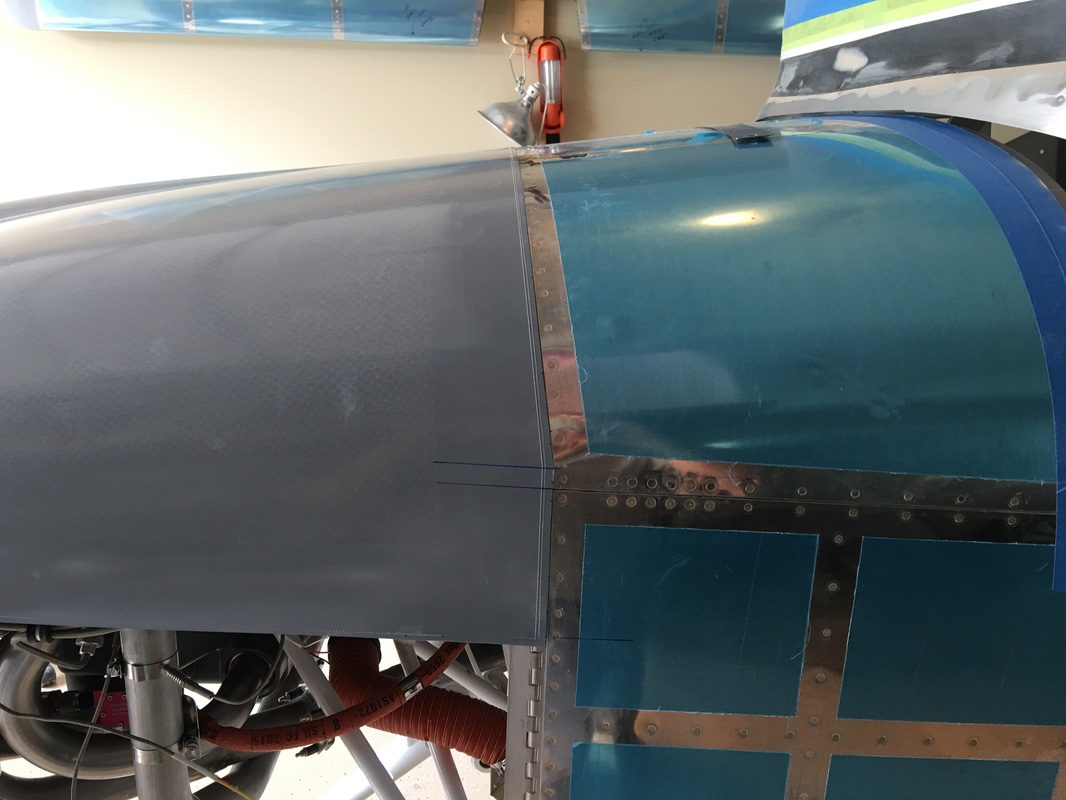
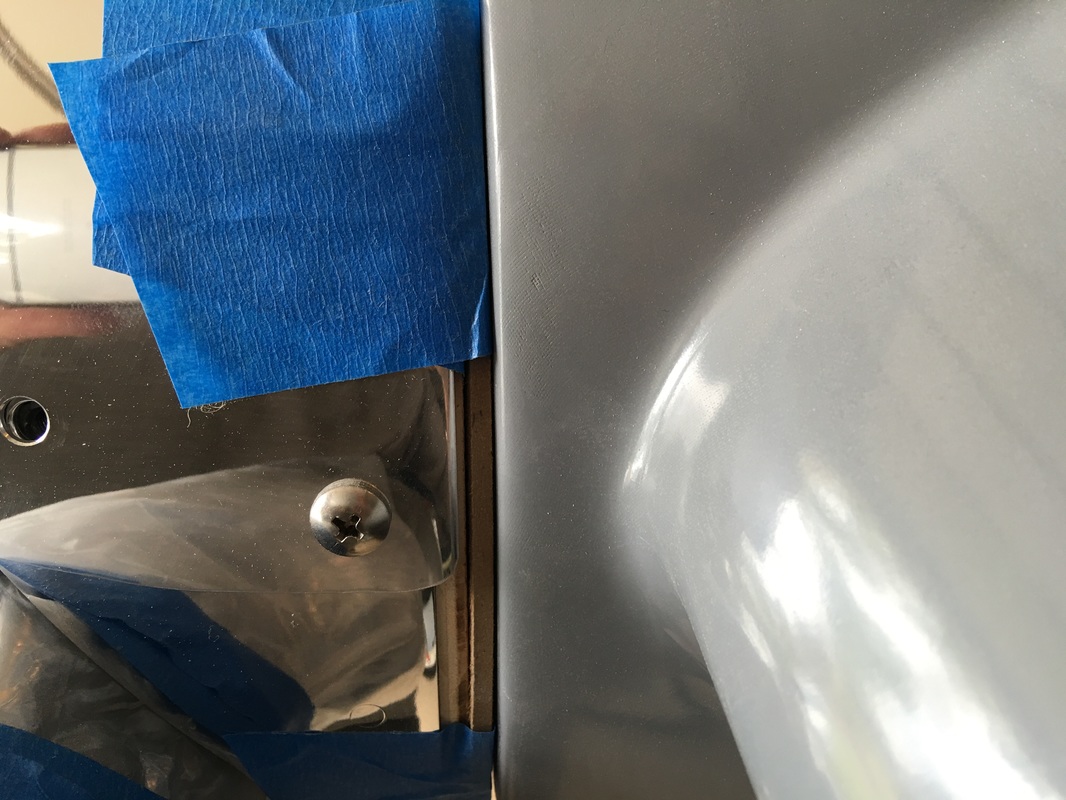
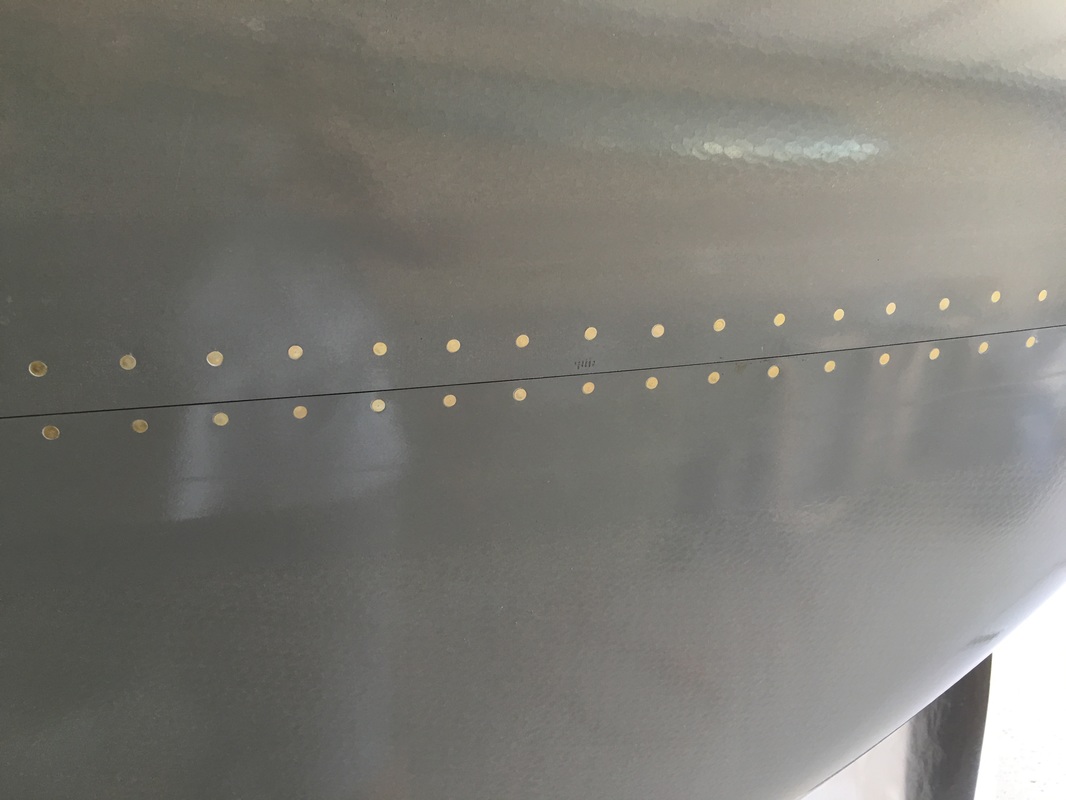
Getting close to a fit, note wher the scribe line is. That will get sand off and fitting is complete
plywood spacer, we are going with and little less the a 1/4"
Still working the side fit but it is getting very close. The hinge installation is next.
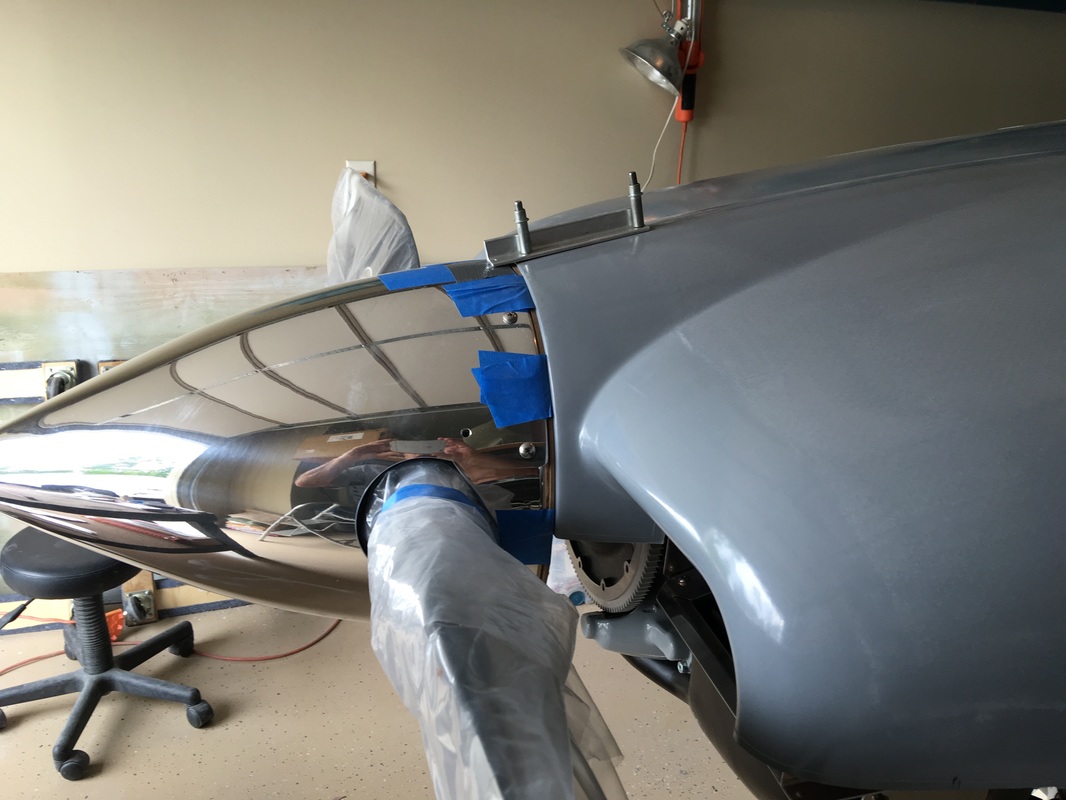

Aligning the cowl halves for the side hinges. Our cowl is different from the plans because of the width of the carbon fiber Hartzel prop and special hub. We had to deviate from the plans to make it work out. Plus our gape is 1/4" instead of 3/16"
I was going to hide the side hinge pins, but I looked at the extra effort and also that it would be more difficult to remove the cowl, so I went with the plans design. Not very pretty, but very functional.
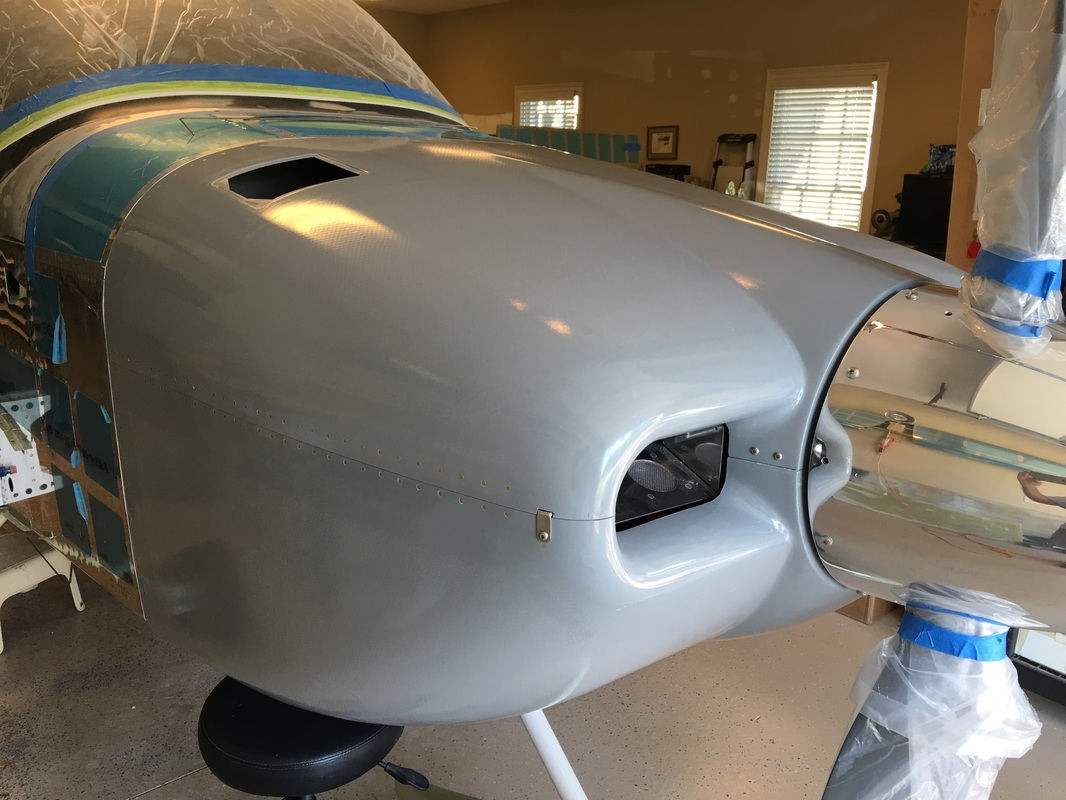
The spinner from Hartzell is a thing of beauty and very long. I like this much better then the plans version and it is less work. The downside is shell out the extra bucks.
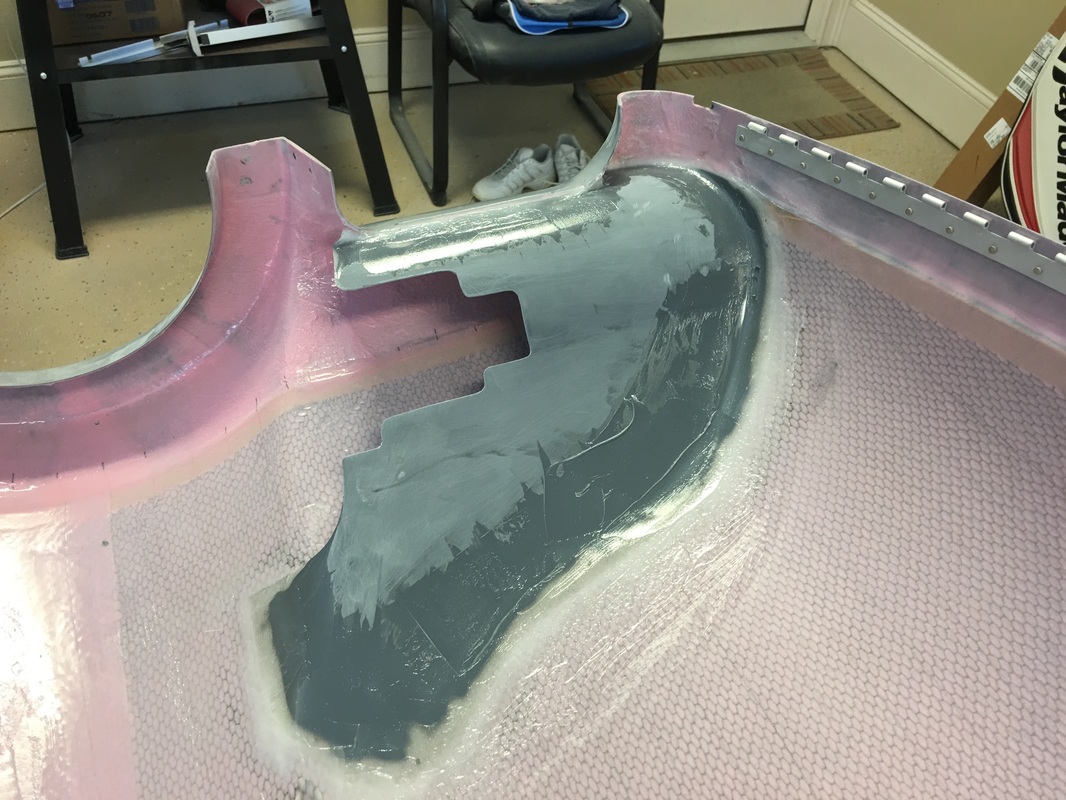
The inlet ramps were pretty straight forward to install. The fitting of one was easy and fit perfectly, the other, not so much, it needed to be shaped into submission.
This is the second layer of epoxy and flox after letting the first one harden installed on the plane to keep the shape and fit right. I actually used micro balloon on this coat since it is just filling and not structural like the bonding of the inlets in the first step.
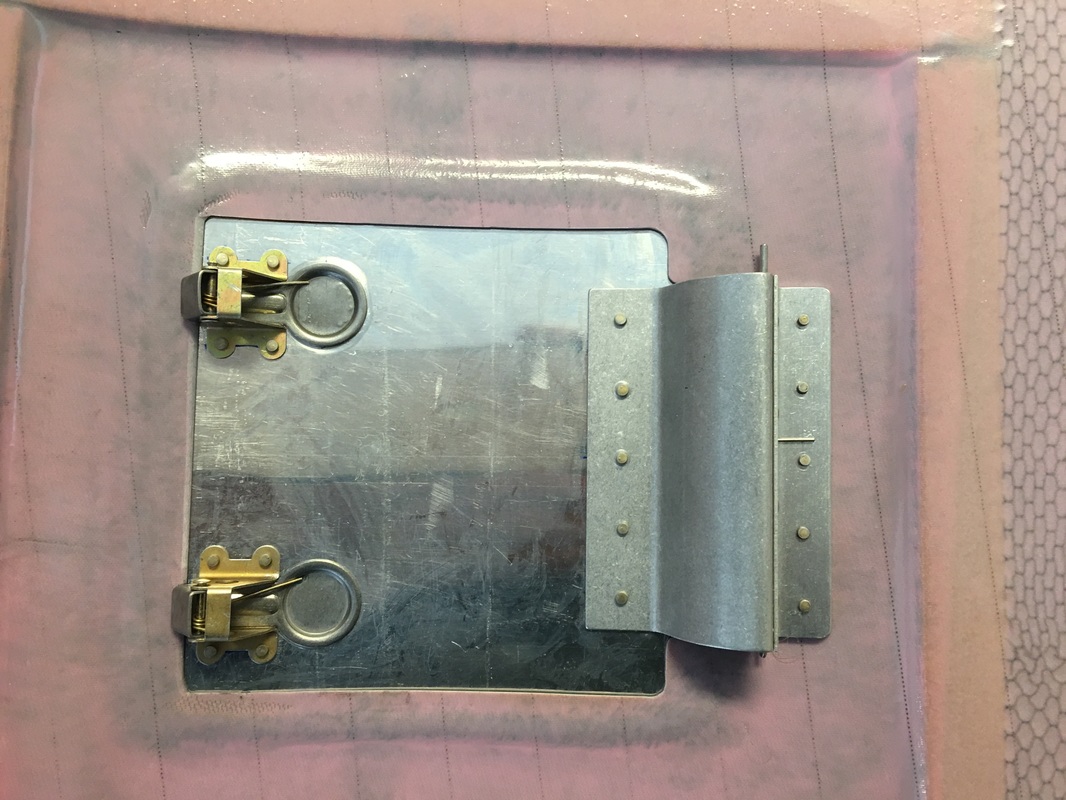
This is one very expensive oil door. First we wanted to use the Hartwell KM 610-64 flush latches. They are hard to find and expensive to the tune of $30 each. Second we wanted to use the very solid and spring loaded Avery hinge, another $42. Last we had to remake the door itself because Vans wanting to make things easy and prepunched the curved .062 aluminum door and I didn't have any hole filler. So we bought some .062 Aluminum from Aircraft Spruce, then took it to a machine shop to have the curve rolled into it. So that added another $45.
It did turn out nice and I am really glad we did it. It work very well BTW. Push the button and it pops open.
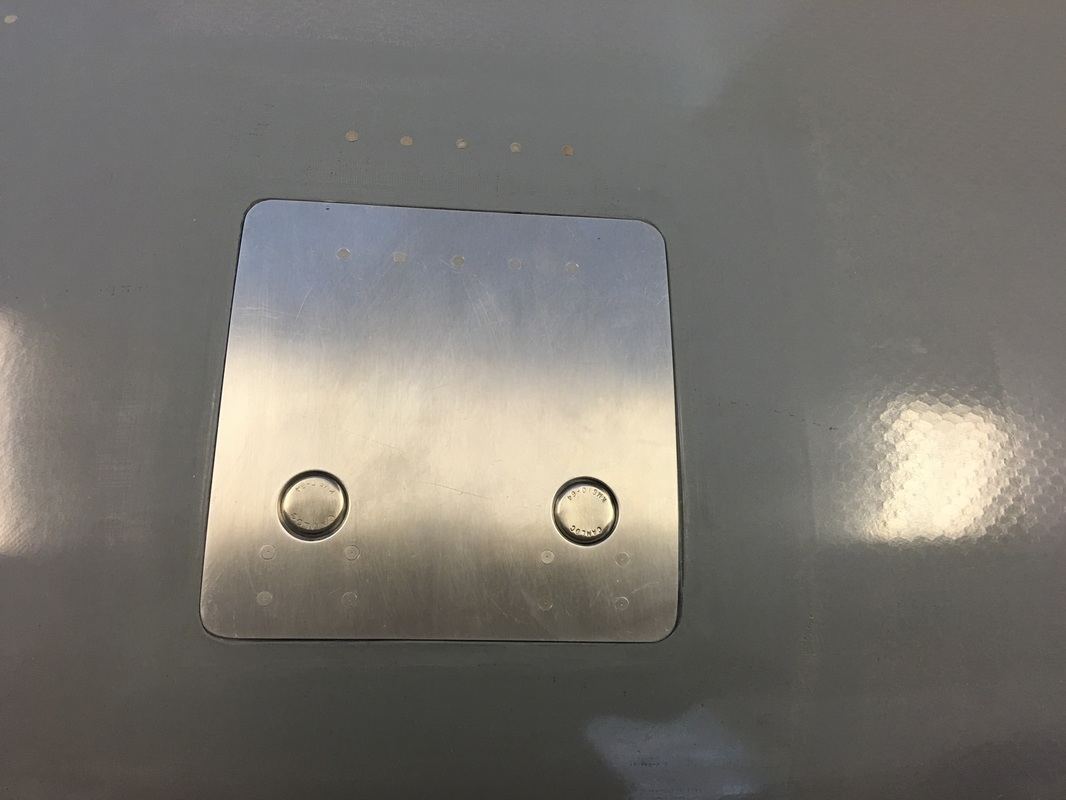

Nice door IMHO
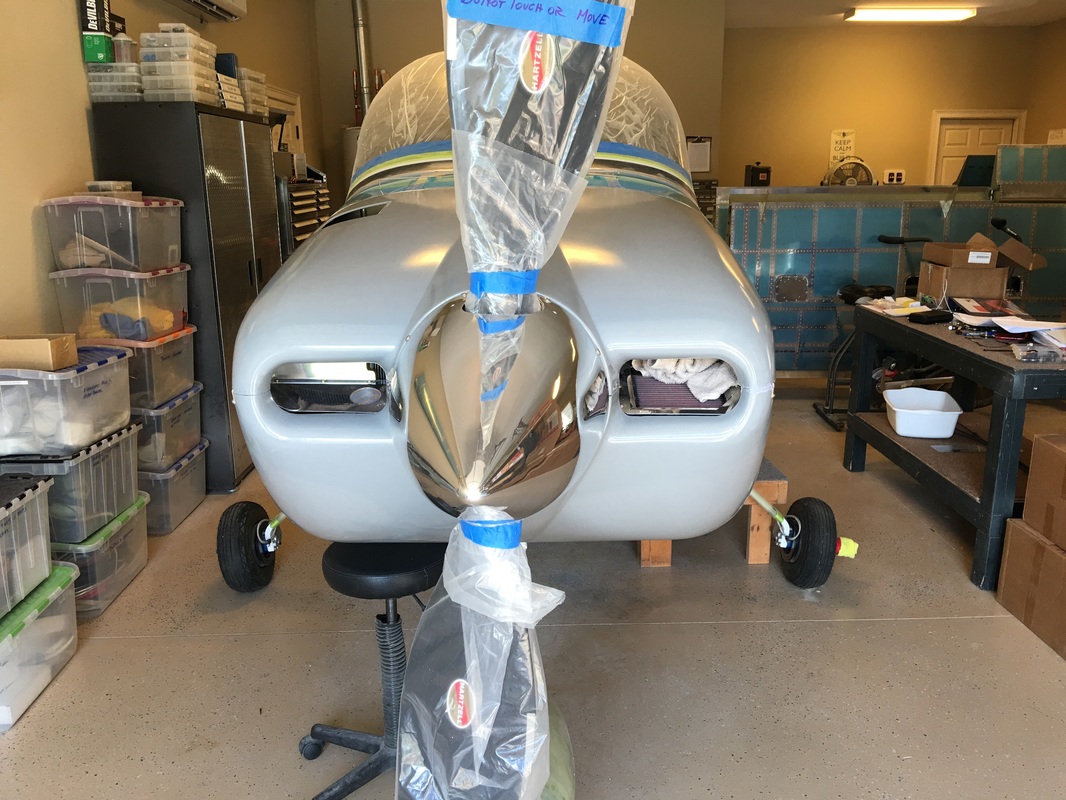
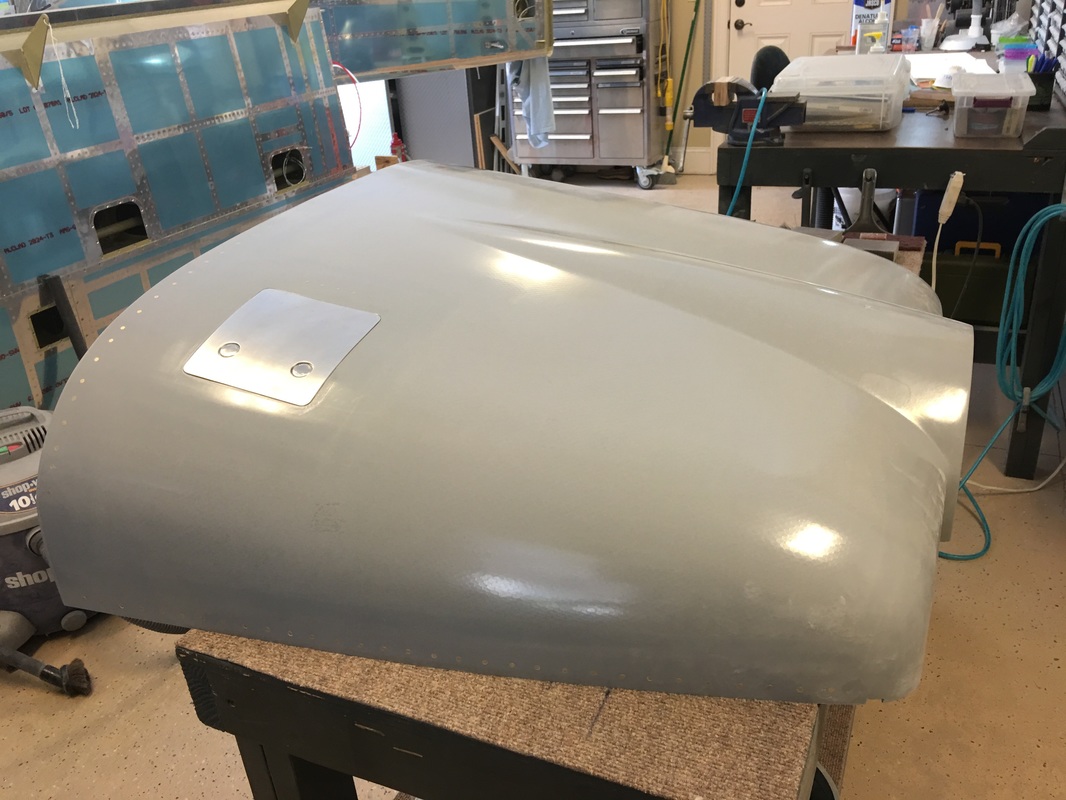
There is still filling and sanding, but I am pretty pleased with the way it turned out and how easy the cowl is to remove.
