Fiberglass & Body Work
For the next month we will be doing nothing but body work on N947RV. The process that I used on the RV 7A was time consuming and required a huge amount of elbow grease. We have decided to copy Van's method using Poly-Fiber UV smooth prime. The procedure goes like this:
1 - Sand the glossy surface with 120 grit so the smooth prime will stick and expose the main pin holes. Also, with the cowl this helps to reduce the coats required to cover the basket weave pattern.
2 - Squeegee on the first coat of smooth prime to force it into the pin holes. This is supposed to be pin hole killer, we shall see.
3 - Using a foam roller, lay on a few more coats of smooth prime and sand smooth. Then repeat except spay on 3 coats on more if needed until you are sure everything is smooth and the pin holes are filled.
4 - Spray on a good two part filler/sealer primer. We are using PPG K36 Acrylic Urethane Primer Surfacer. I used this on the RV 7A without any real issues. They say you can spray it without thinning, but even with a large tip, I needed to thin it about 5-10%
I'm not going to go into great detail on this process, but will show you the process with comments. This is the part of the build that most people abhor and I'm no different. You can get your painter to do all this, but the up charge is significant and they don't like to do it either. Some recruit body workers to get it done, I think the is the cowardly way to do it.
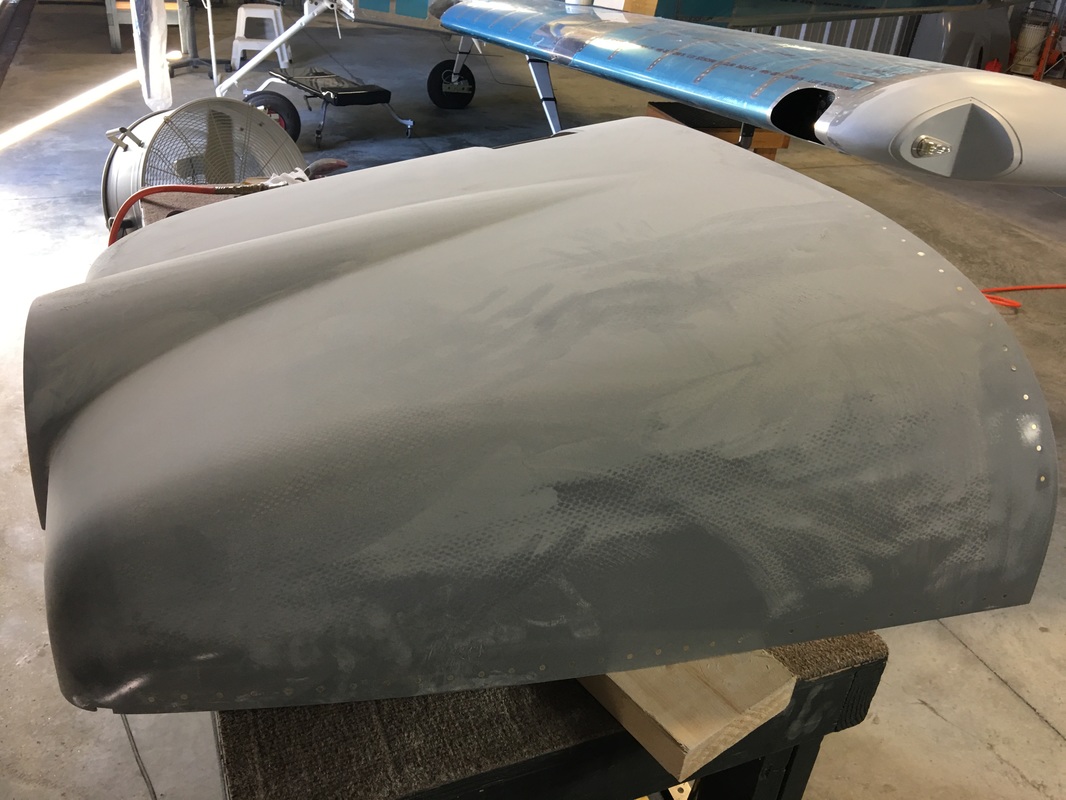
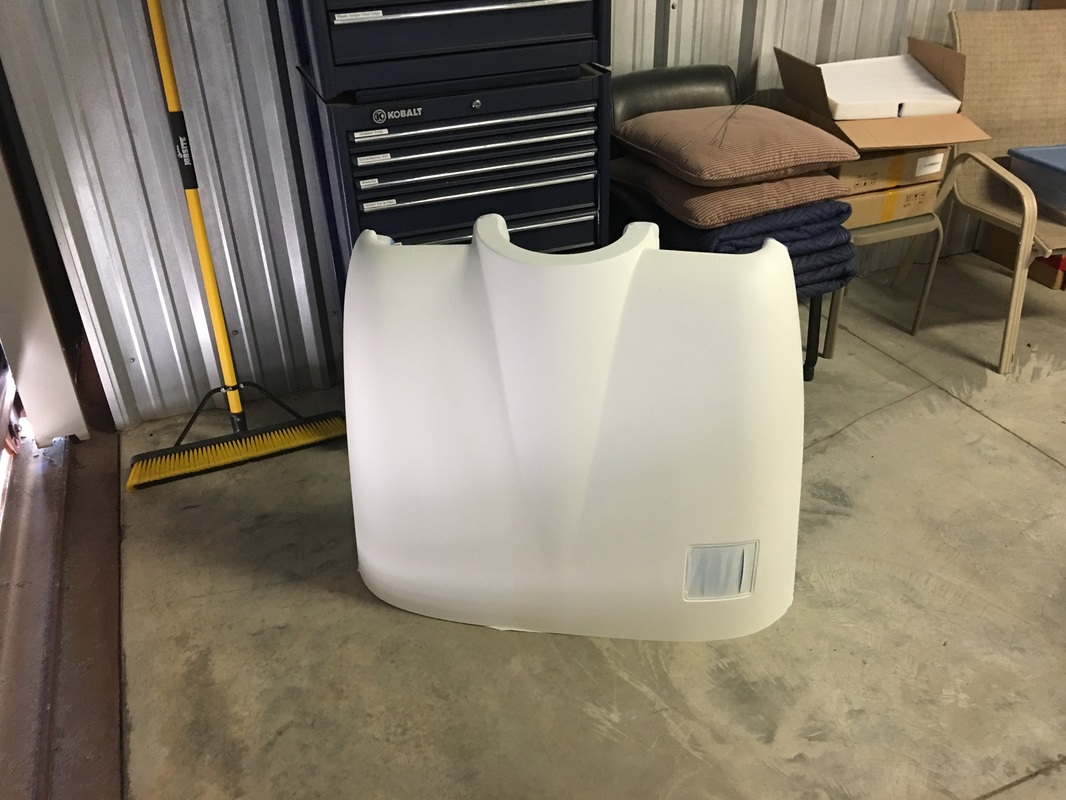
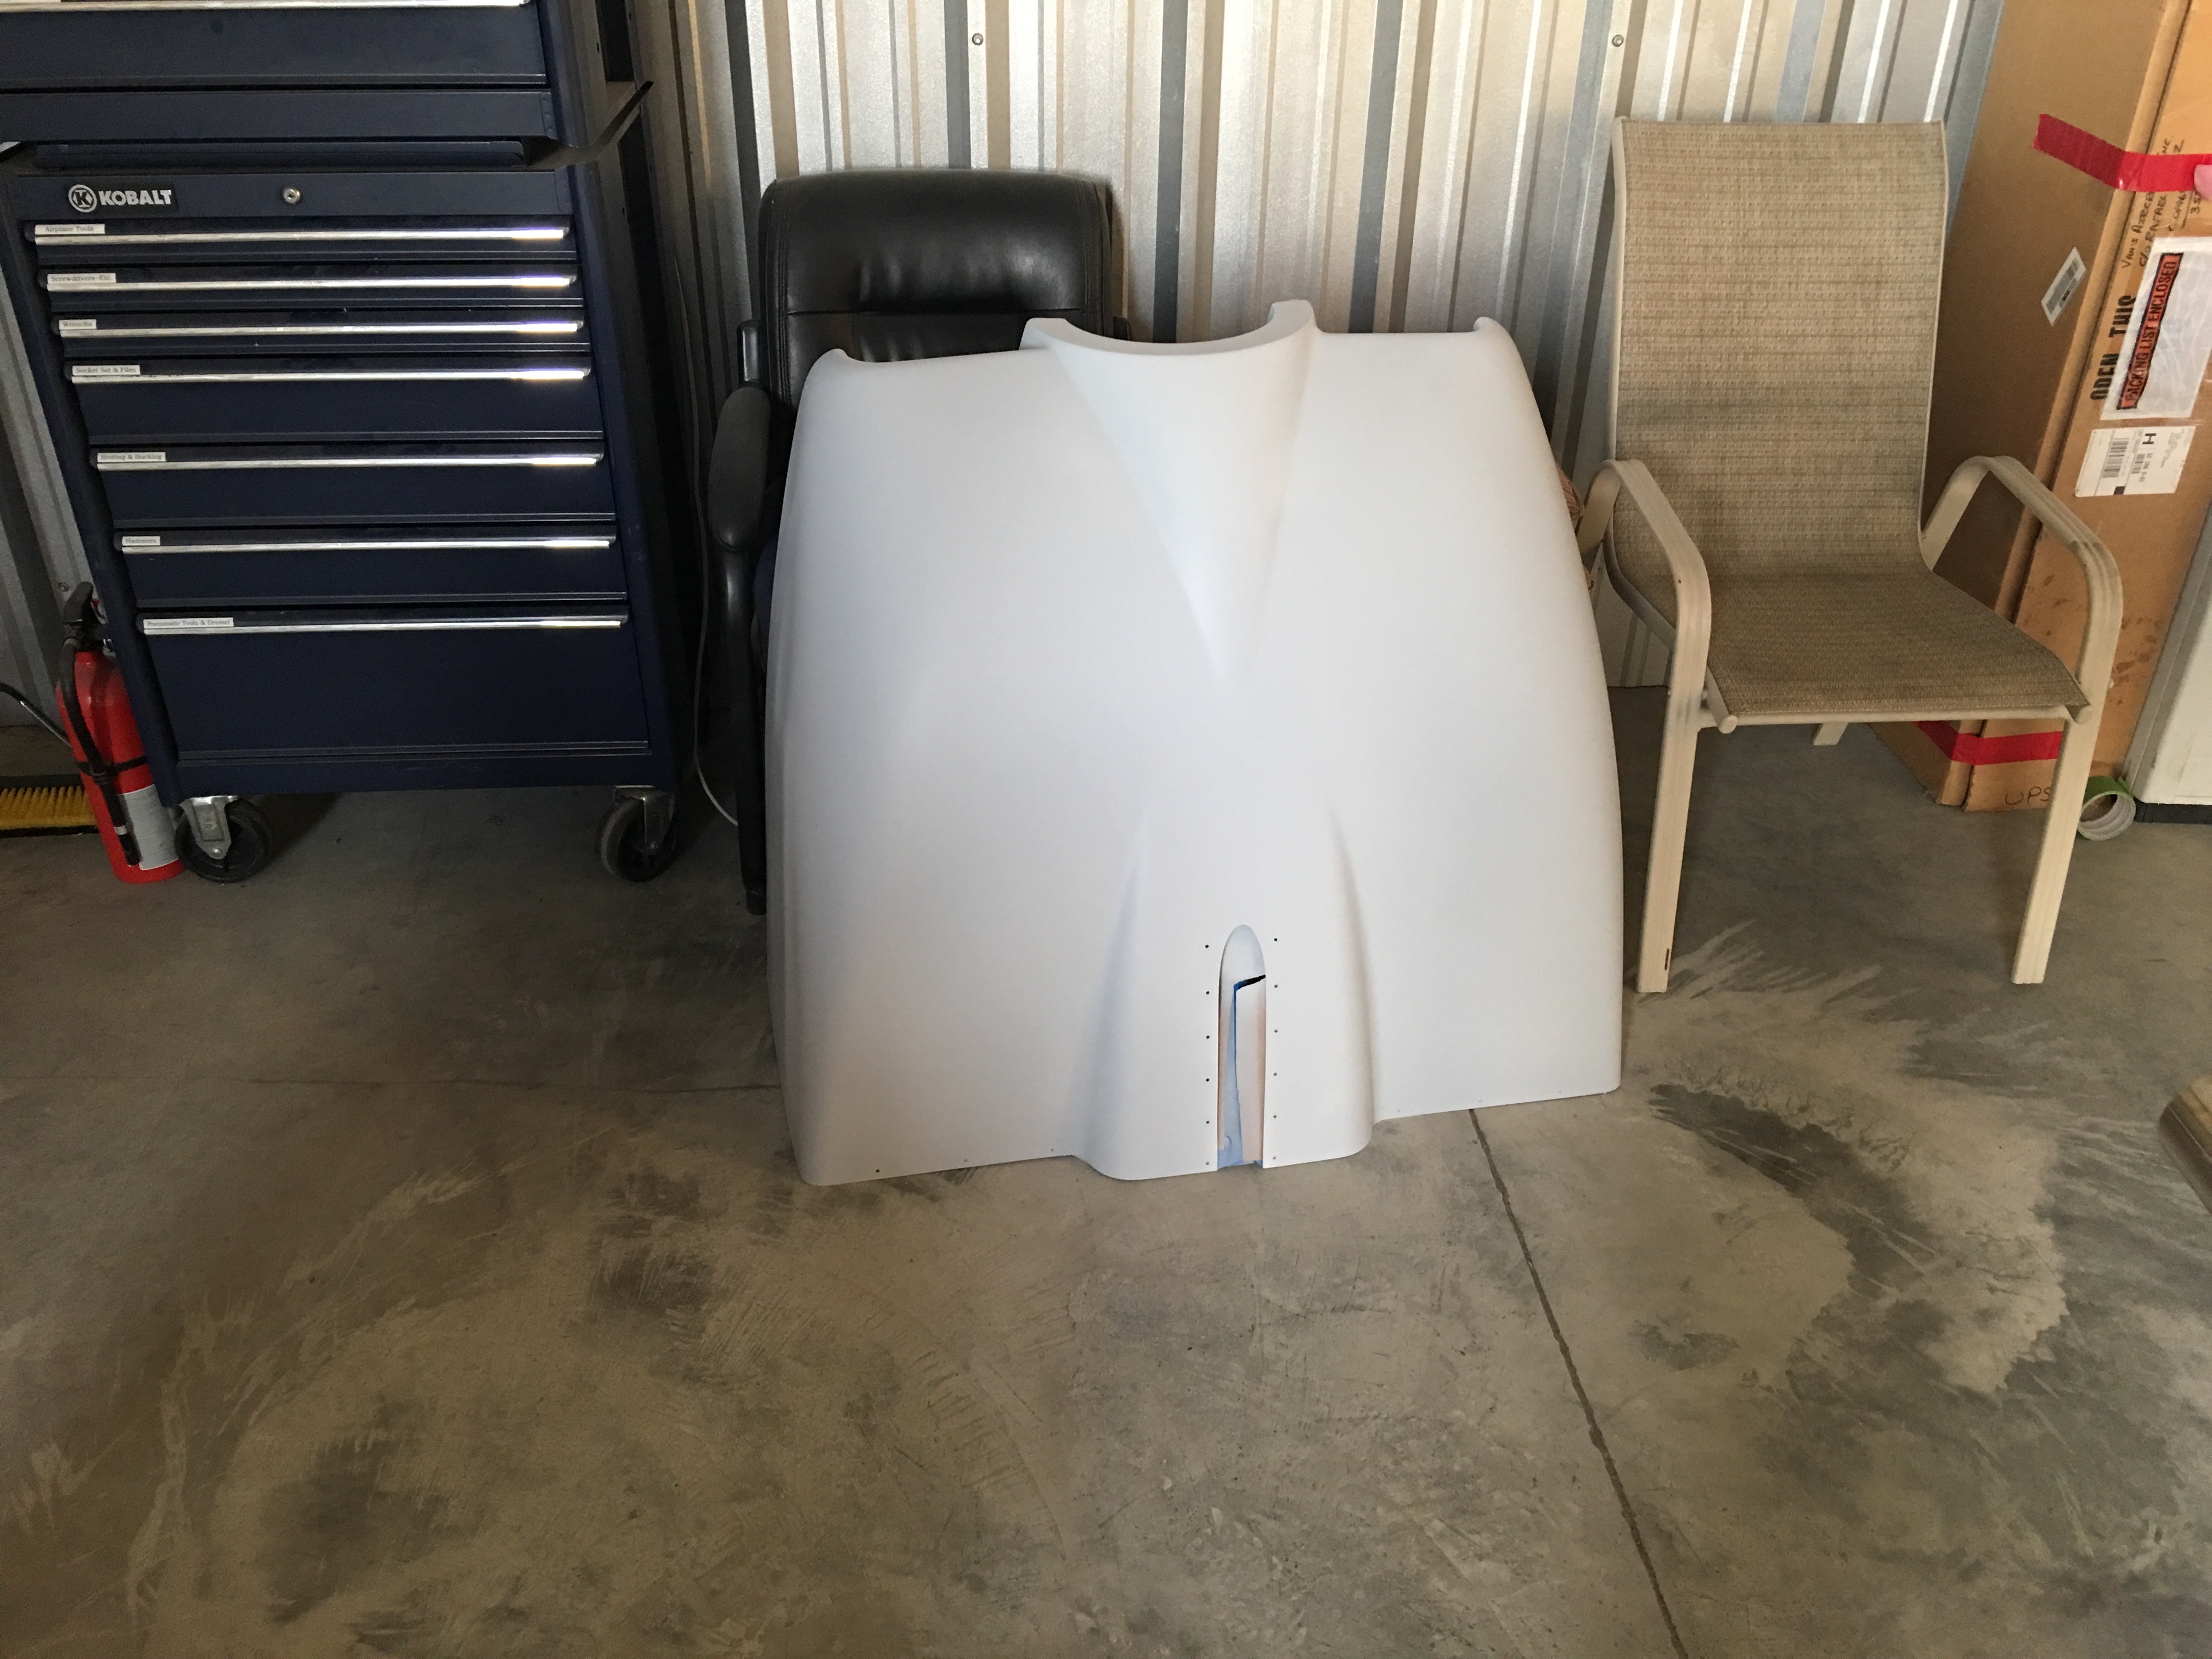
Beginning of the sanding and filling process. Here you can see the weave, but with just a little bit of sanding with 120 grit the weave starts to fade. I am just trying to sand enough to get the smooth prime a surface to stick to. Do not try to get ride of the weave buy sanding it away. You will weaken the cowl and make the job so much worse.

A bad selfie, but I want to make sure the feds know its me doing this work. Plus my partner is playing golf while I'm is torture.

Some filling around the oil hatch, this is preliminary to get ride of the difference in surface heights
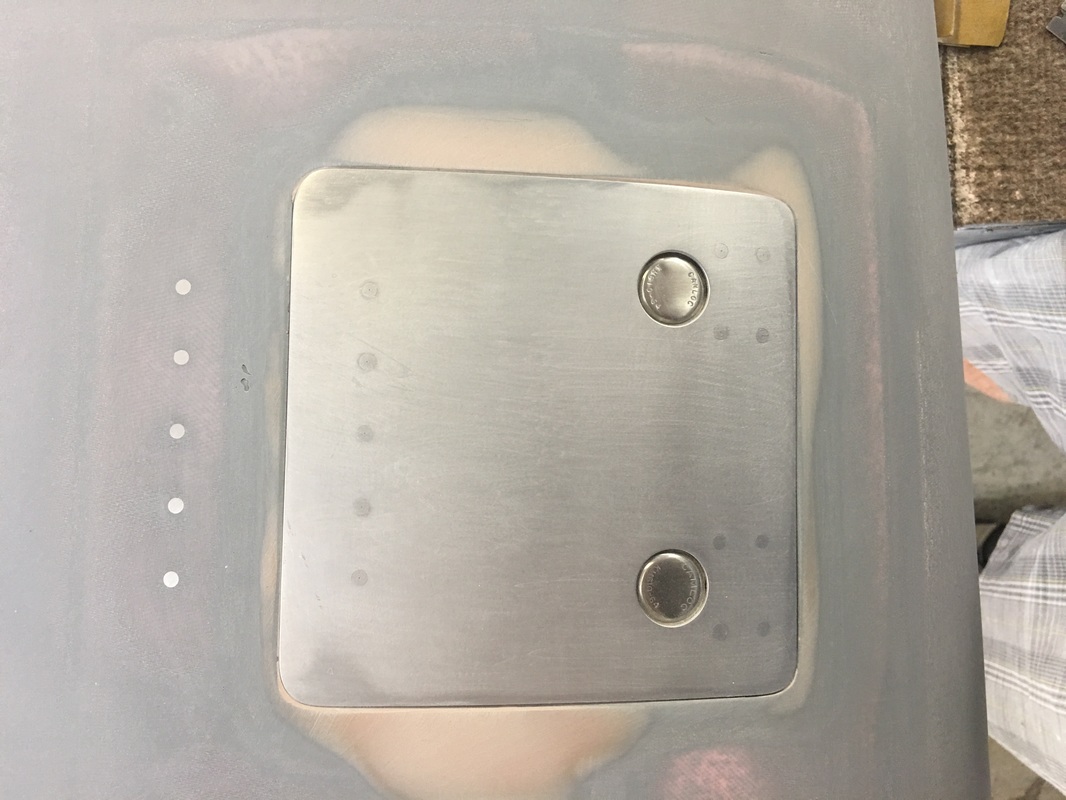
After sanding. I used clear packaging tape over the aluminum, and sanded until the filler was flush.
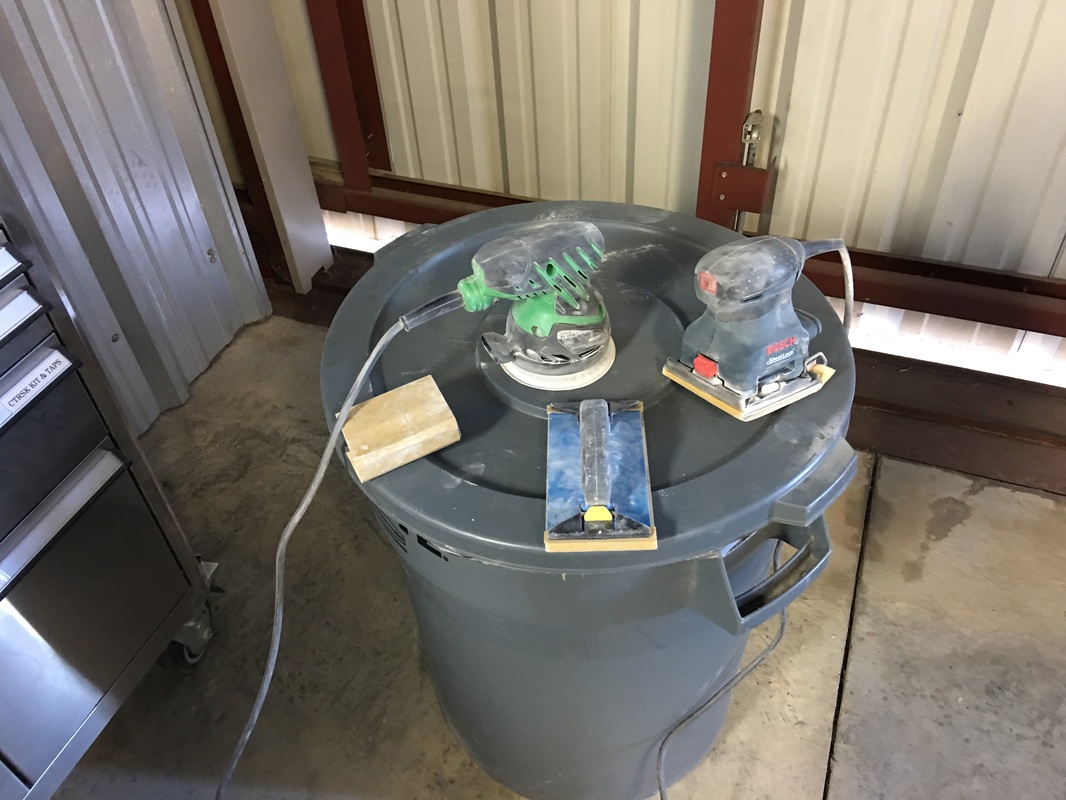
Tools of the trade, including an orbital sanded, a vibrating sander and sand block with a handle. I sand at 45 degrees to the curves one way and then the other.
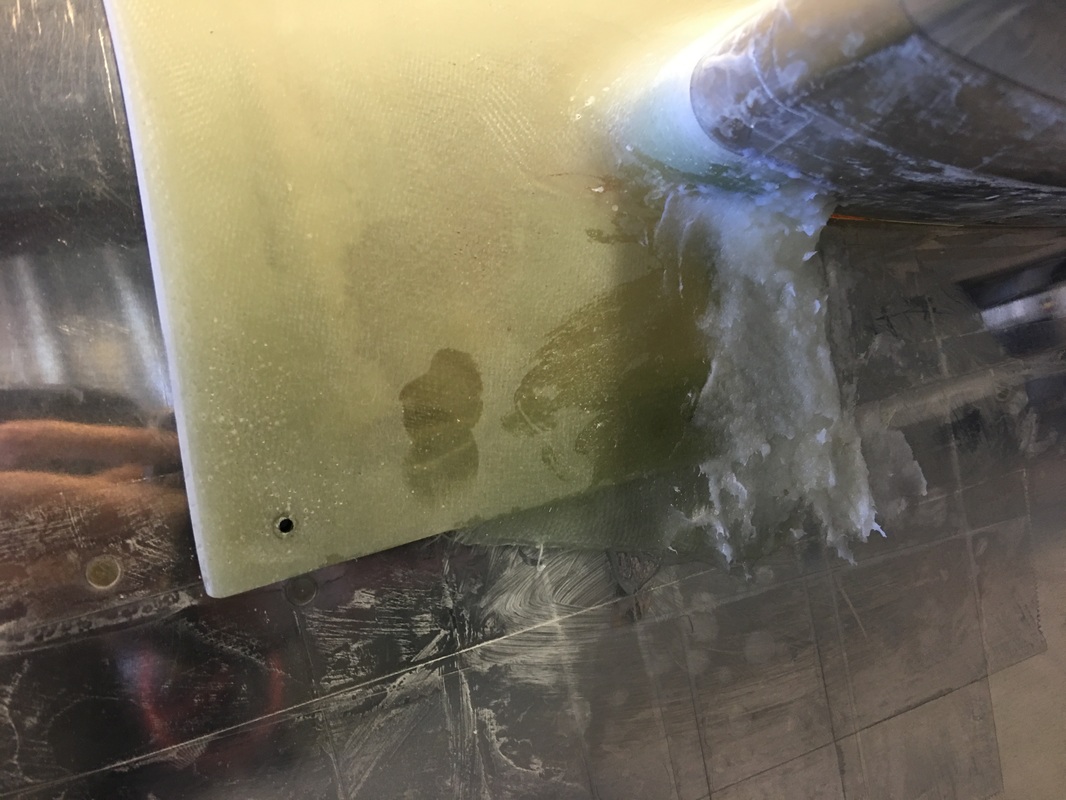
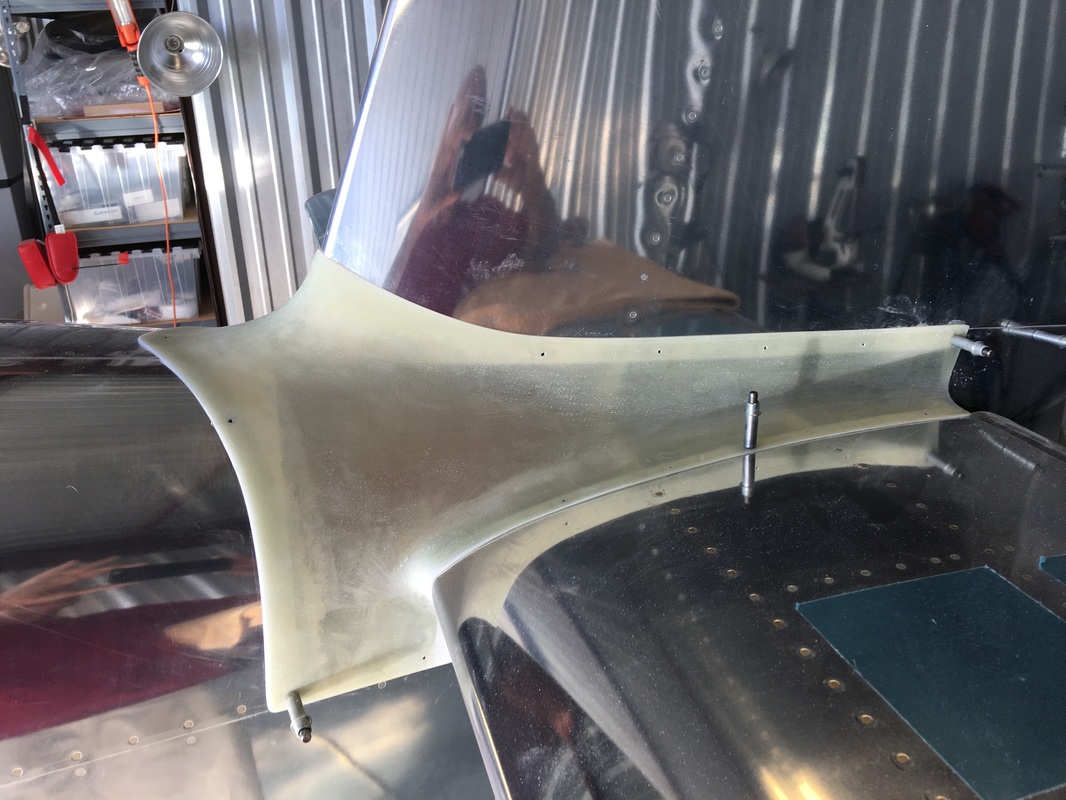
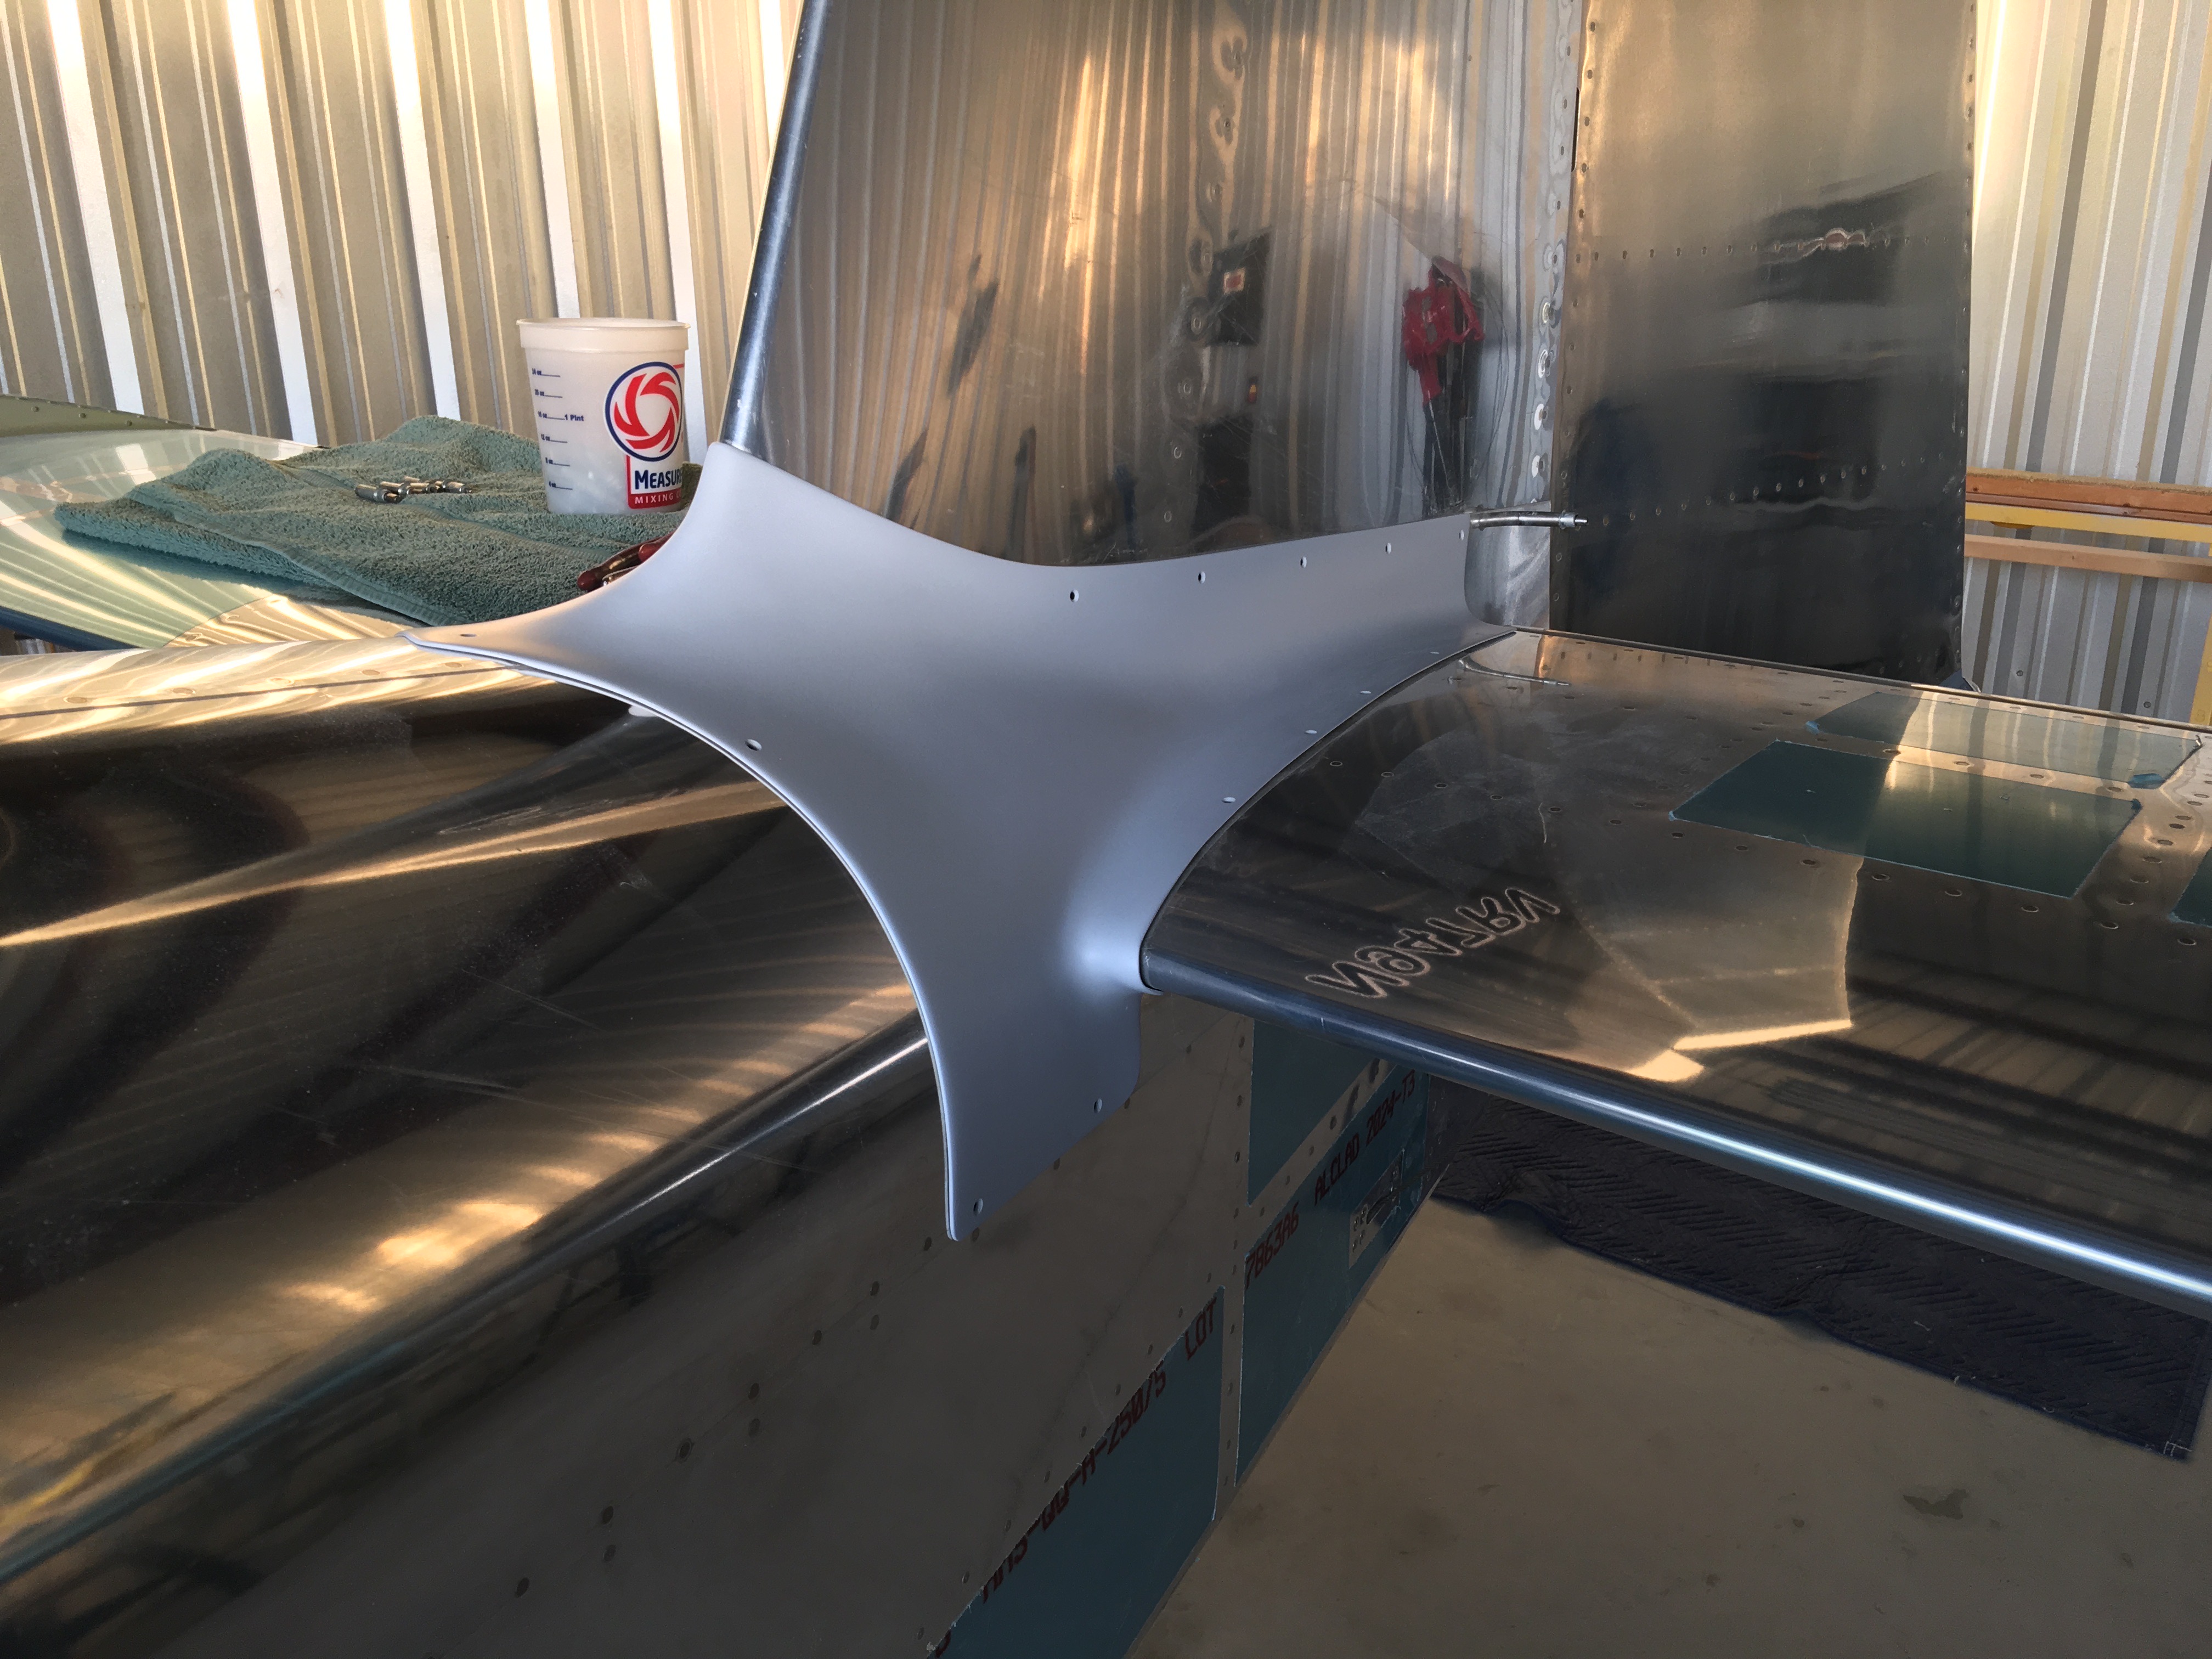
I decided I wanted to extend the bottom of the empennage faring to go fully over the the aluminum aft faring, the one furnished didn't quite get there. I covered the fuselage and stabilizer with clear packaging tape, waxed it, put in 3 layers of 9 once glass cloth and then a mixture of epoxy and flox.
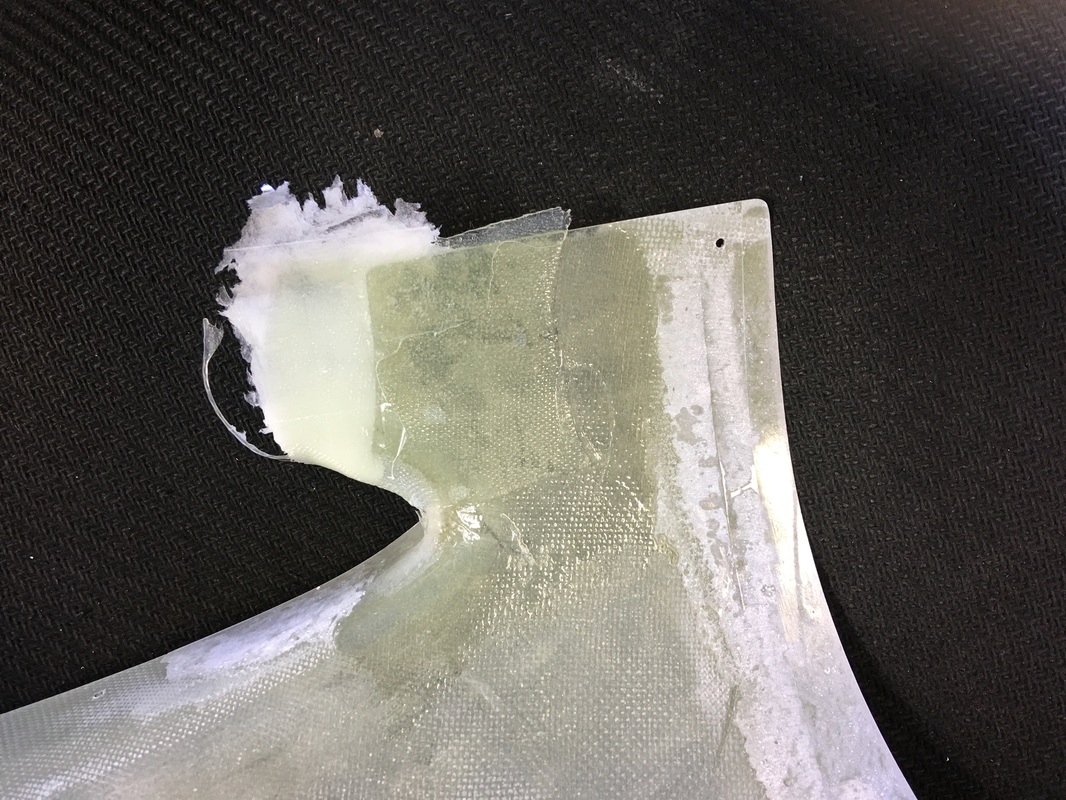
This is what it looks like on the fuselage side after it hardened. Looks pretty rough but it is stiff and strong.

This is the outside after it hardened.

This is the inside after some sanding
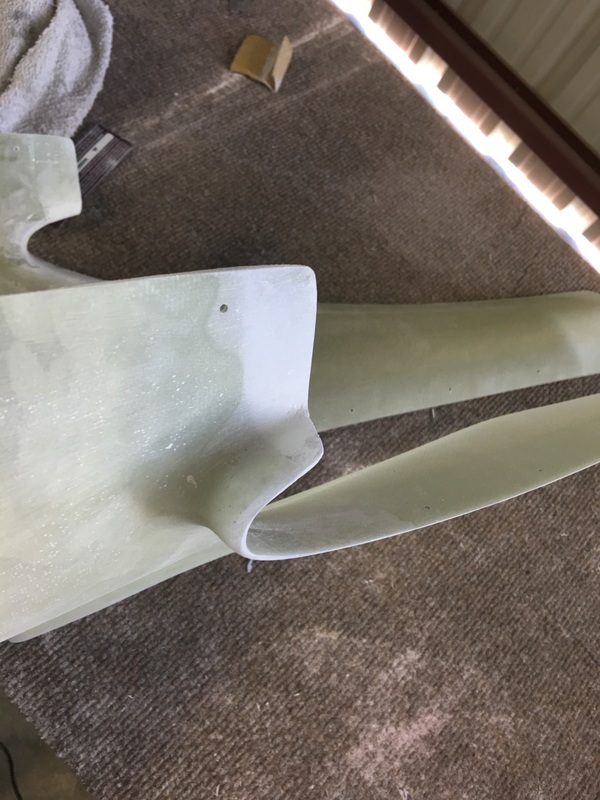
The finished extension. This didn't take a long time to extend, although you have to wait for it to harden before you start sanding. I did this the day after the layups were done. My point is, no big deal and errors in fiberglass can be fixed quite easily.
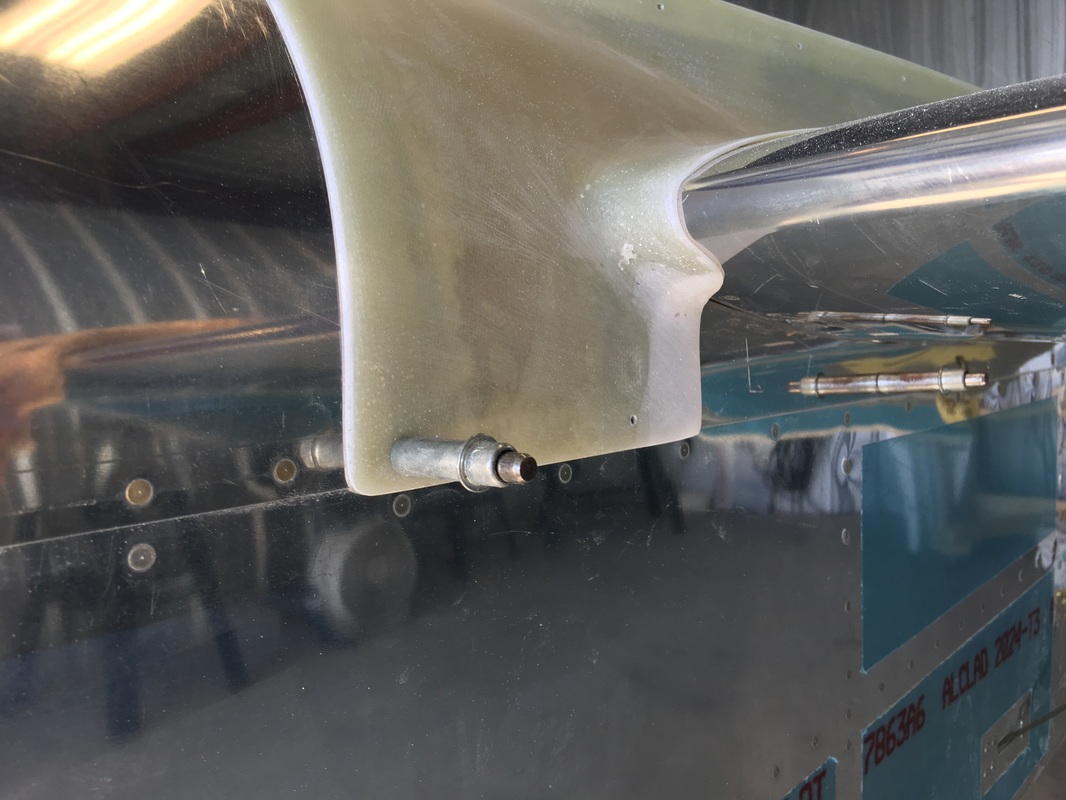
I think this worked out nicely. After a little more sanding and then priming, you will never know it was extended'
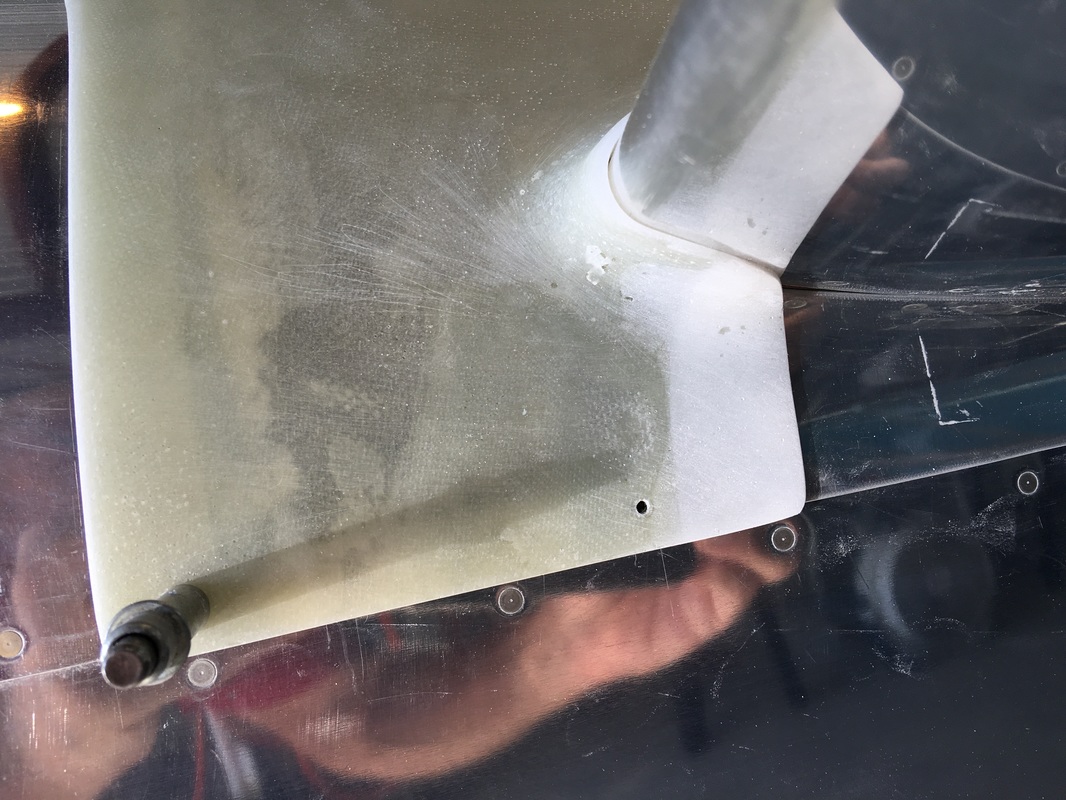
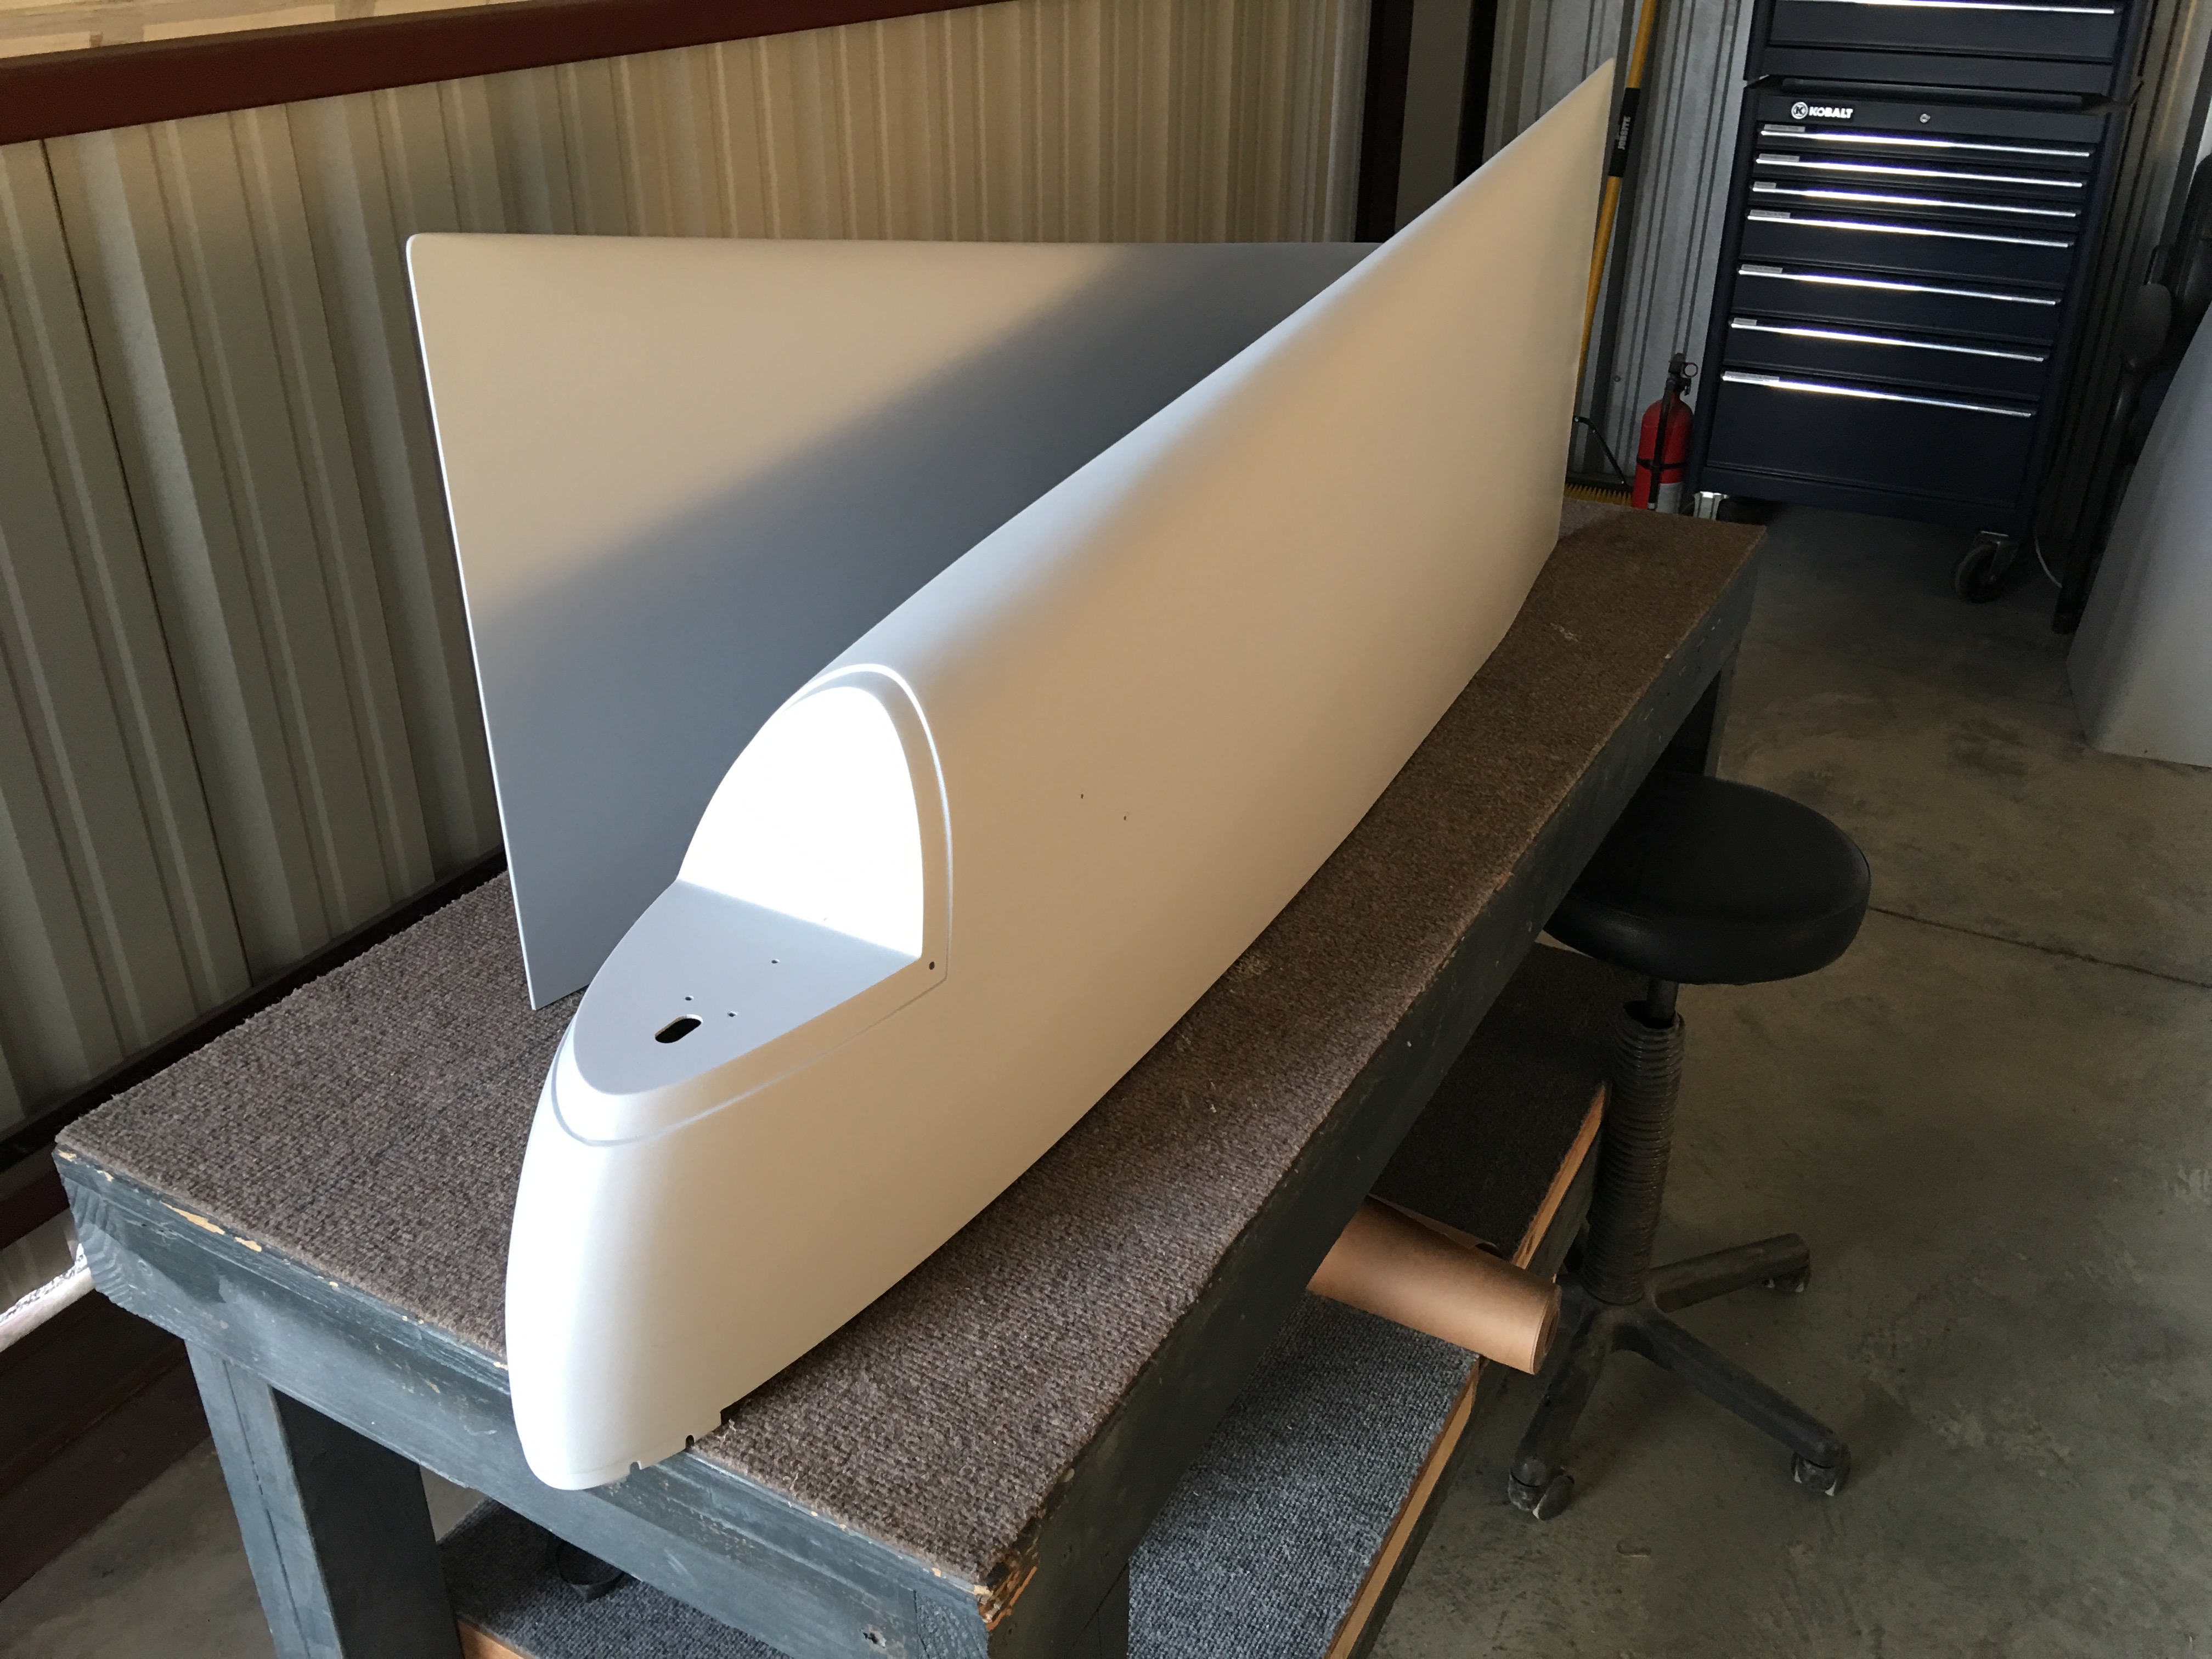
The completed fairing ready for pin hole filling and priming.
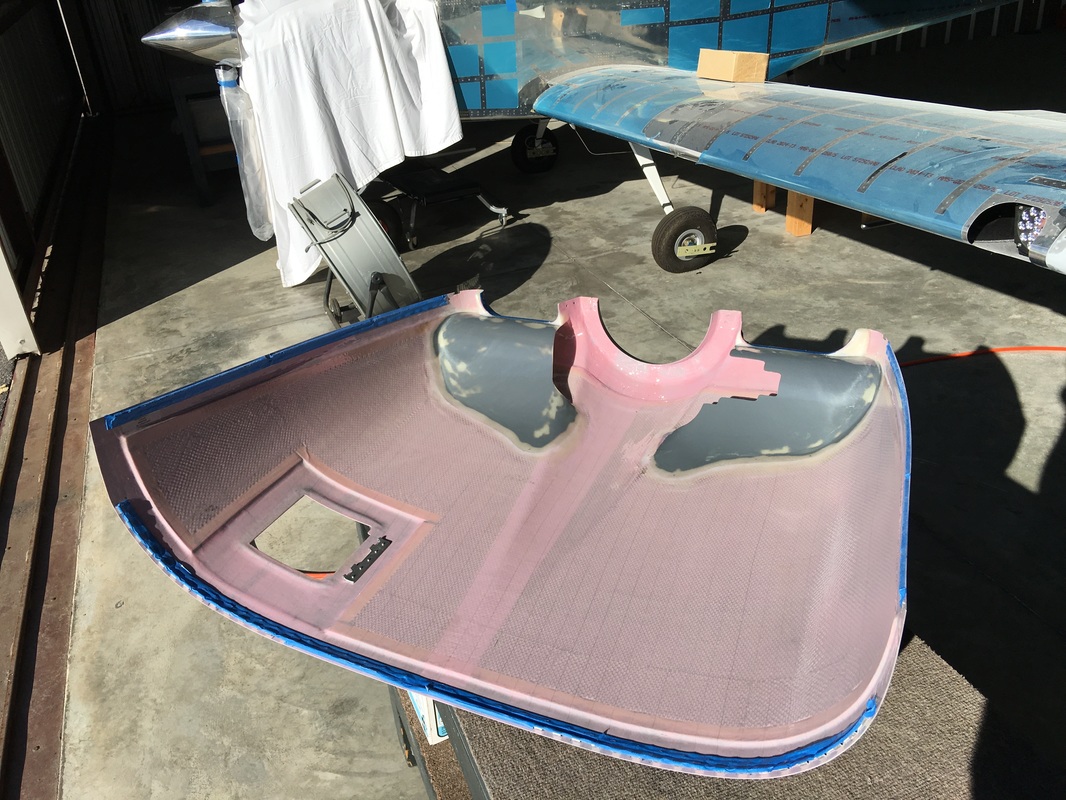
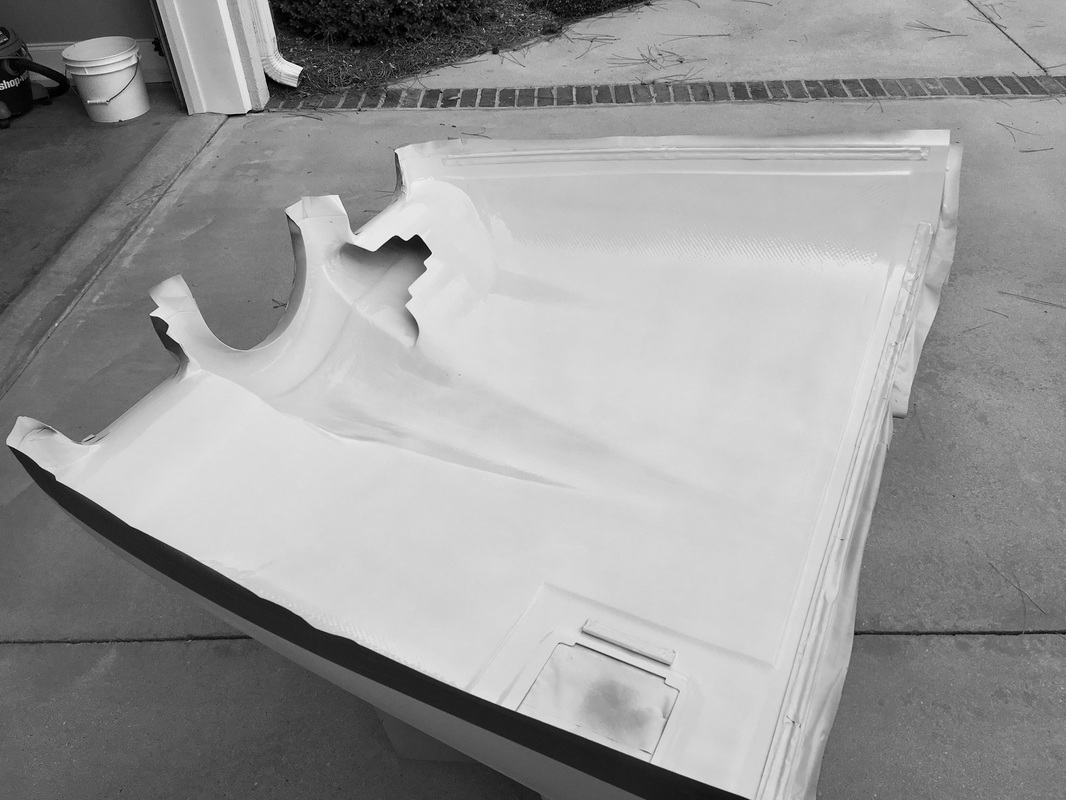
Per Vans plans, we scuffed up the inside of the cowl and brushed on a coat of west epoxy. We didn't thin it, just brushed it on. I will sand it again, just enough to make it dull so I ecan spray on a coat of white epoxy paint. This makes everything look tidy, protects the fiberglass from oil and other drips. It also makes it easy to spot leaks, not that you would ever get one from a Lycoming.
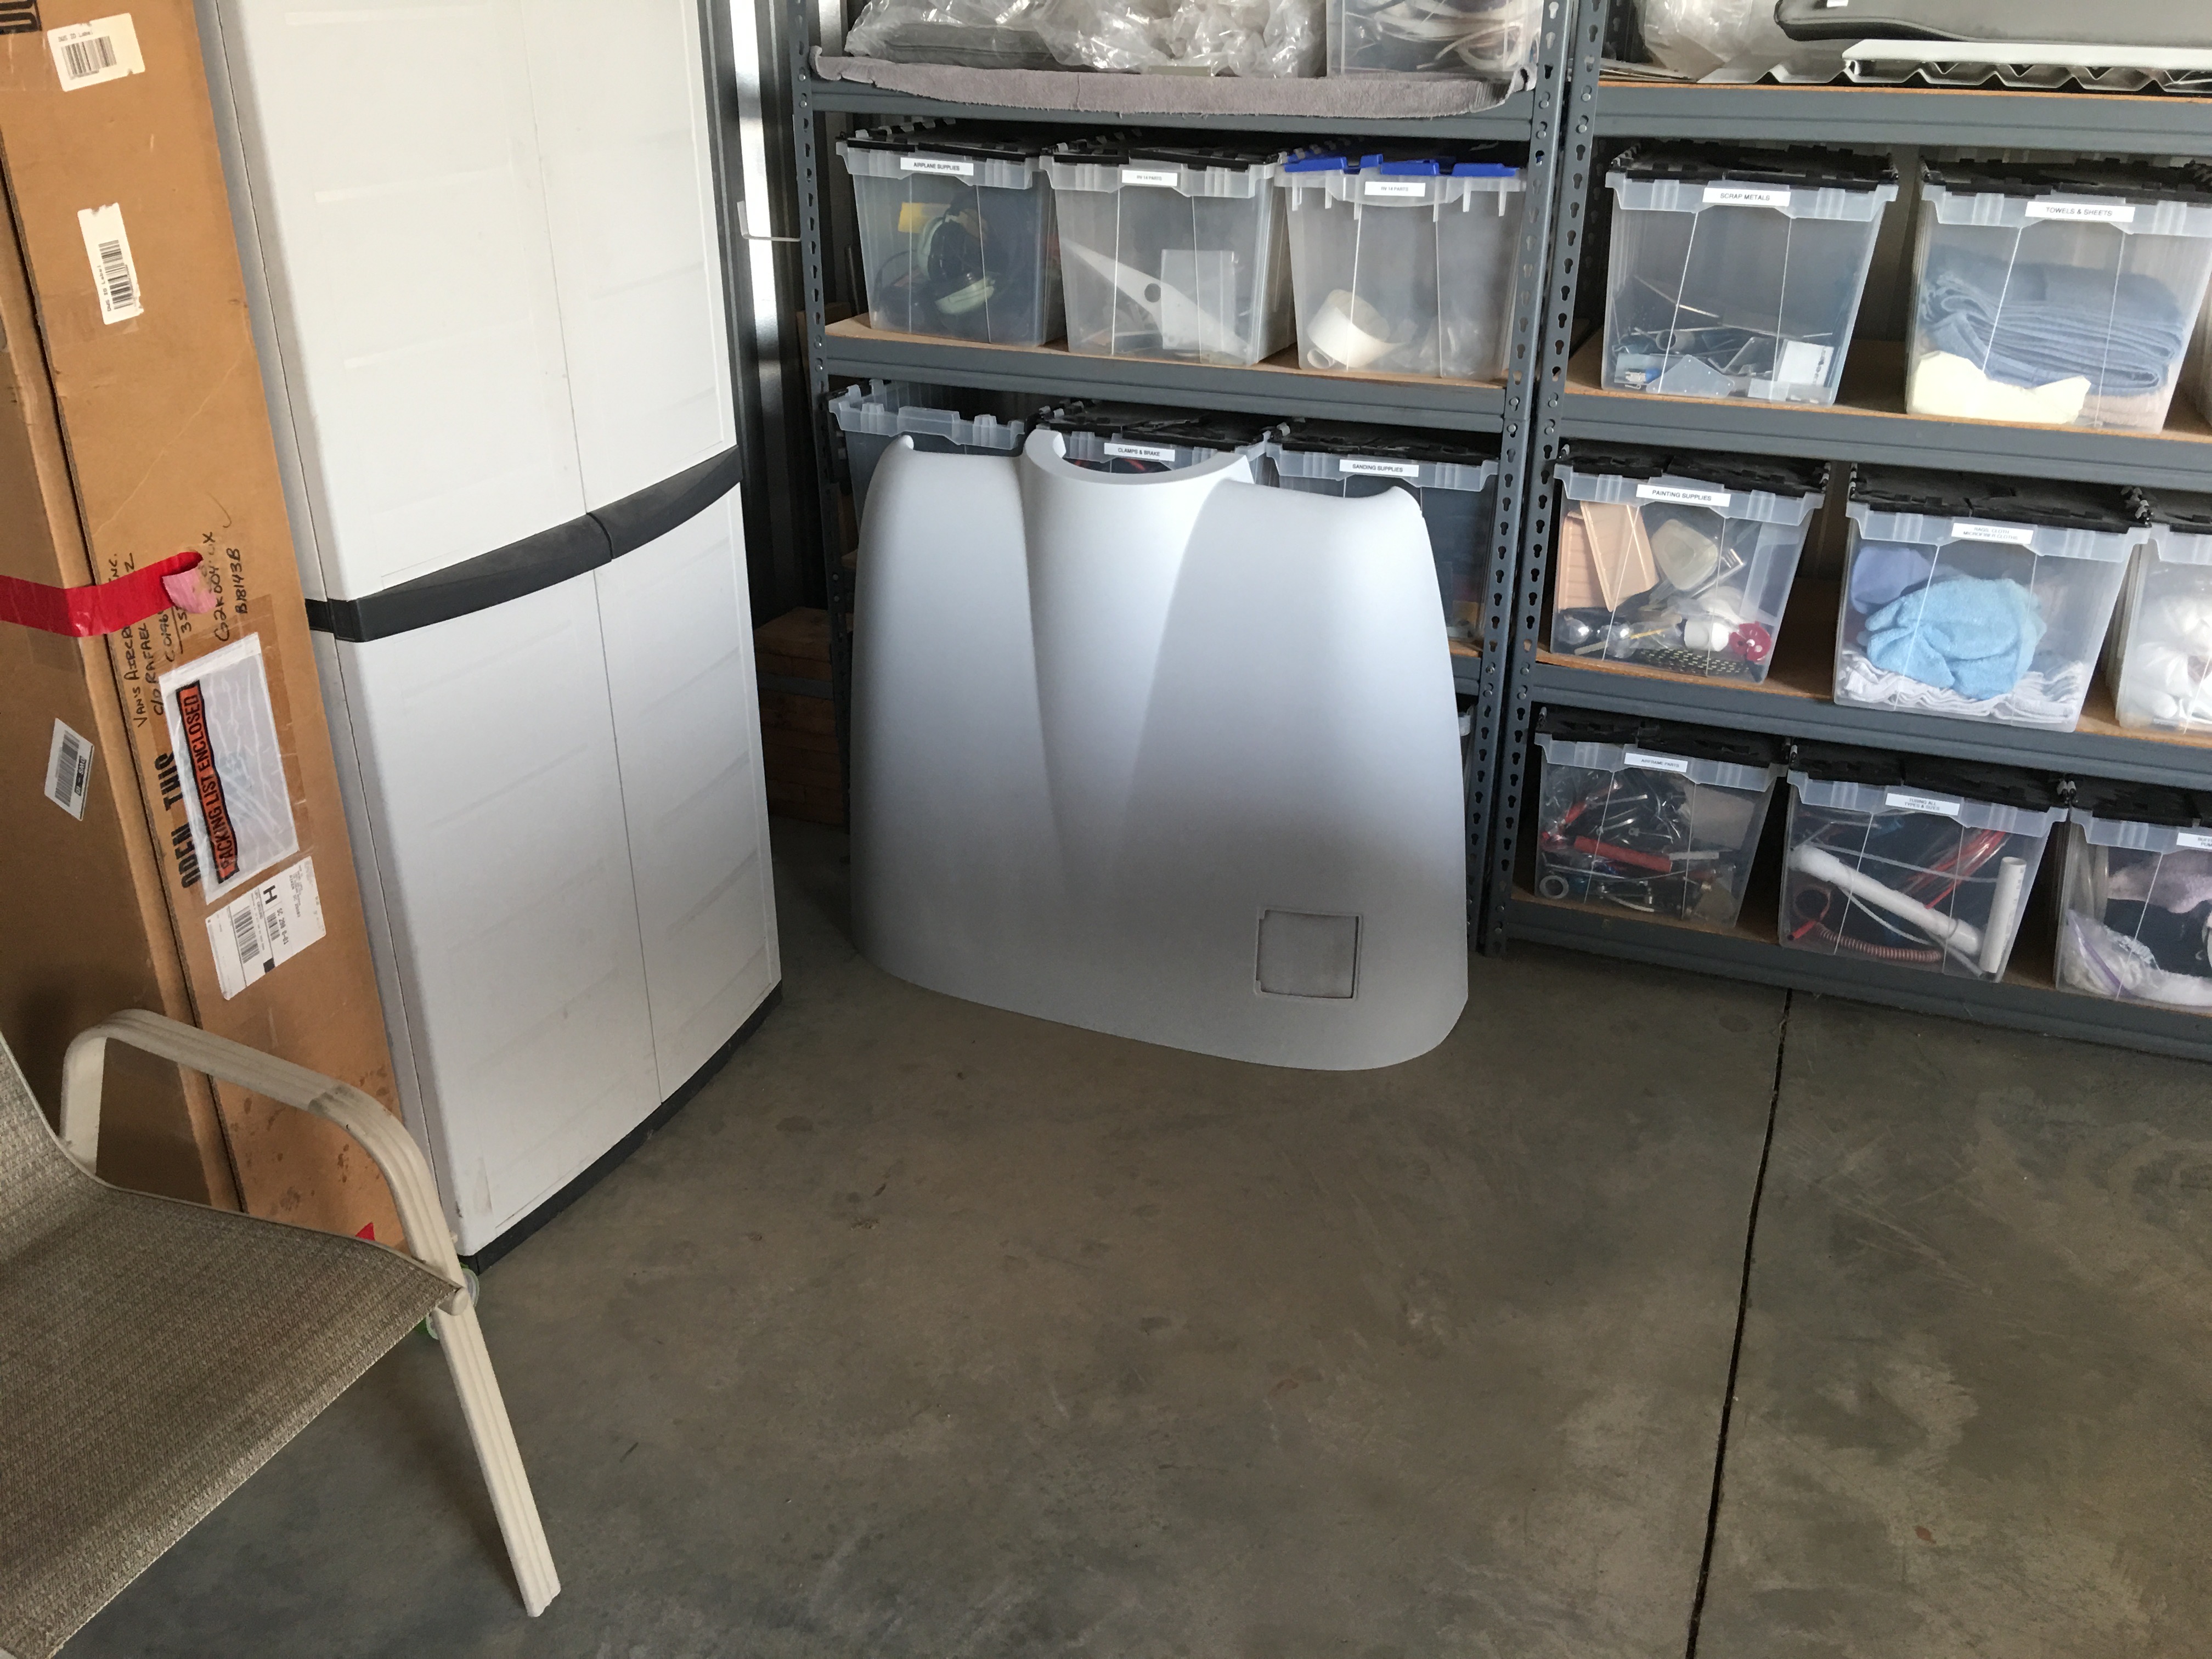
Bottom cowl after sanding.

Bottom cowl after a coat of epoxy brushed on

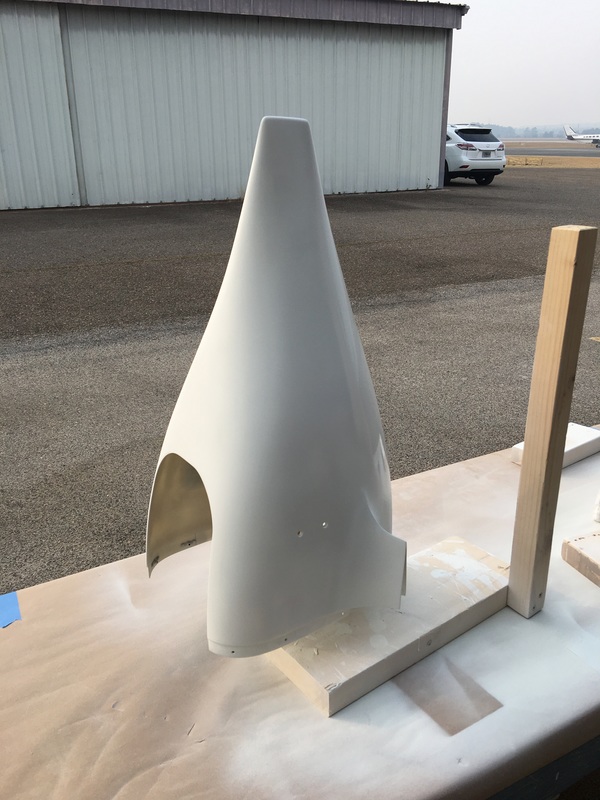
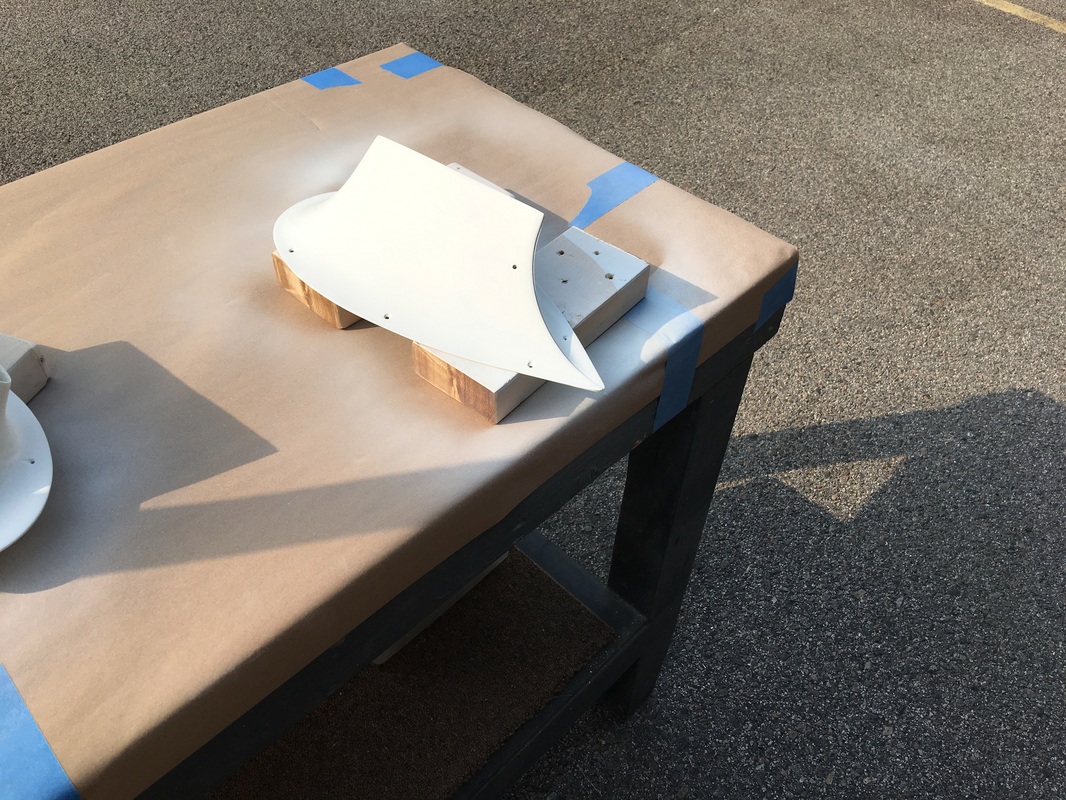
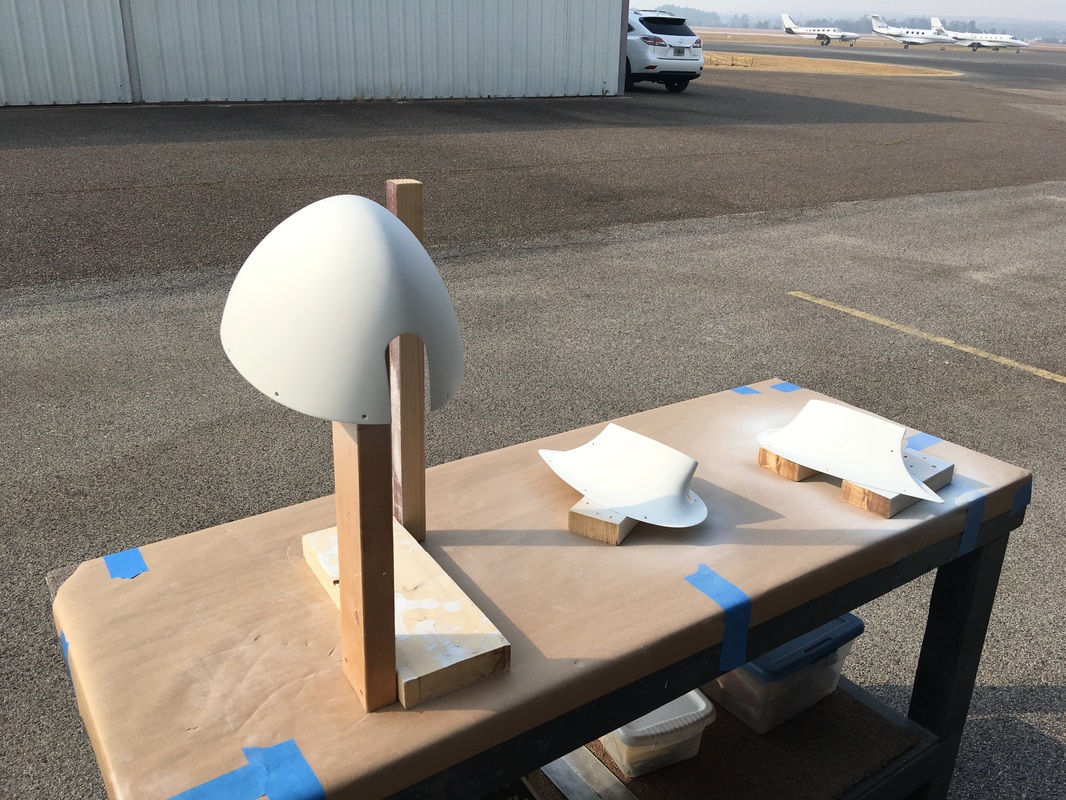
This is what the wheel and tail fairings look like after 5 or so coats of Smooth Prime and much sanding
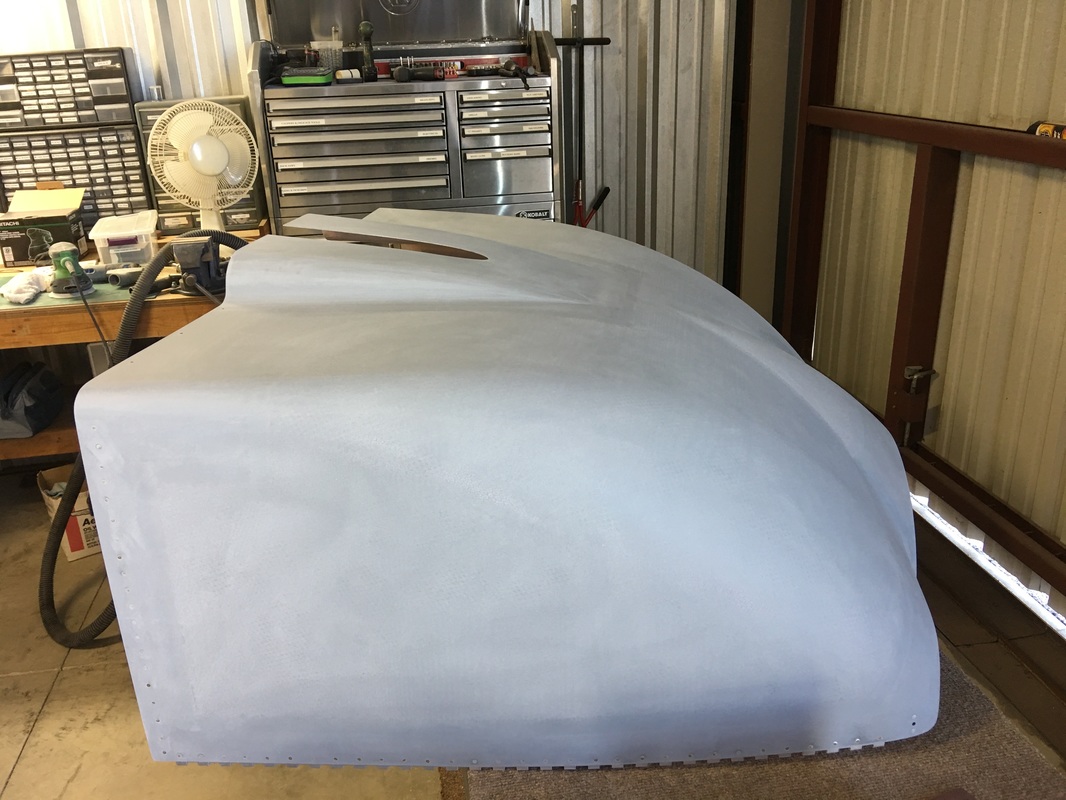
Bottom cowl after coat 5 and before sanding
Top cowl waiting for sanding
This is the inside of the cowl after painting with 500 degree primer and paint over the coat of epoxy. I looks marginal, but it is on the inside and looks better then the pink. Plus it is easier to see oil leaks, etc. It's meant to be kind of like the inside of a marine engine room.
Spraying the last coat of UV Smooth prime
Spraying more parts with UV Smooth prime. Starting to hate this stuff.
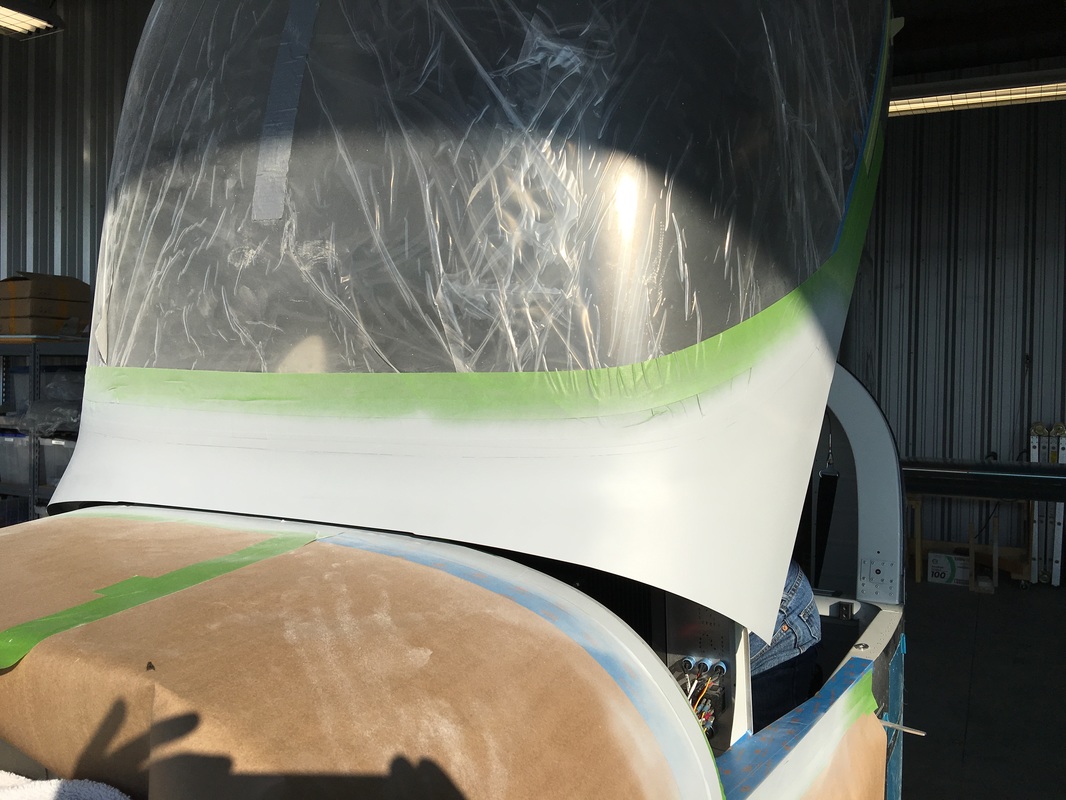
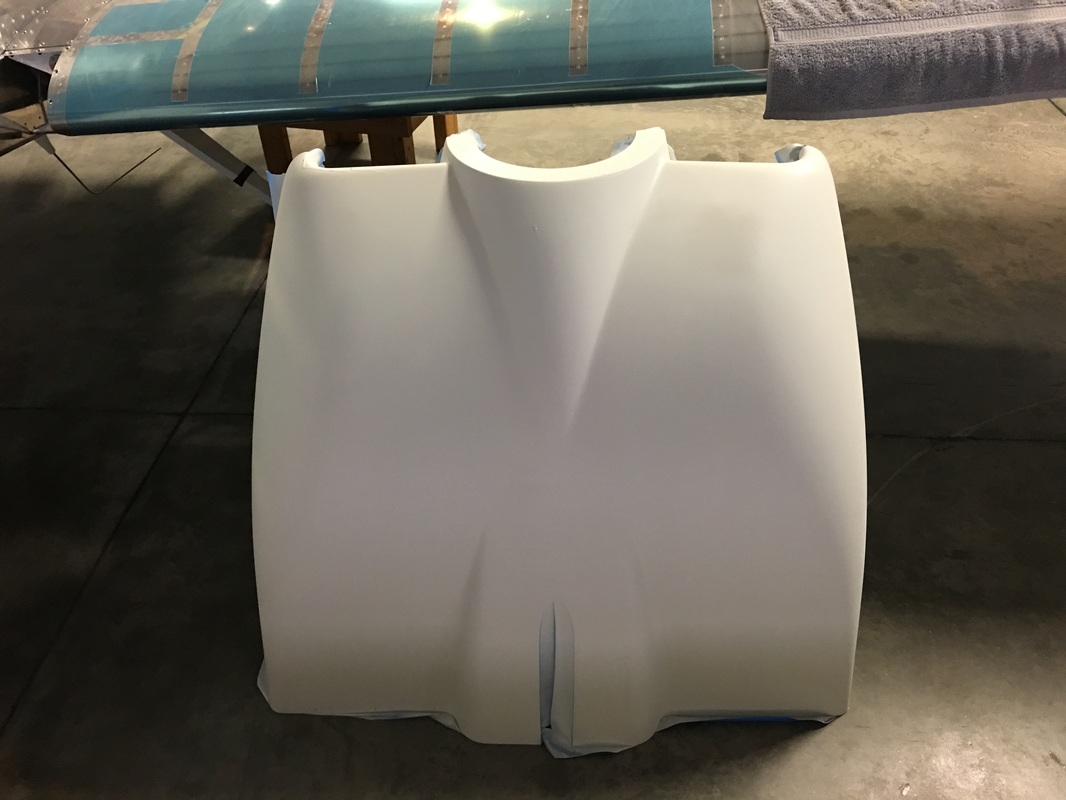
Finishing the canopy filet. You know how this goes, spray, sand, repeat and 6 times later, all done.

Heat shield foil installed per the plans. working with this stuff just sucks. Get a rubber wall paper roller to help and don't even try to get each piece on without many cuts, it ain't going to happen.


This is the final of 6 coats of smooth prime and sanding with open 240 grit

From here the end are two coats of god awful expensive PPG K 36 two part epoxy primer. It is really good stuff just don't be afraid to thin it up to 10%, it is very thick. I just used a 1.4 tip and a cheap HVLP gun

I'm exhausted, and hope I am done, other than some touch up as required. The painter can take it from here and should be happy.
