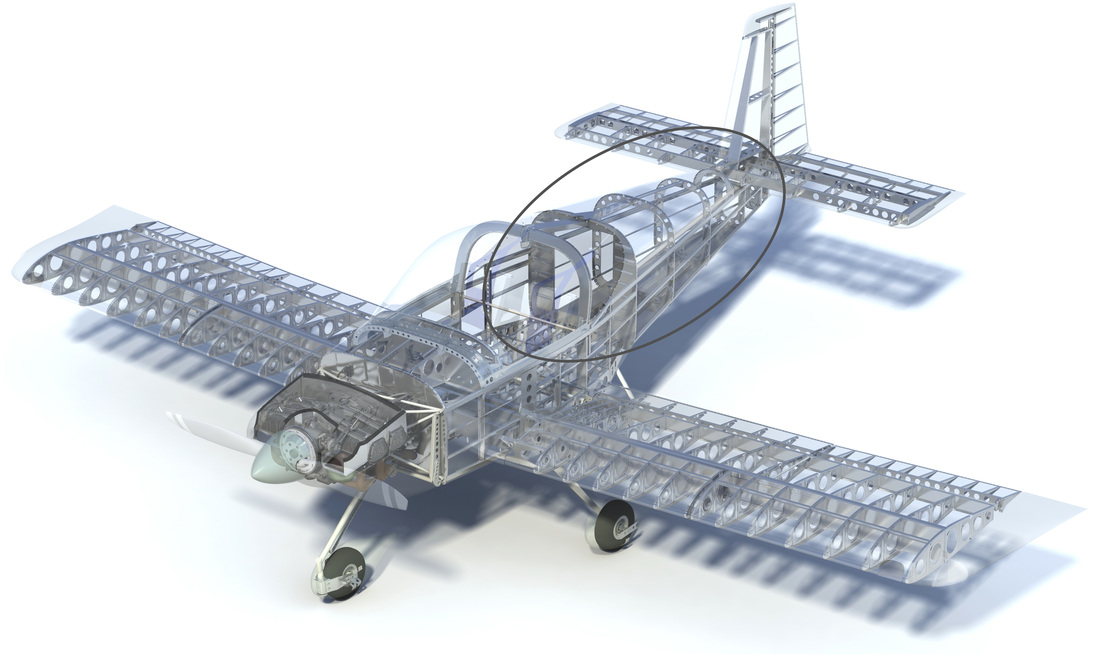
This section is the rear half of the fuselage. We are now at about 425 hours of build time and looks like we might have another 60-100 hours to go to finish this kit. The wings are on the way, so we are pushing to finish this kit by February 28, 2014. News flash, we have been putting in 36 hours a week combined and are now at 600 hours and still have more to go on the tail. If we finish in March, the kit will have taken 4 calendar months and most likely 680 hours.

First you have to build the parts and thats how we do it. This means we go out of sequence from the instructions some of the time in order to prime in big batches.

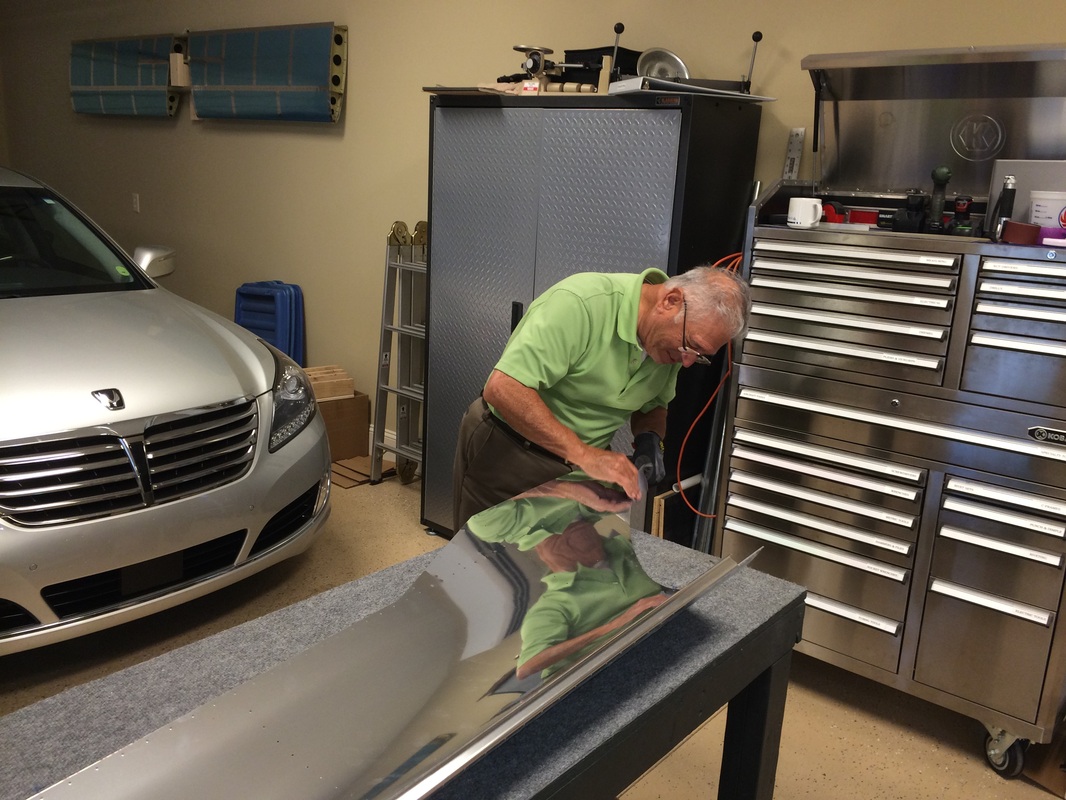
Rafa trimming off the rivet lines of the bottom skin
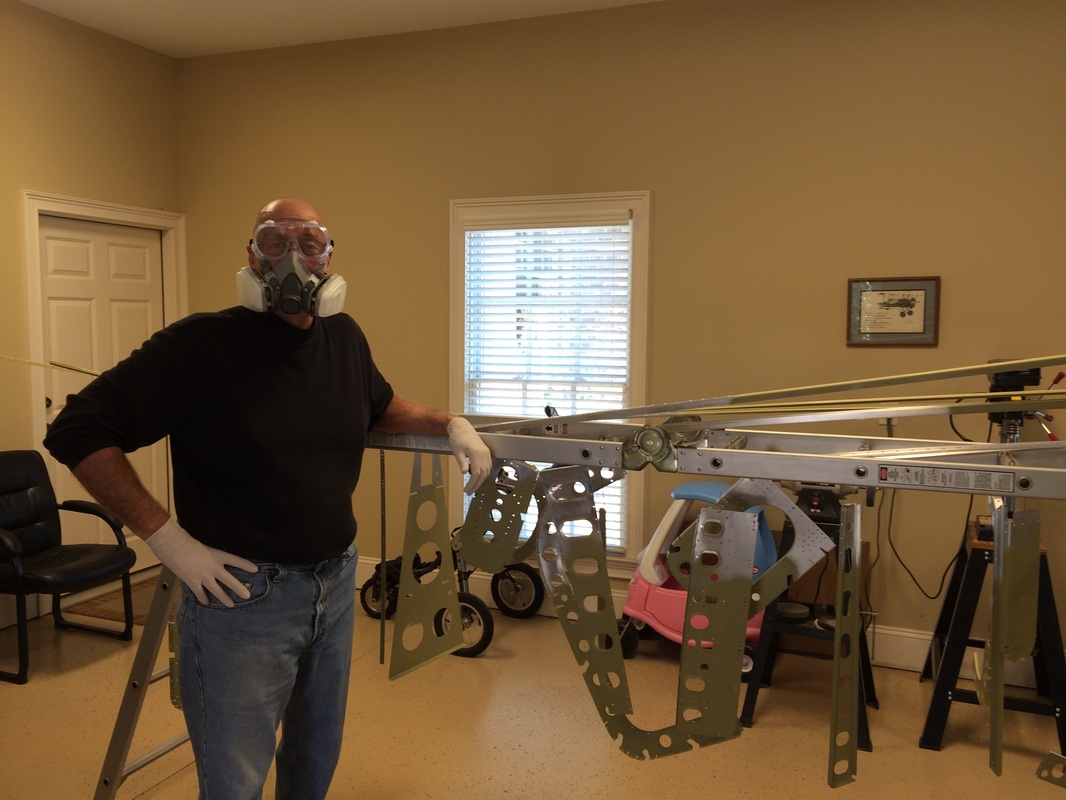
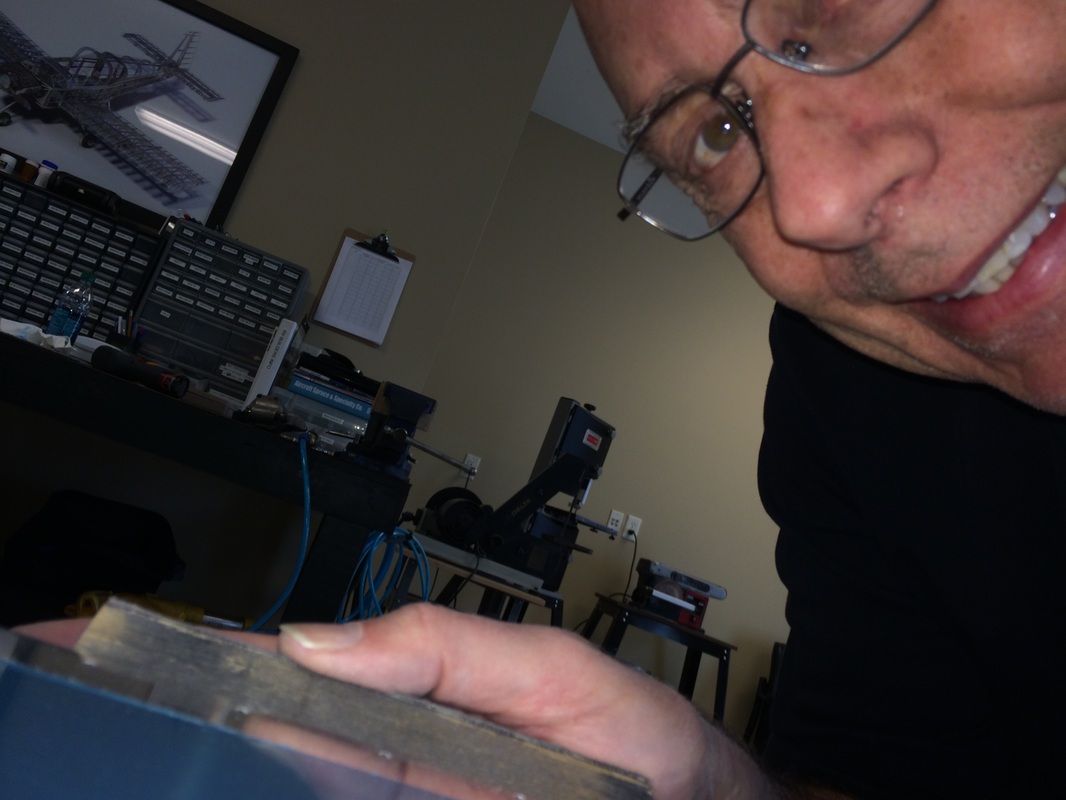
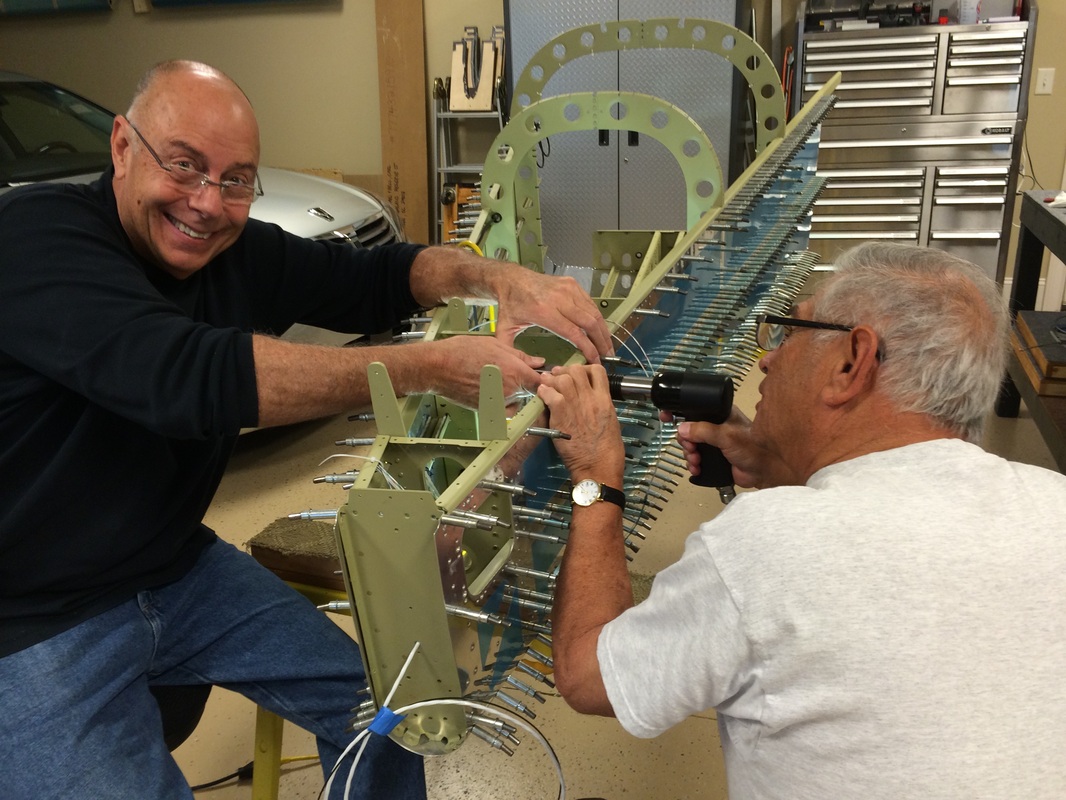
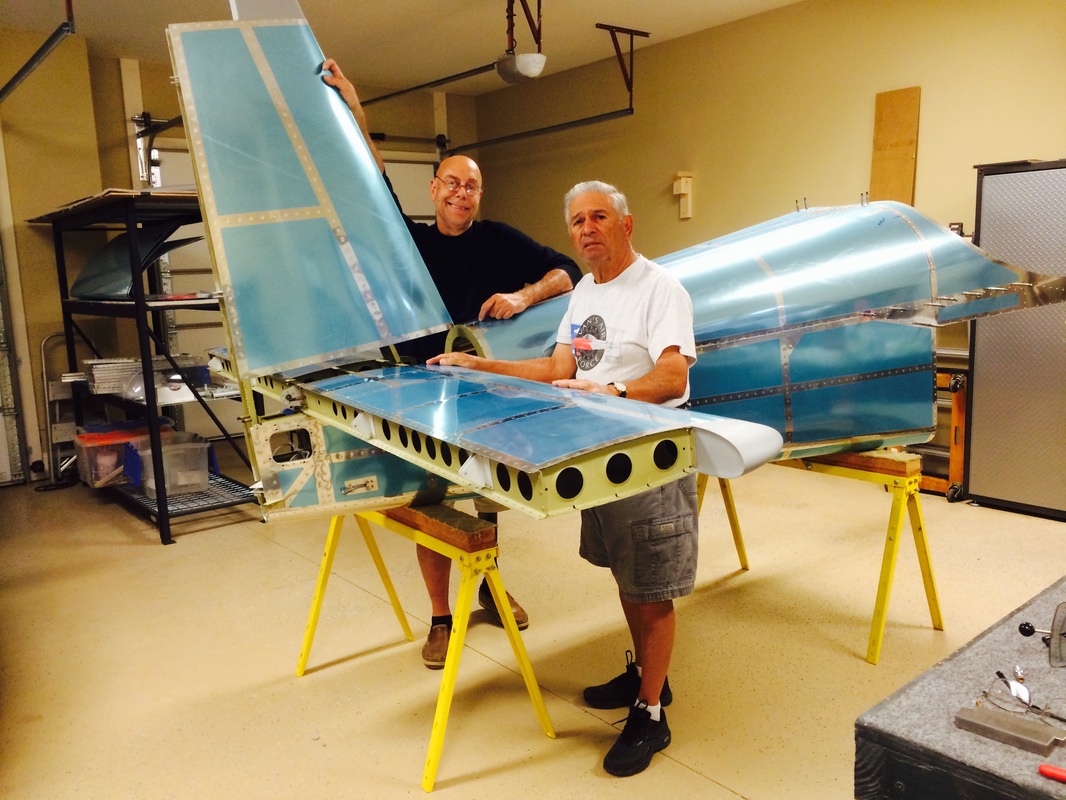
Only aliens look like this and build multiple RV's
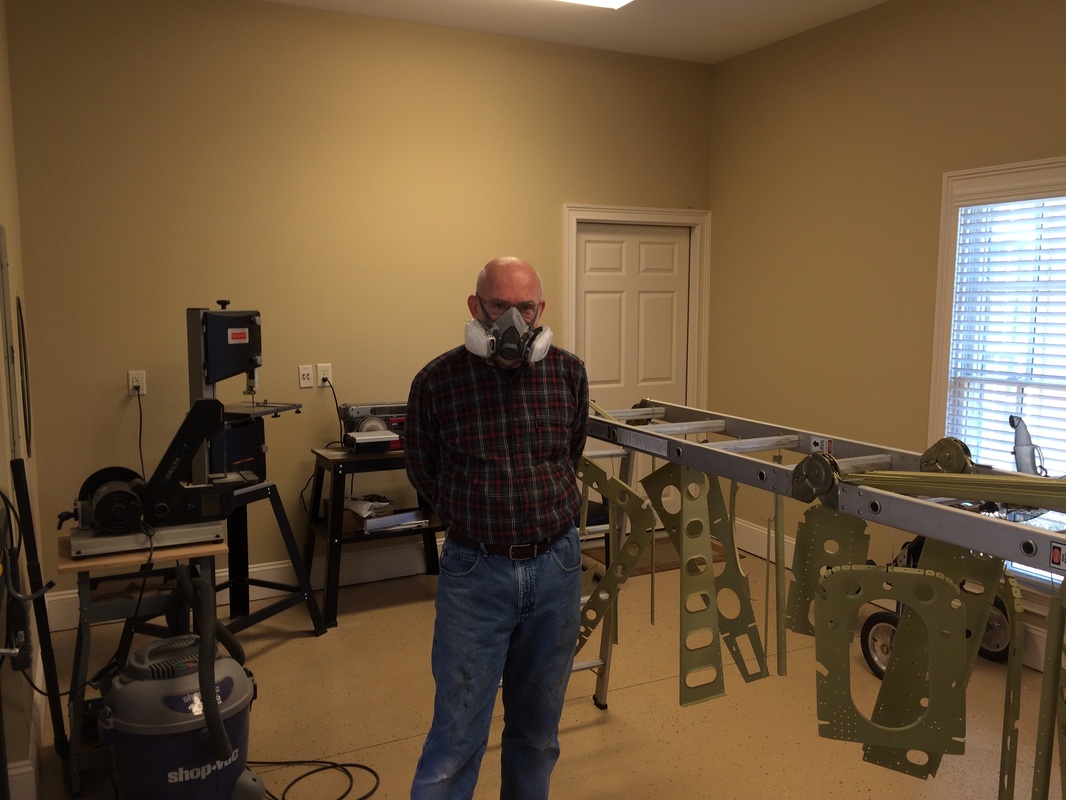
Rafael went to Florida to play golf for a week and Robin was kind enough to fill in and help me with the priming. We use the out door method, sounds crude, but works great. Robin runs and gets me apart, I spray half and he hangs it up to dry and gets me another one. After 20 minutes the parts and dry and we paint the other half. This way I can hold and turn the part to get good coverage with little fuss and never touch wet paint. I use a good spay respirator and by spraying outdoors with a little breeze the overspray drys quickly and immediately dissipates.
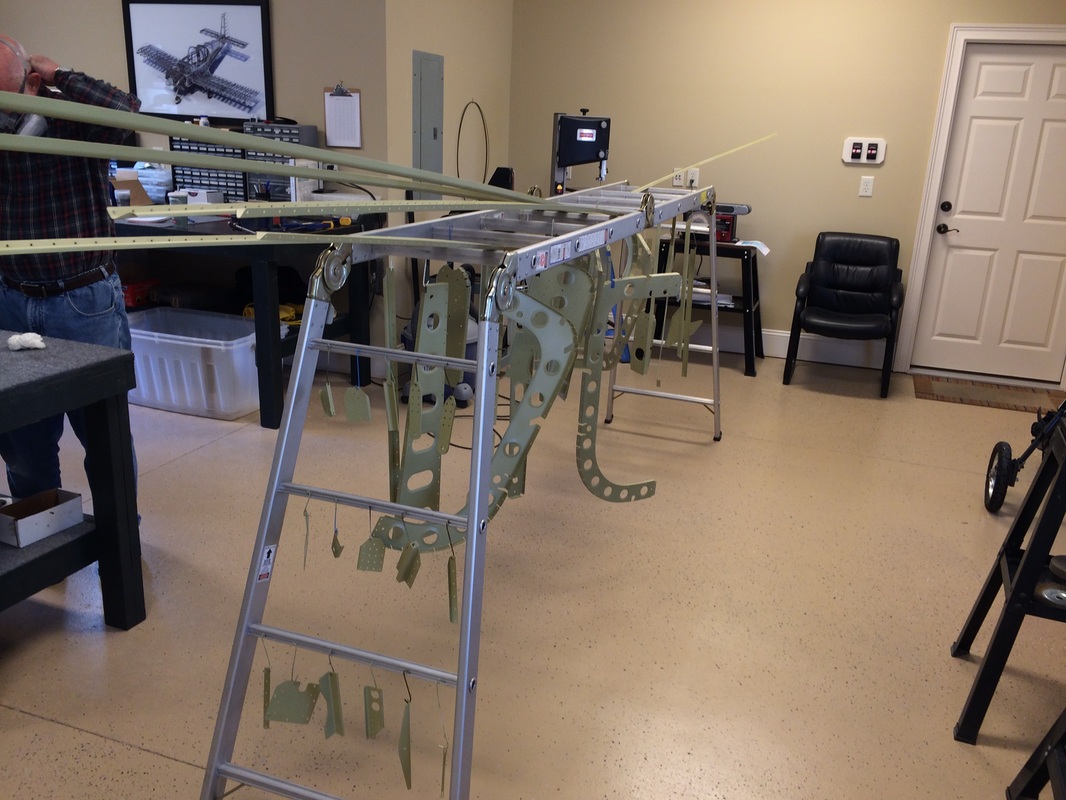
Laundry out to dry
AKZO green is my favorite color, the 2 part primer is tough as nails

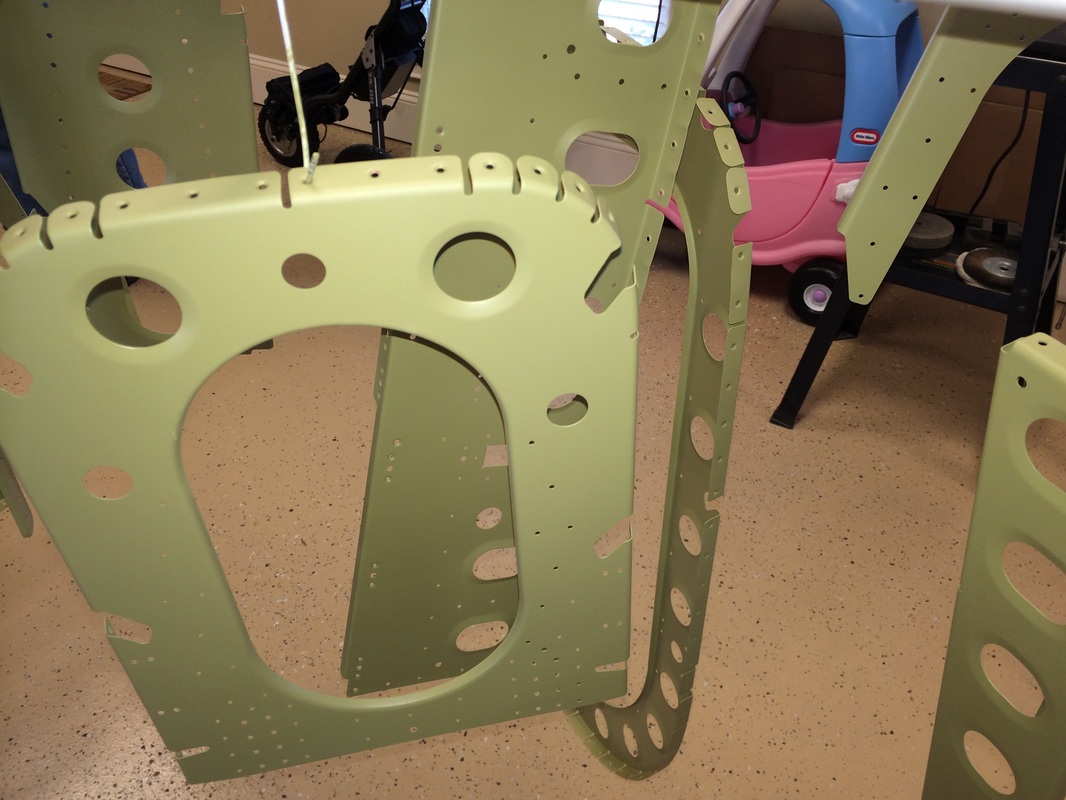
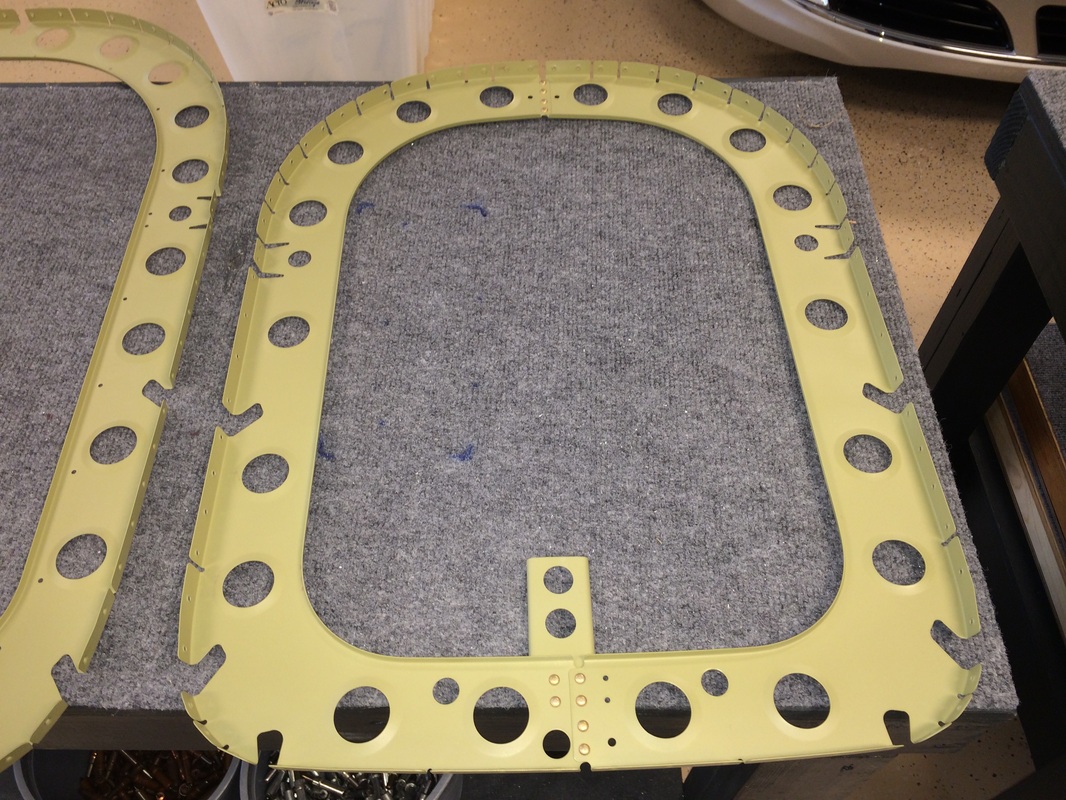
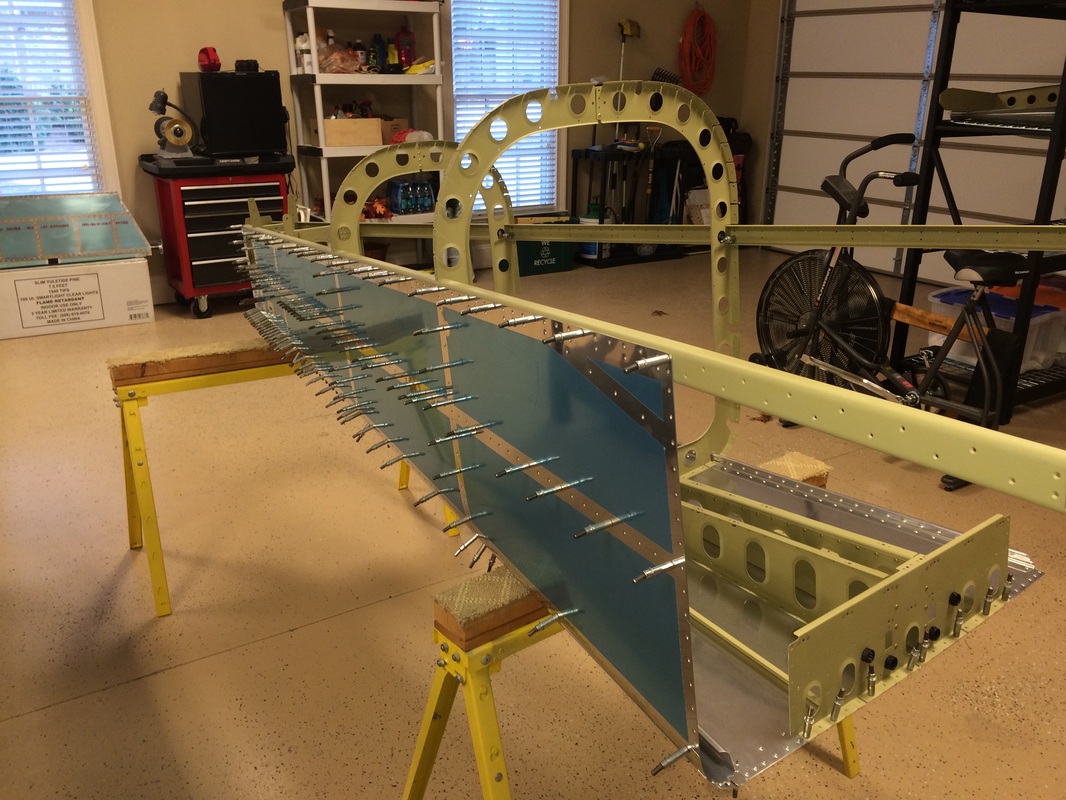
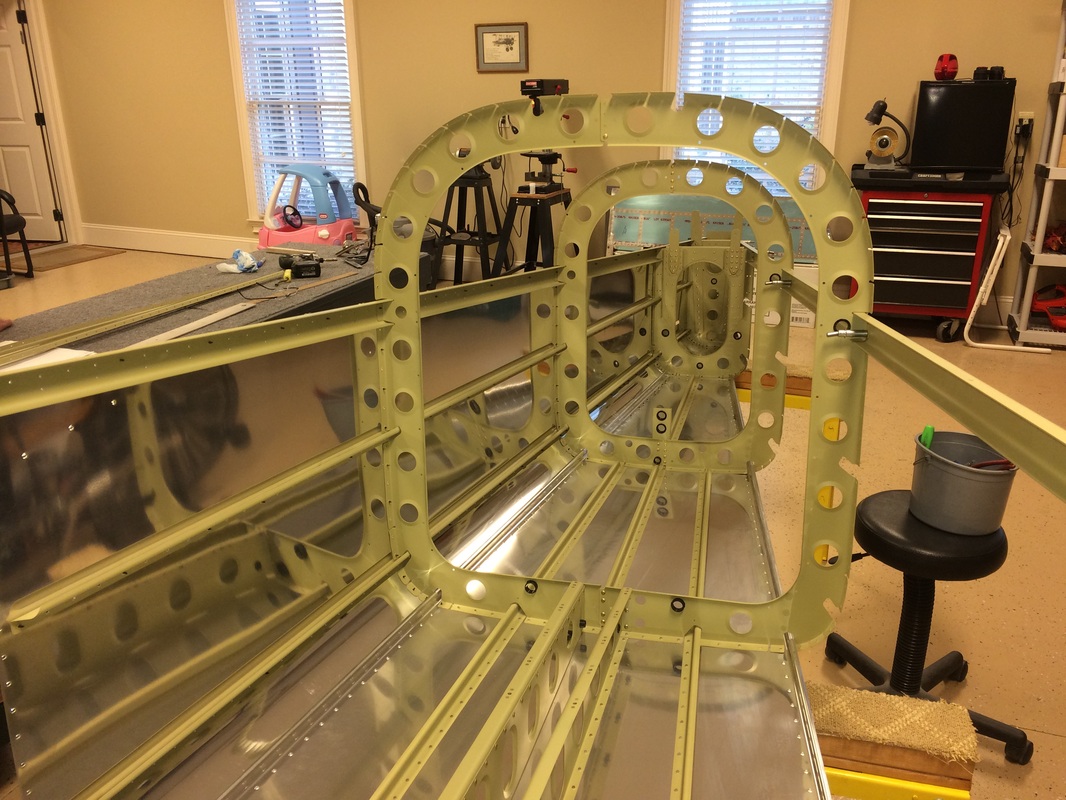
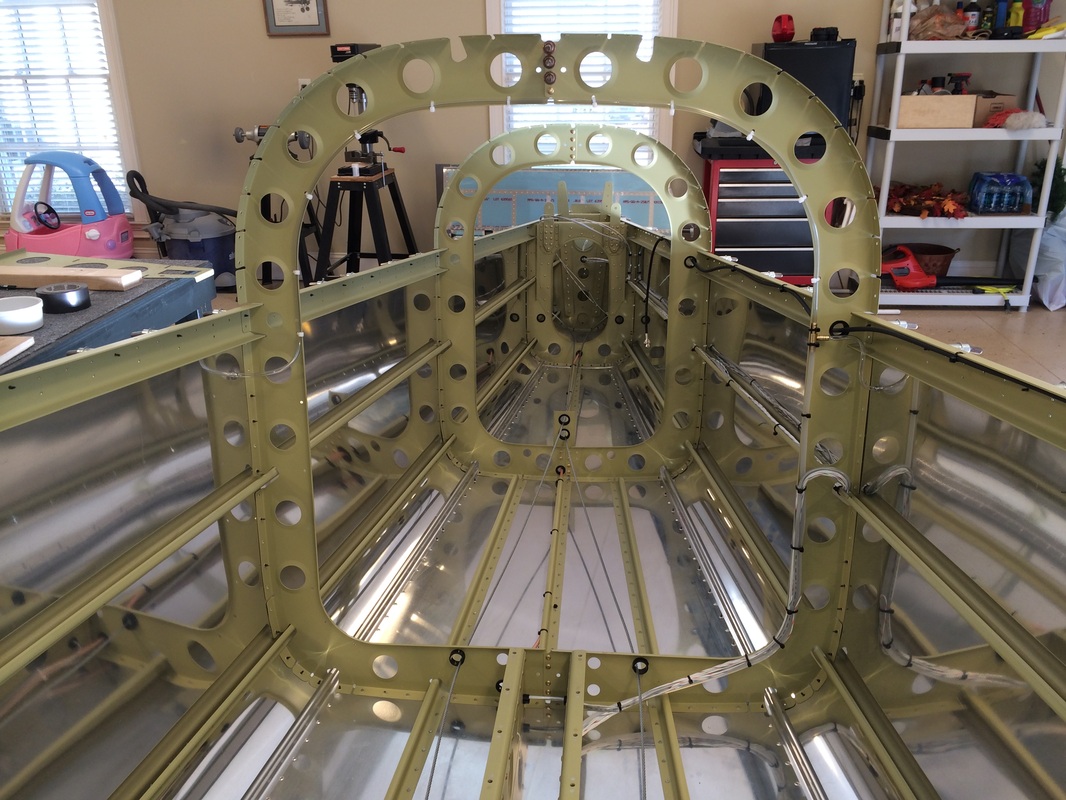
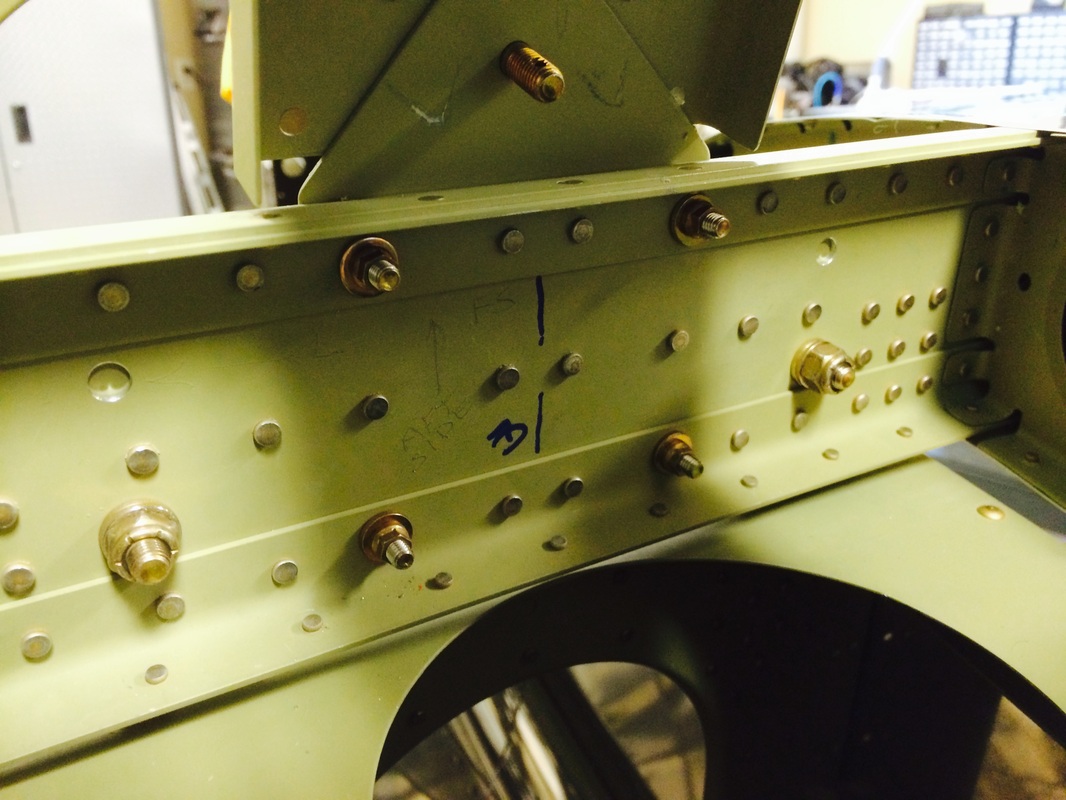
This is the most aft bulkhead that picks up the vertical stabilizer and the rear tie down ring
Here you can see the tie down ring attach fitting

Stabilizer attachment fittings
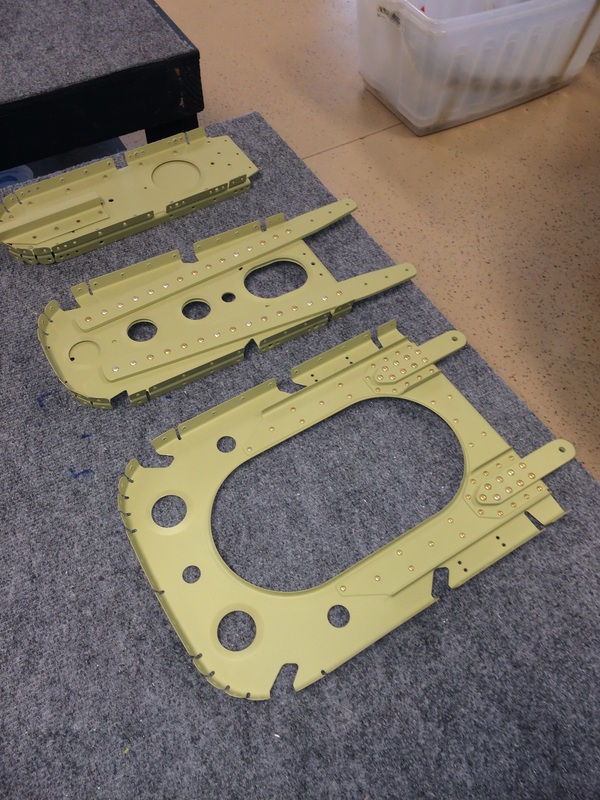
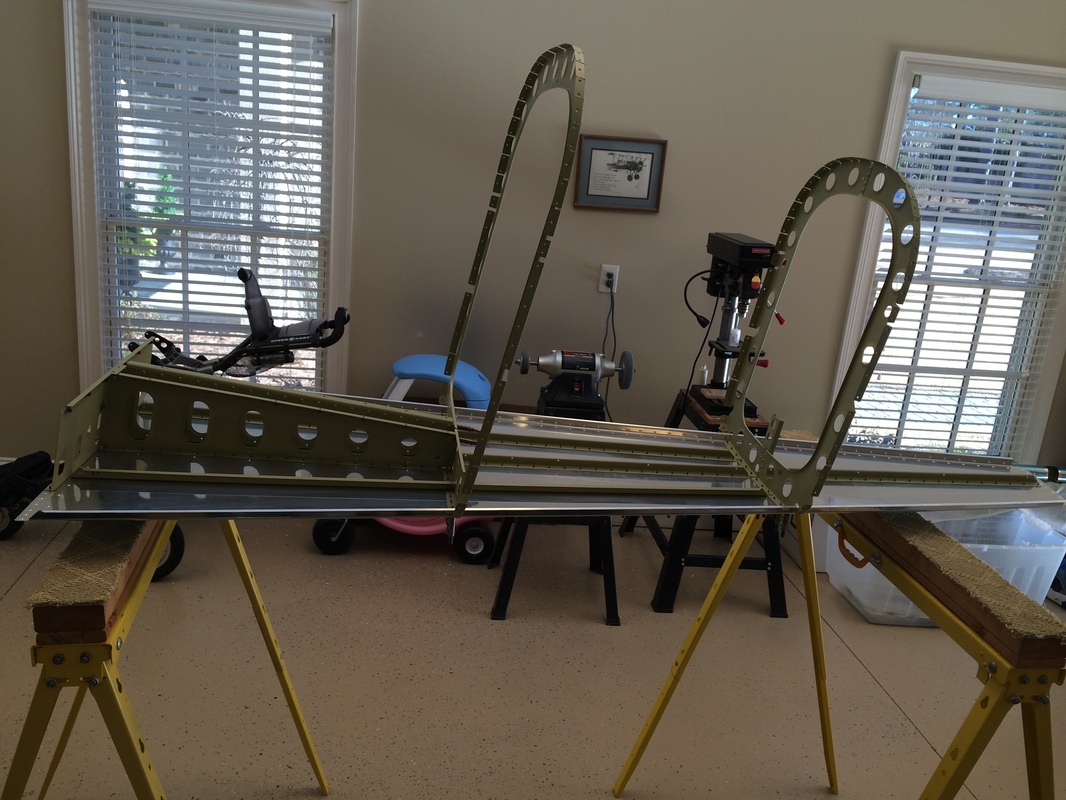
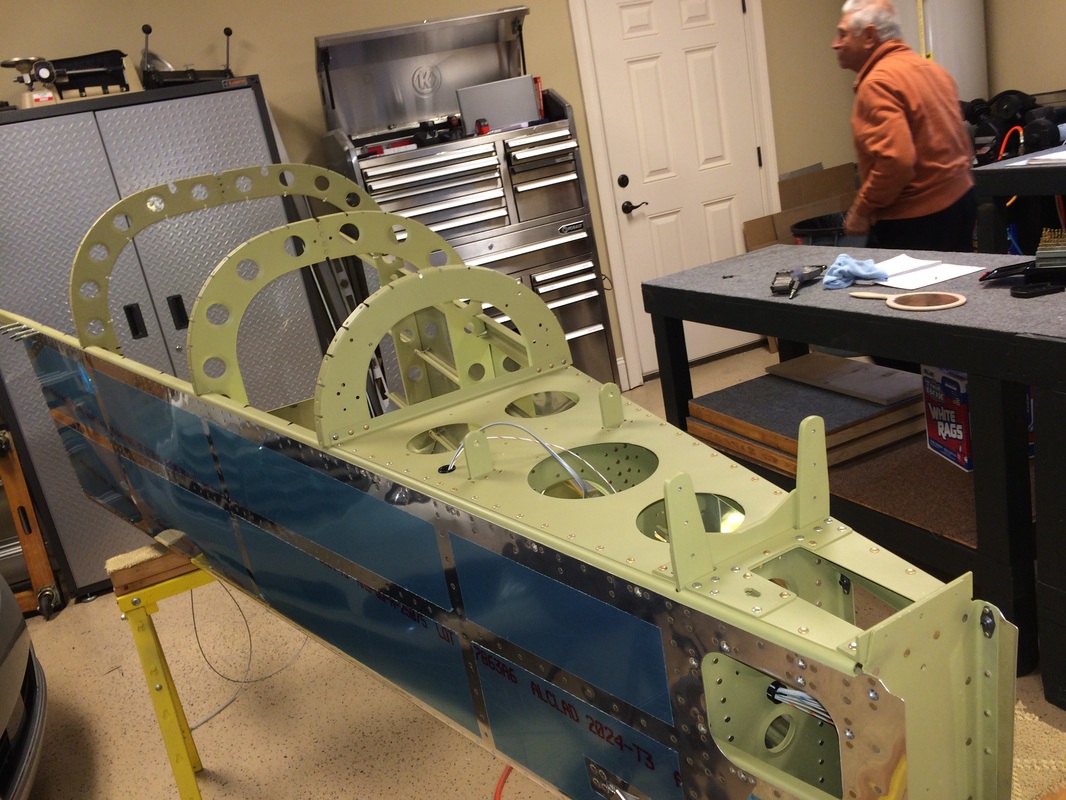
The largest bulkhead is where the front spar of the stabilizer attaches
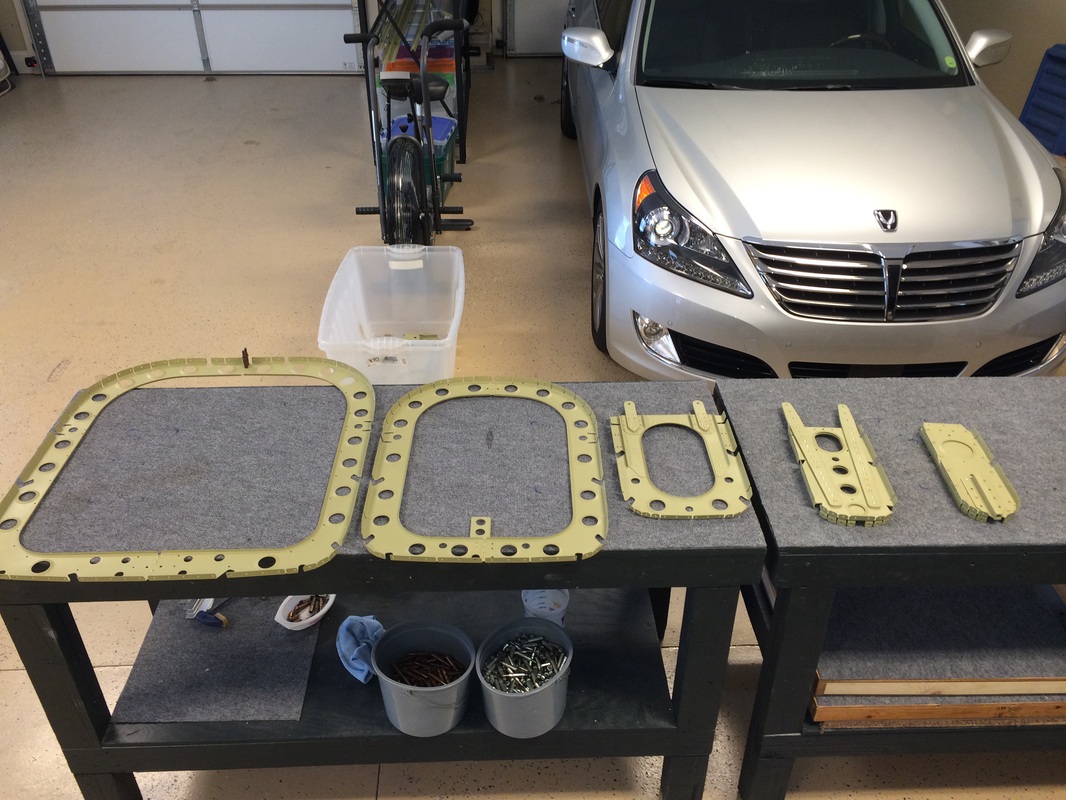
5 bulkheads, a few stringers, longhorns and the skin is all you need for the rear fuselage
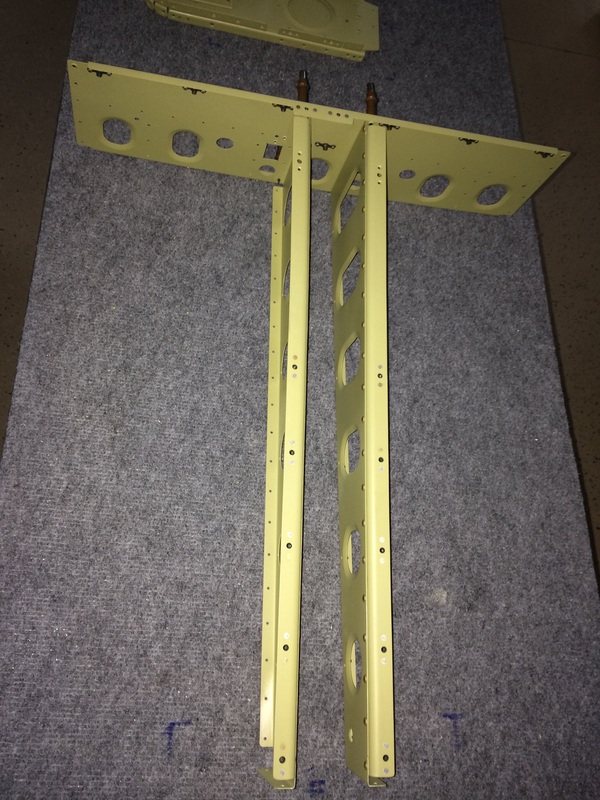
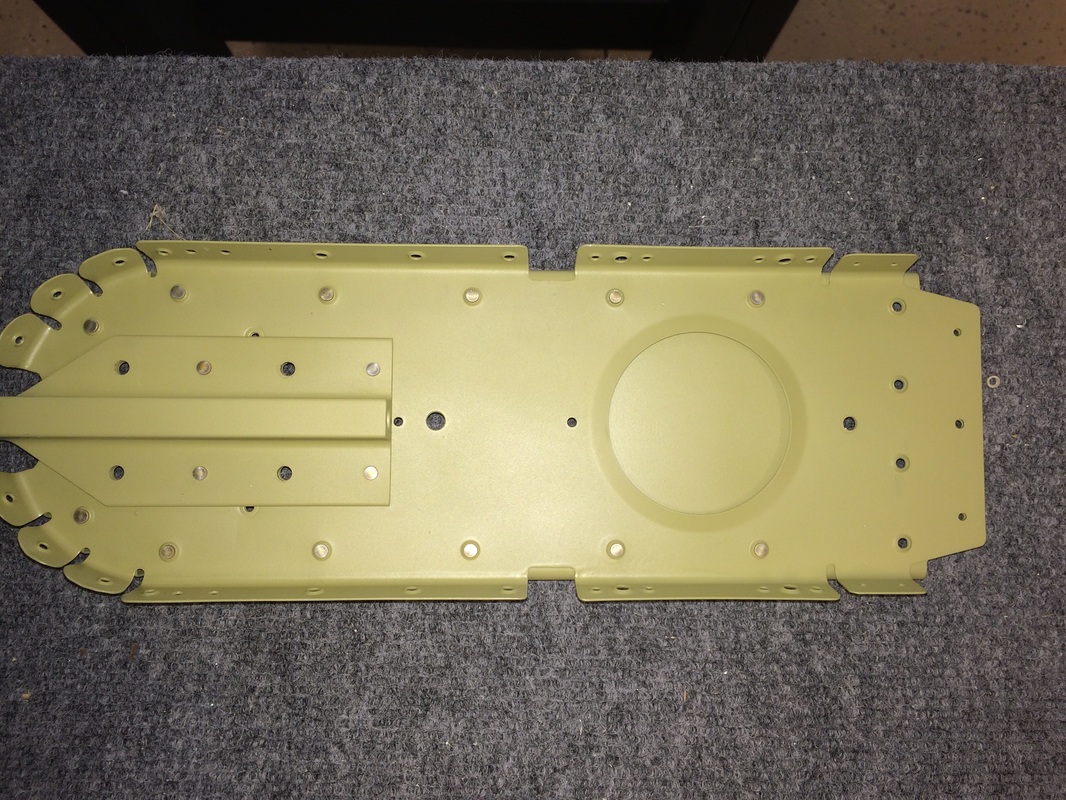
This is the bell crank and battery mount that sits in the lower rear fuselage
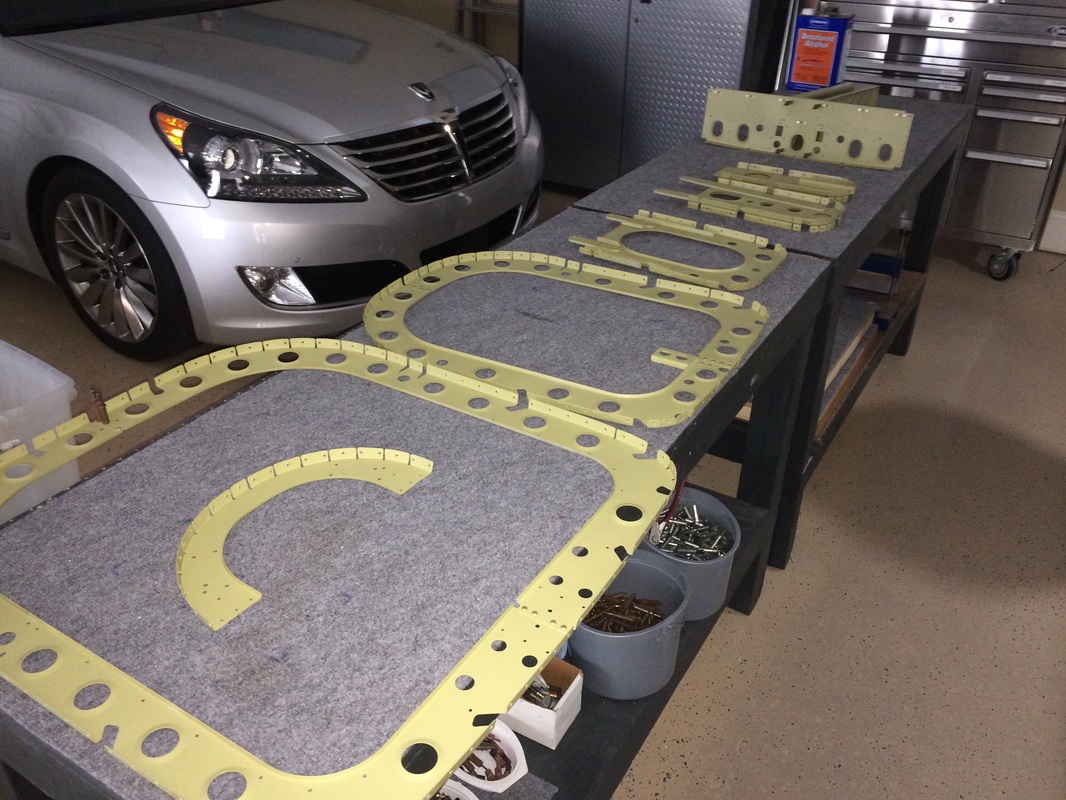
Next step is dimpling the skins an then we can rivet up the entire assembly
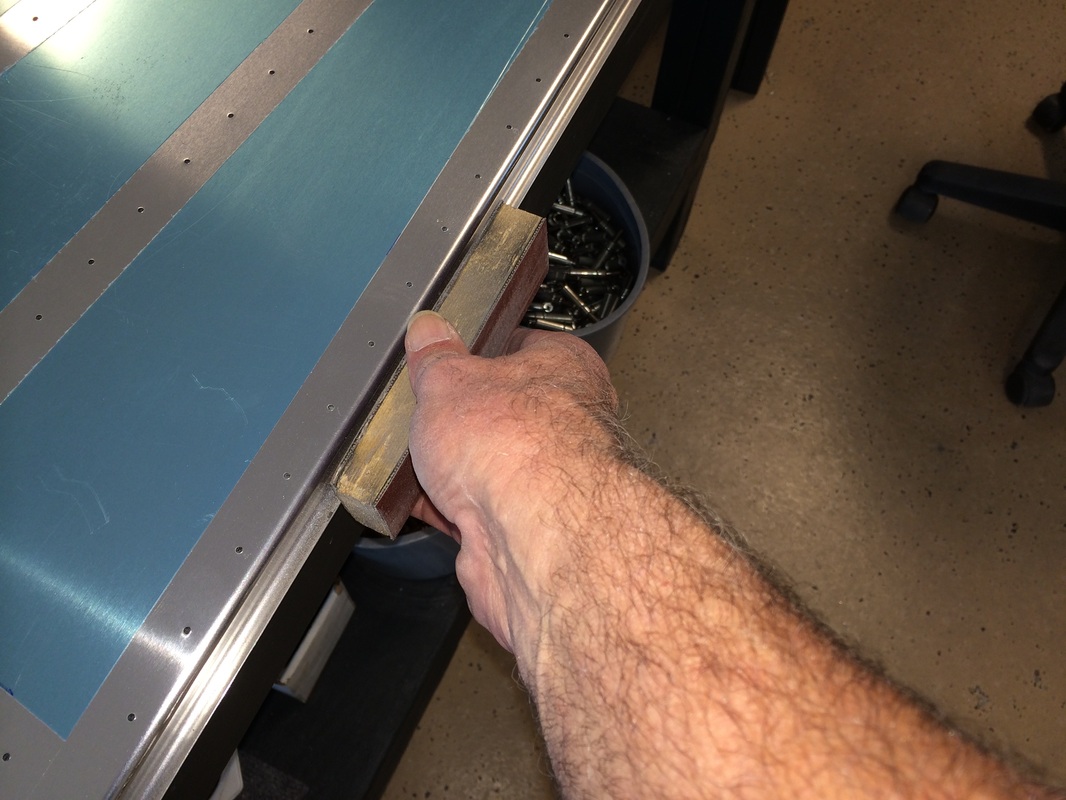
Every builder has the own tricks for finishing edges, I like a piece of 180 to 240 grit emery glued to a wooded sanding block. I use a piece of baffle rubber glued on first, to make is a little softer. Try is you will like it.
More edge finishing on the rear tail cone skin sheets
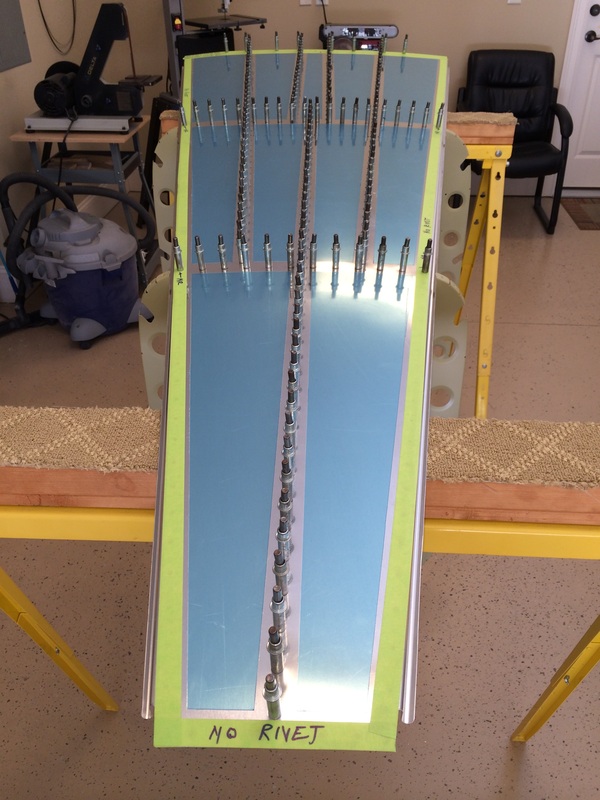
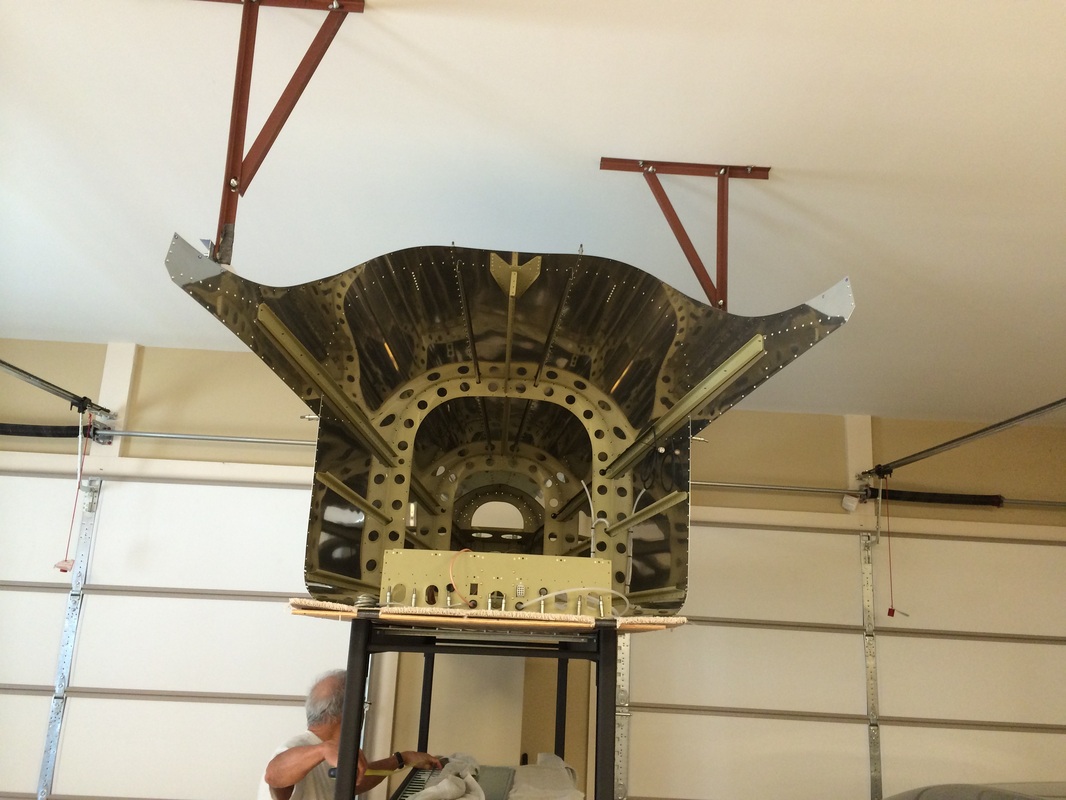
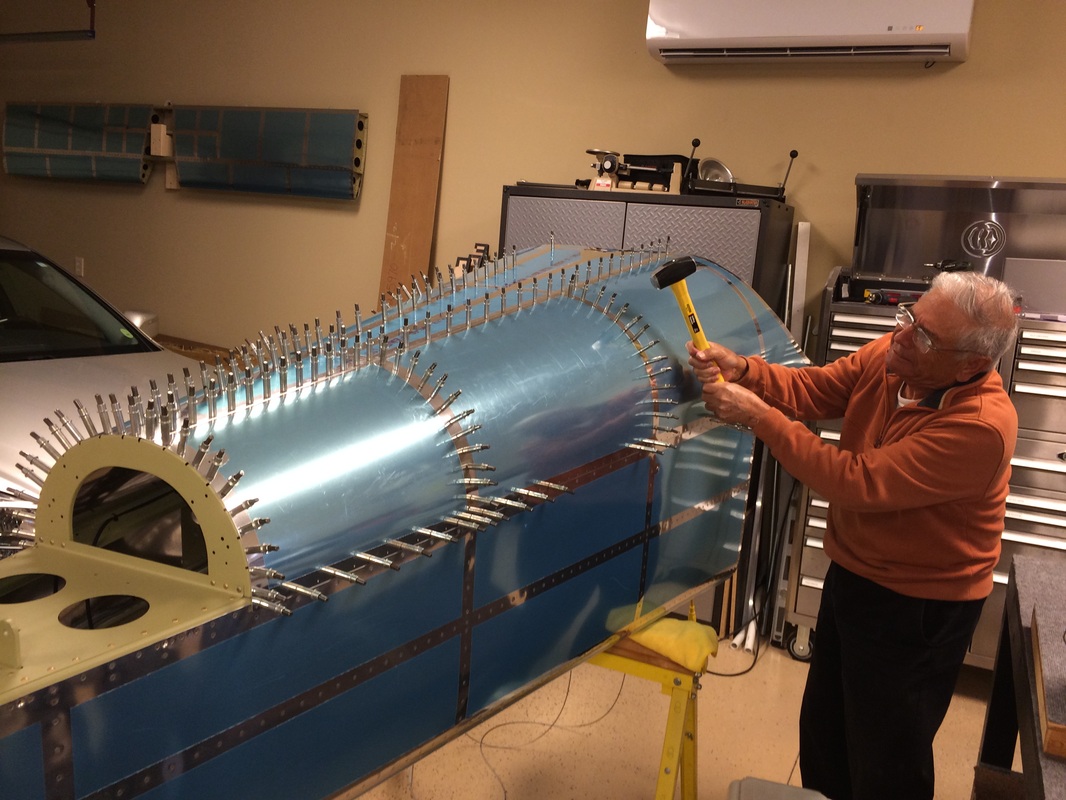
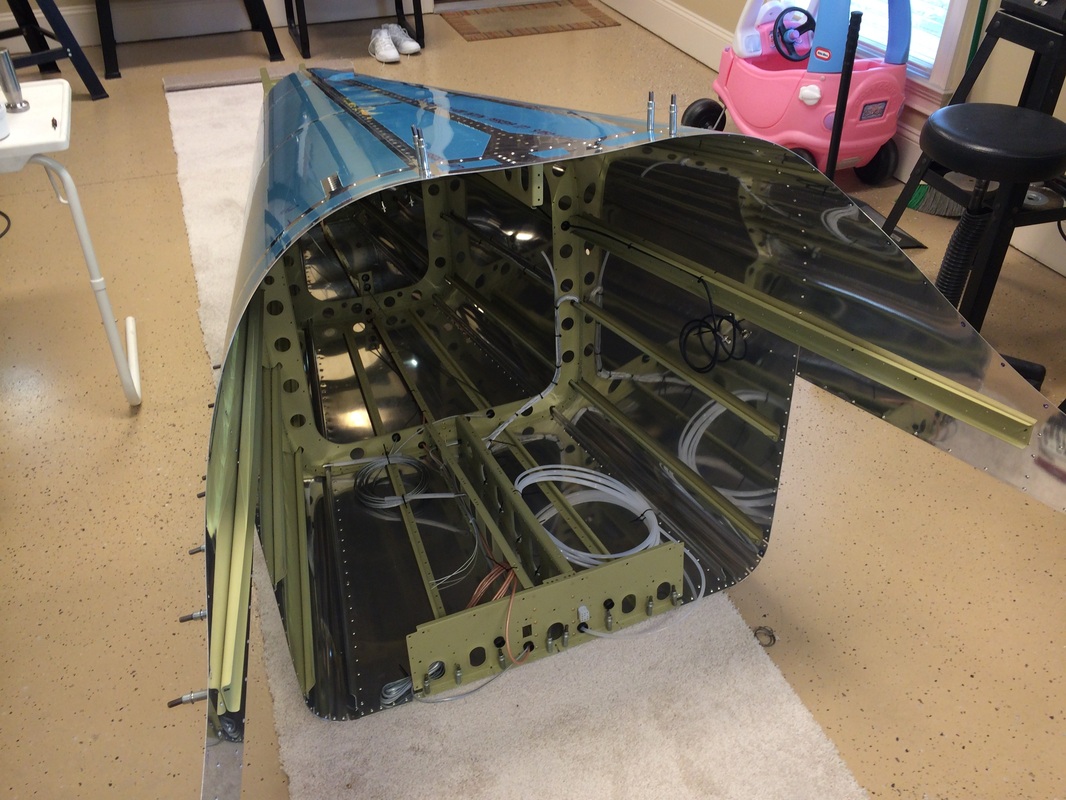
This is the point when you start building up the tail cone after making all the parts. We are back riveting this for the most part. Back riveting does less material moving versus normal riveting with a flush rivet set.

Checking all the piece fit before committing to the rivets

I position upside down for back riveting
Rafael preparing the top skins of the tail cone.
Fitting the side skins in preparation for riveting, take your time here and get the bottom overlap to fit with cleco's because the rivets may not bring them in flat. Don't forget to break the edges slightly with an edge rolling tool, but do not over do it.
Bottom and the right side all back riveted except for a few rivets in the tail cone
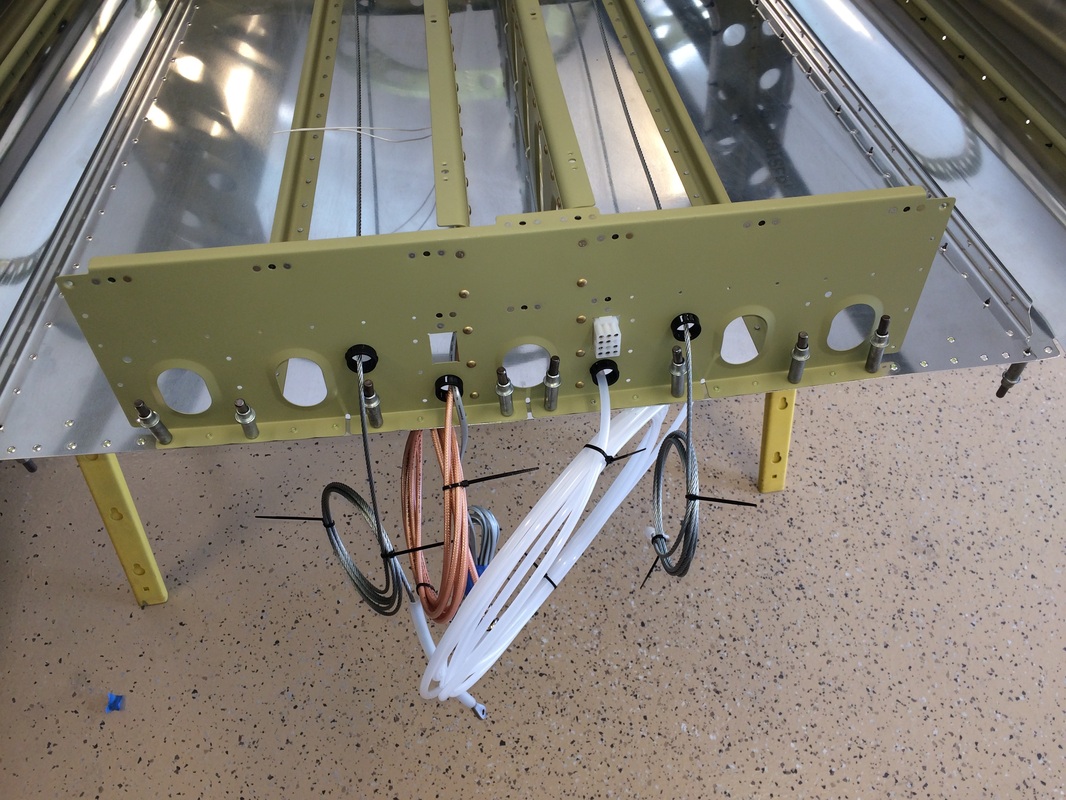
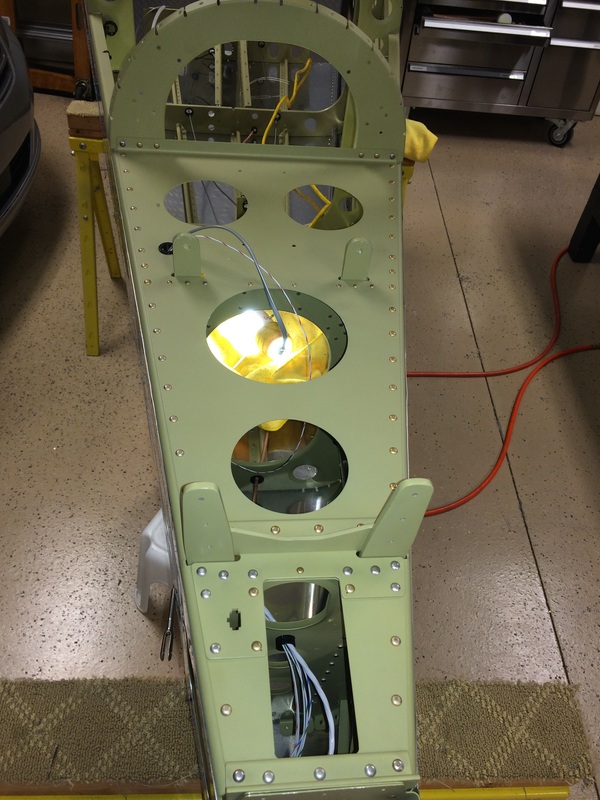
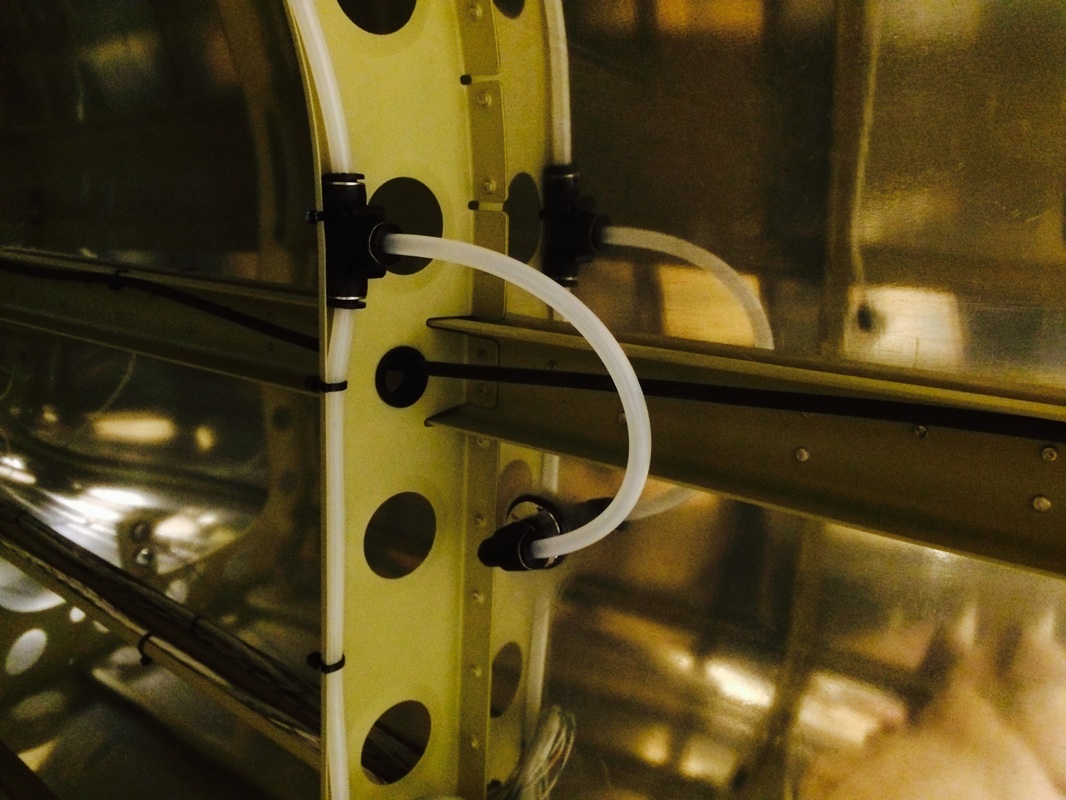
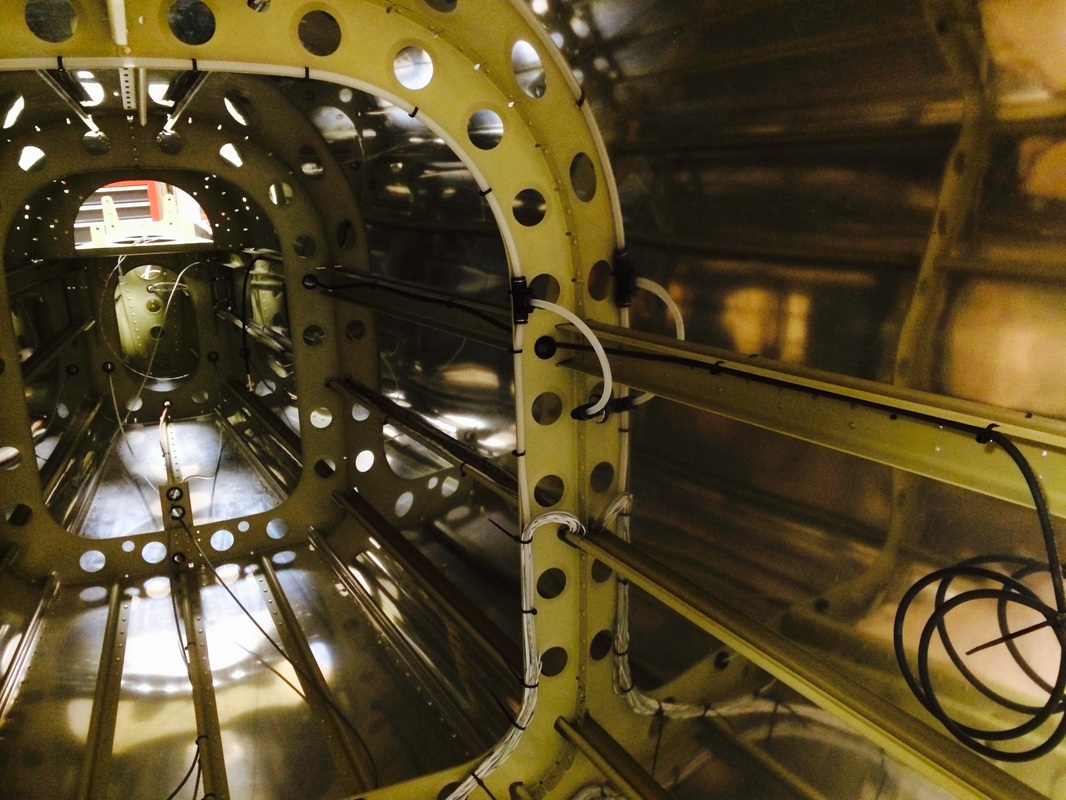
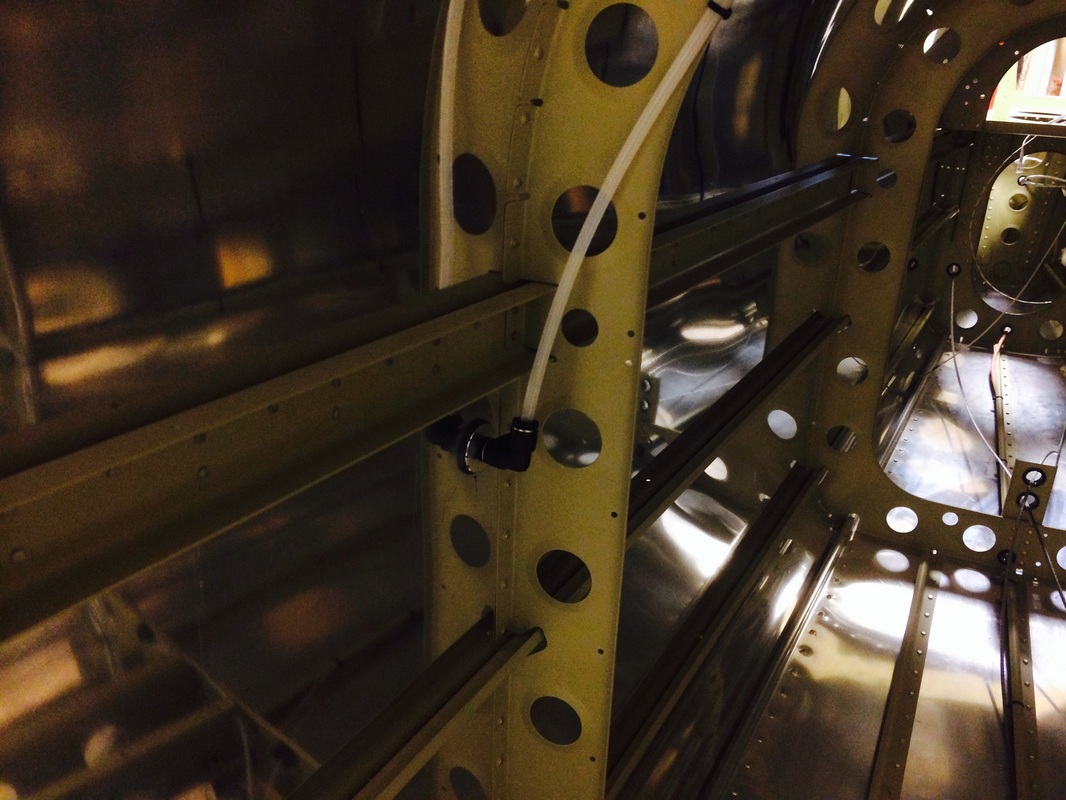
This is the wiring and cables put into place so we don't have to crawl bak the later
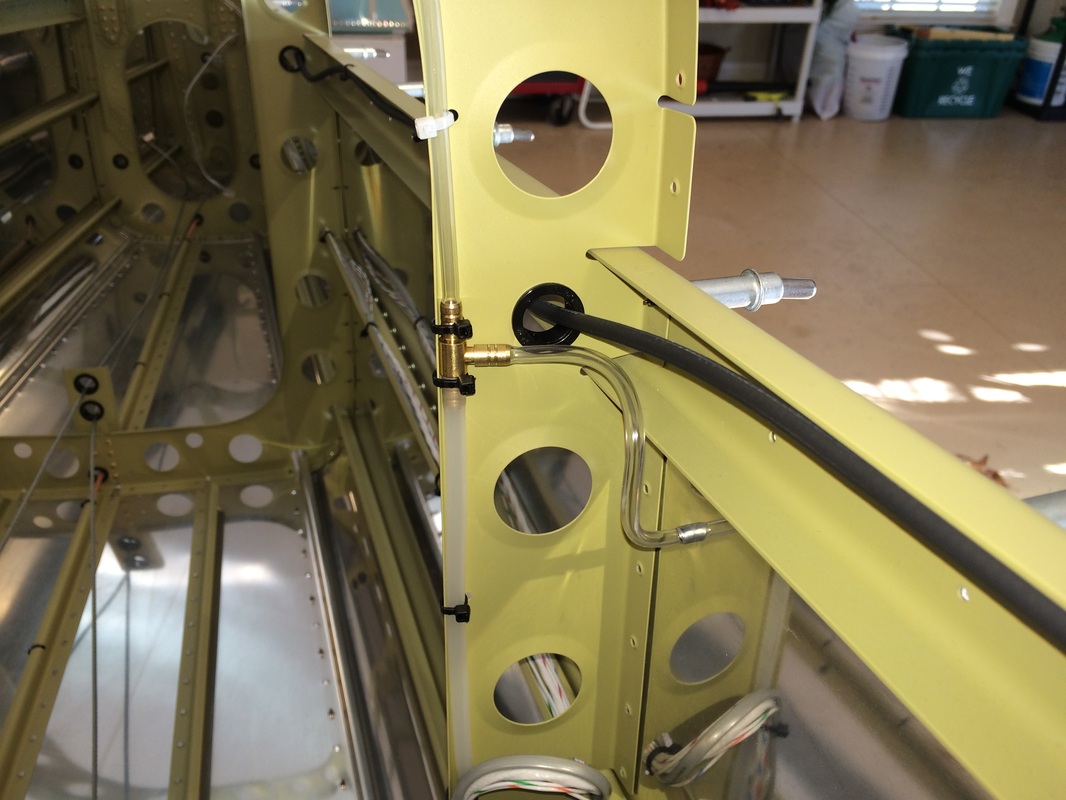
We change out the "T" fitting after breaking the plastic one. This brass unit seemed a little more professional but I still am not enamored with the "pop" rivet static inlets for IFR work, I think we are going to spend the $35 and buy the Cleveland Tool static air kit and get rid of the aquarium tubing and pop rivets. I'm not saying they are bad, but I think the Cleveland system is better and the push and lock fittings have not failed me in the RV 7. I like the positive lock on fittings and standard pitot tubing. It's just personal and Rafael is good with the change so I order the kit today.
Note: We removed Vans static pop rivet system and installed the Cleveland Tool kit. It is show further down on this page.
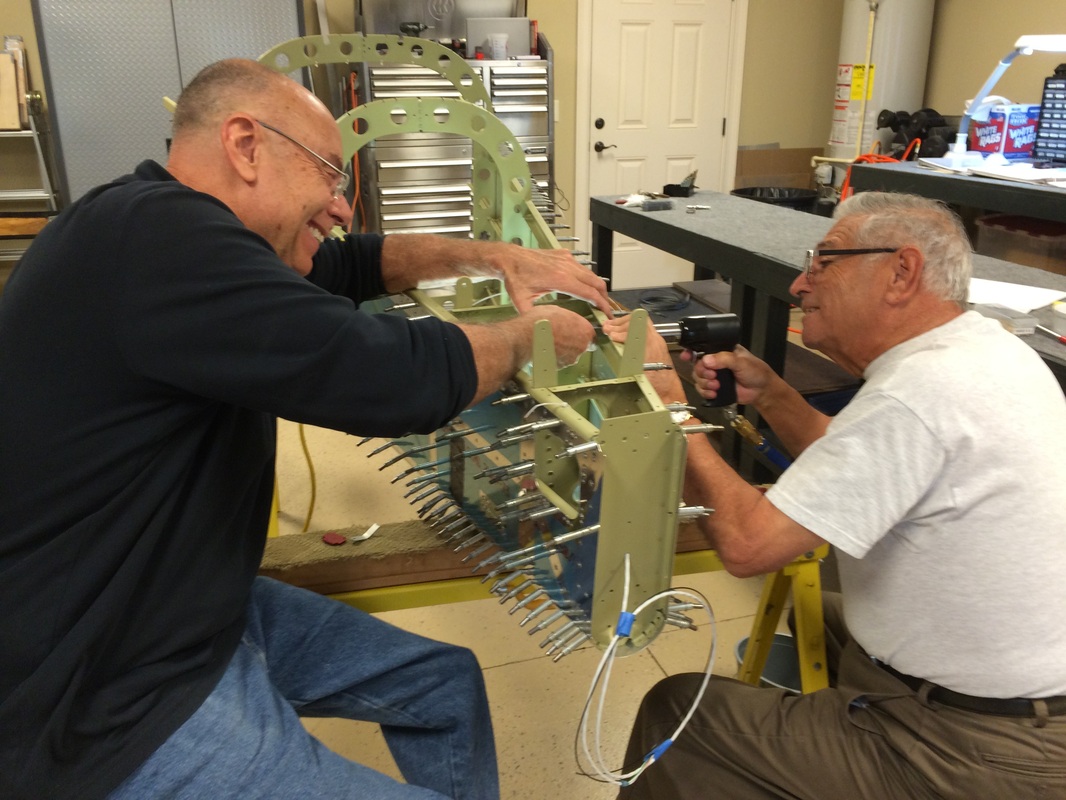
Here we are using standard riveting because we can't fit the gun with a back rivet set in between the fuselage bays. The next bay we switched over.
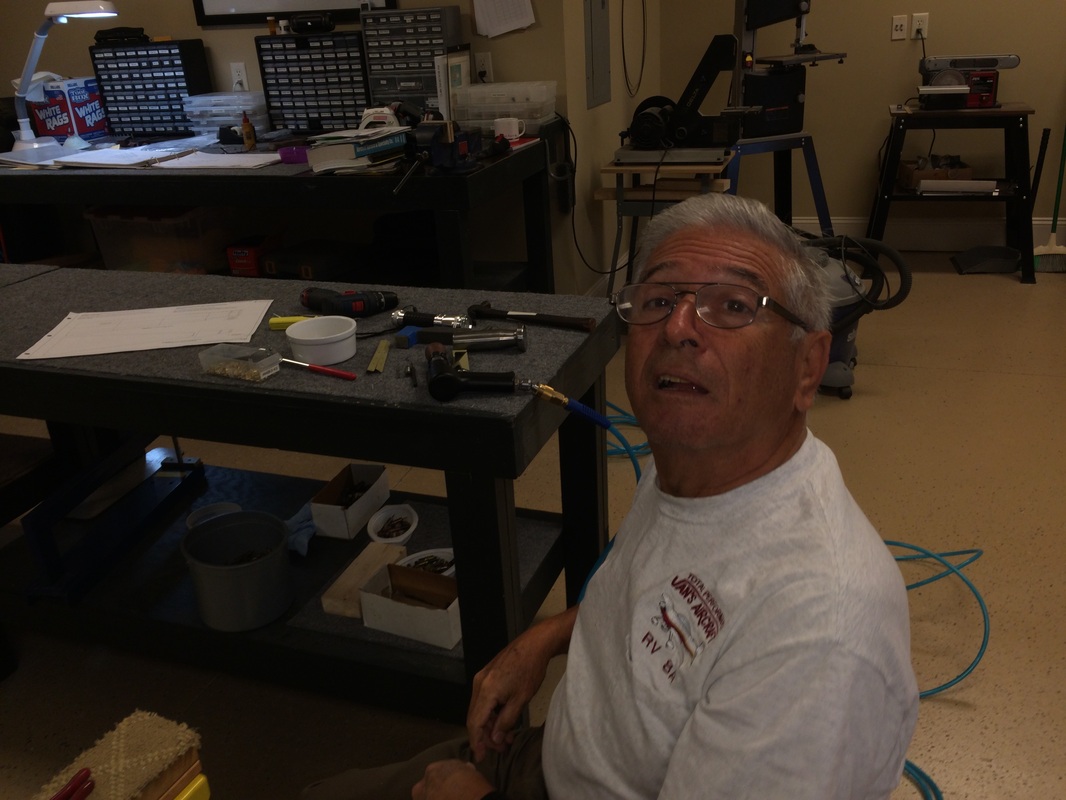
Rafael wondering where he is ;-)
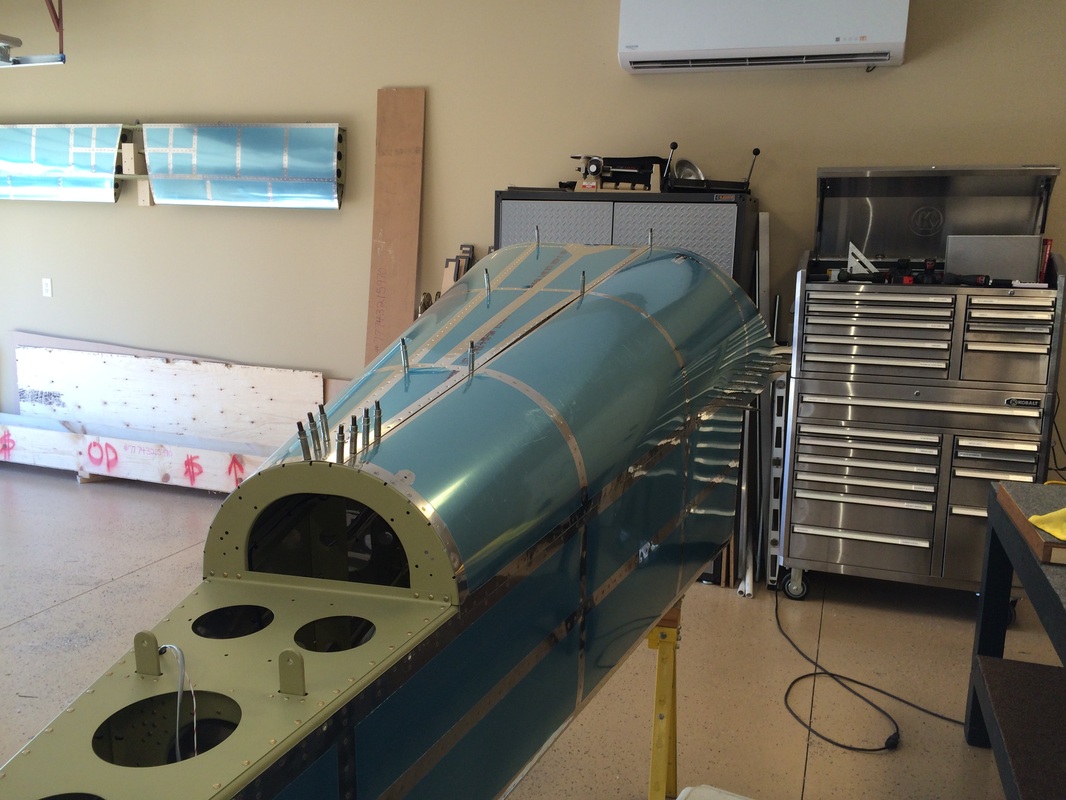
Now it is finally starting to look like a tail cone. We are getting anxious to get going on the wing kit and are pushing to get er done
More riveting, just think, only 18000 rivets to go!
There are some tough, long 1/8" rivets in the stab deck. We ordered a long rivet set to get the rivets next to the stab attach bars.
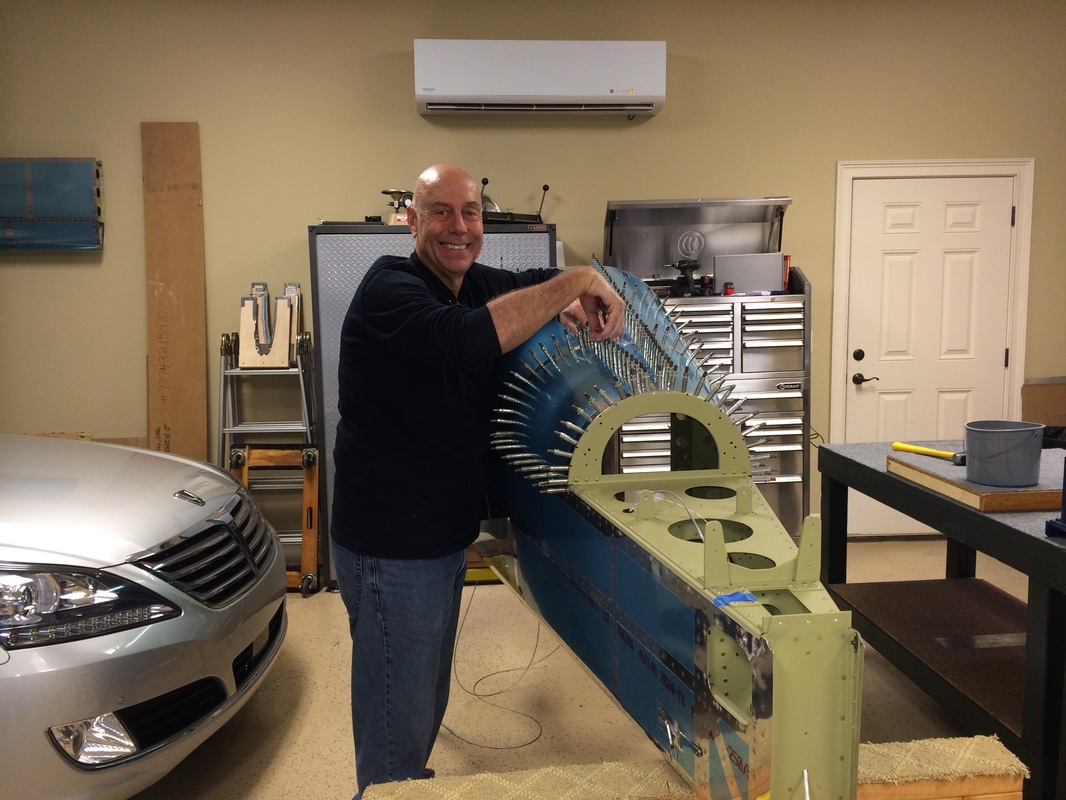
First skin riveted, the tail cone is stout!
Fitting the turtle deck skins, We cleco every hole to see if it will lay flat and if not, take it apart and make the necessary adjustments and do it again. Eventually we get it right.
Rafael making some critical close tolerance adjustments with his favorite tool, the manual adjuster.
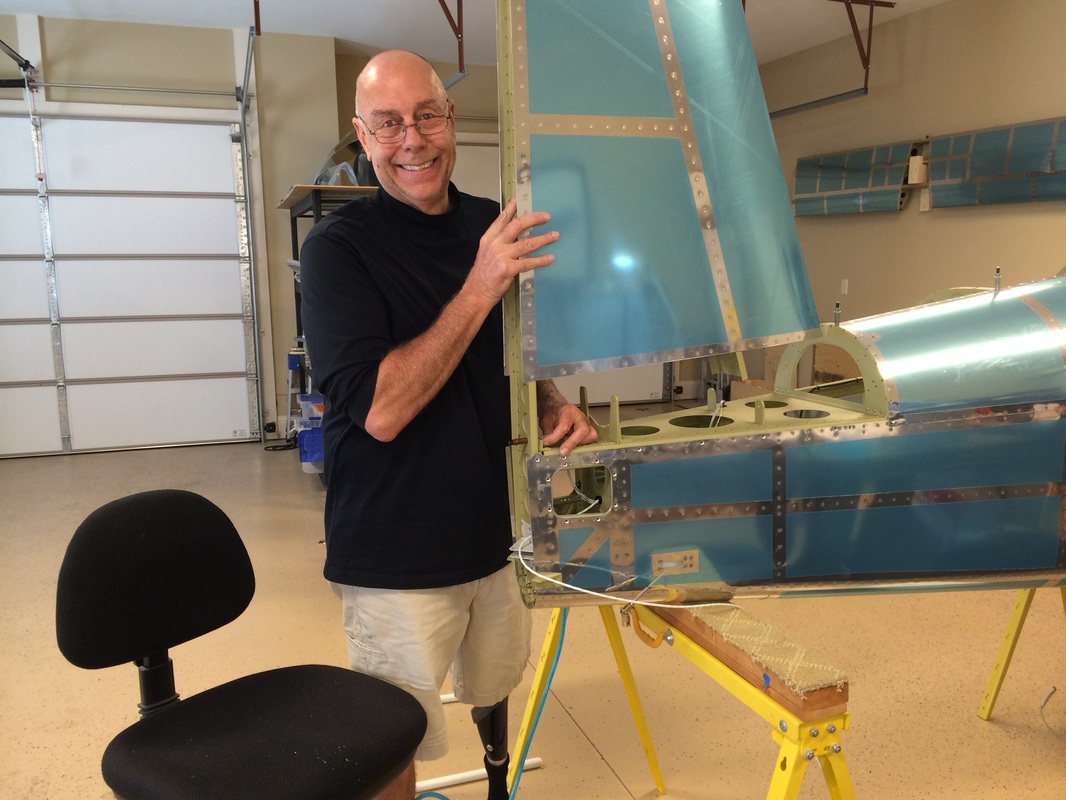
Fitting the vertical stabilizer to the rear most frame and final drilling. It fit well except for interference from the 2 plate nuts that hold the stabilizer fairing in place. We made a few modifications and changed the plate nut to a K1000 vs K1100 and managed to keep the flat head by countersinking the skin and flange. We will also need to shorten the # 6 screws to 3/8"
Looks like a RV 14 tail to me!
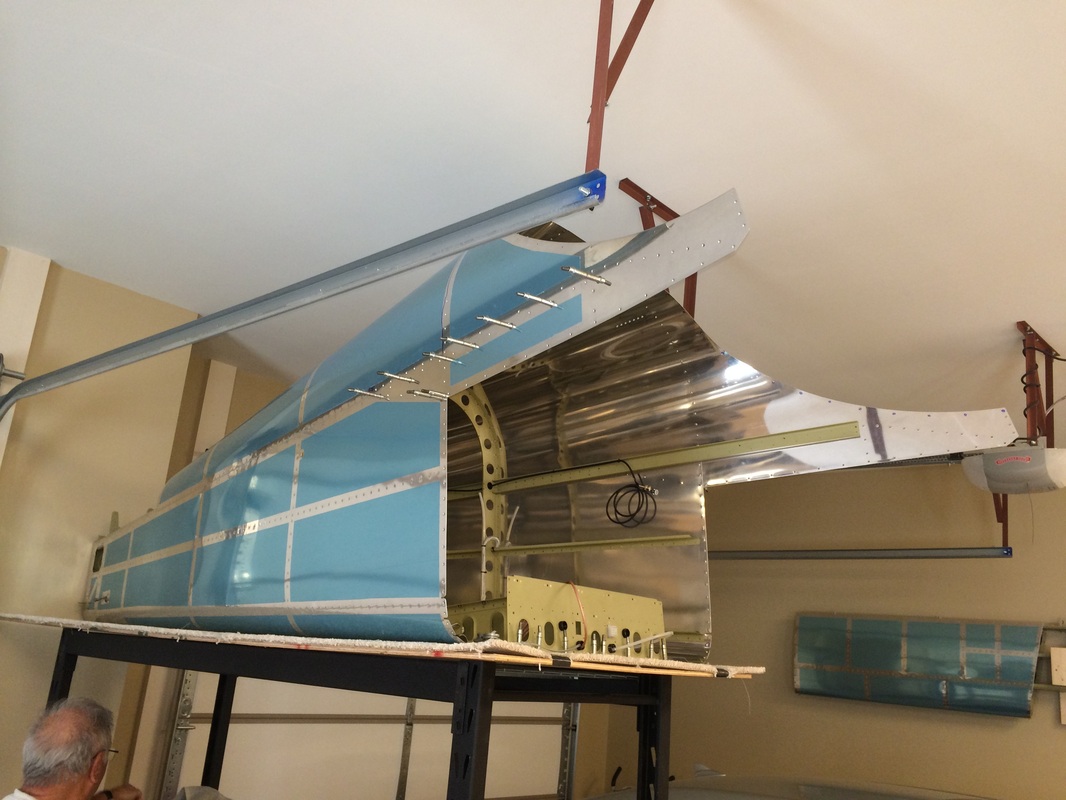
We riveted the two side turtle deck skins today. We back rivet both skins which is a great way to go on skins. It's also good thing that I have orangutan arms, a long reach is needed to accomplish this method.

Tomorrow we will rivet the top and the last of the tailbone skins. Not sure yet how, but we will figure out a way to back rivet, stay tuned.
On the floor with carpeting underneath for back riveting the top skins from the inside
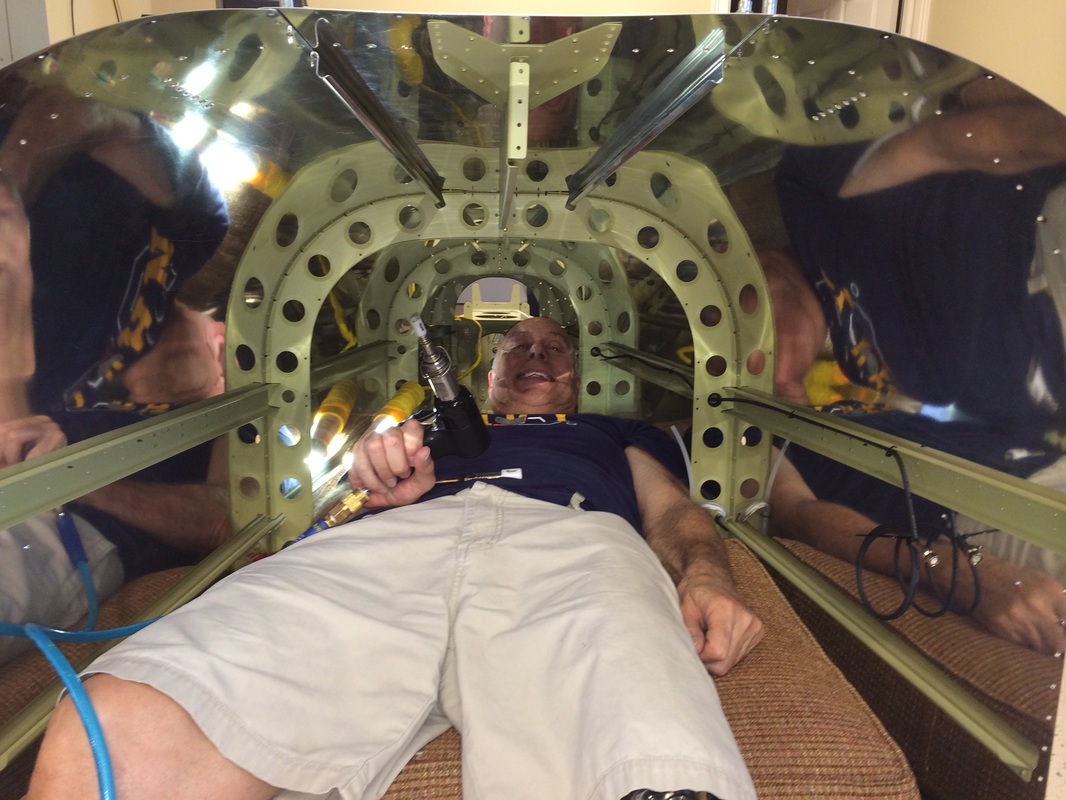
Master back riveter in action. We used Rafael's pillows and couch cushions to distribute weight, this worked out great and was comfortable to boot.
Tail-cone in storage on the top shelf of the parts rack, it just fit and it is out of the way.
This is the front stabilizer and the fin front spar mount to the plane
I just couldn't go for the pop rivet static port. I know they are probably fine, but if we are going to install a $30K panel and can't see not putting in a proper static system for $39. This is the Cleveland Tool static kit, easy to install and solid. I just like it better.
Right side static port installed.
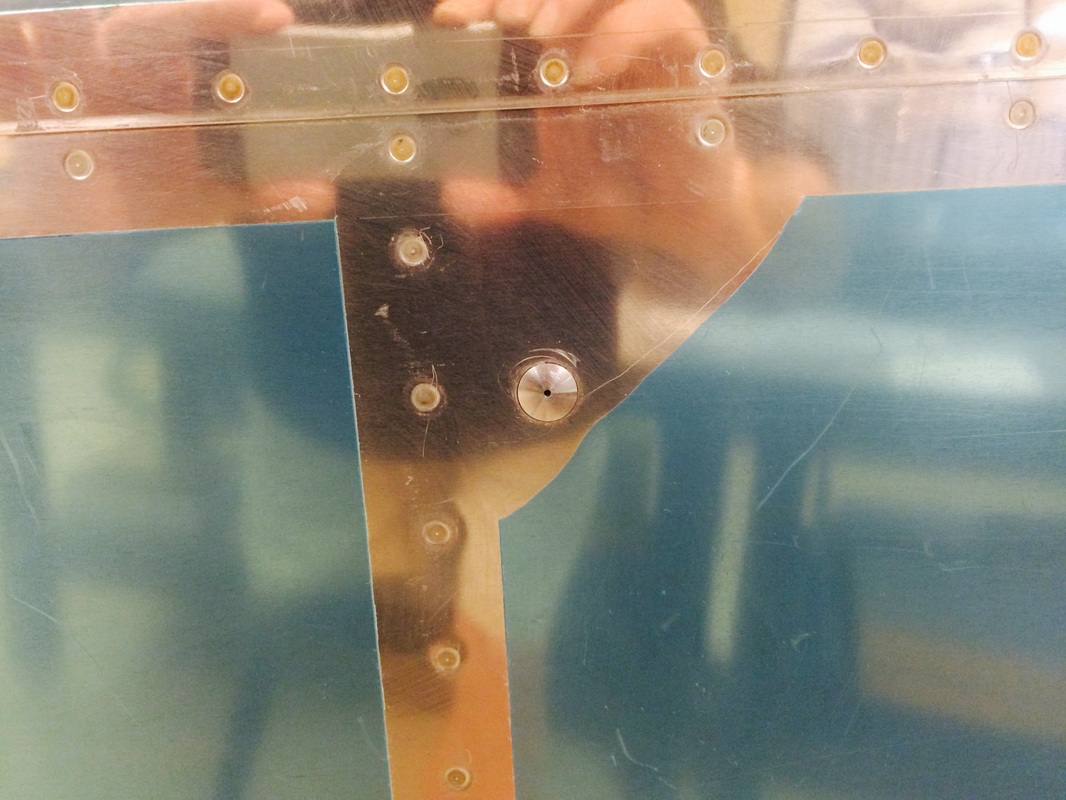
This is what the Cleveland Tool Static port looks like. They do a nice job on the kit and it is only $39 for the complete kit including plumbing, fittings and very nicely machined ports that fit into a 1/2" hole made with a step bit.

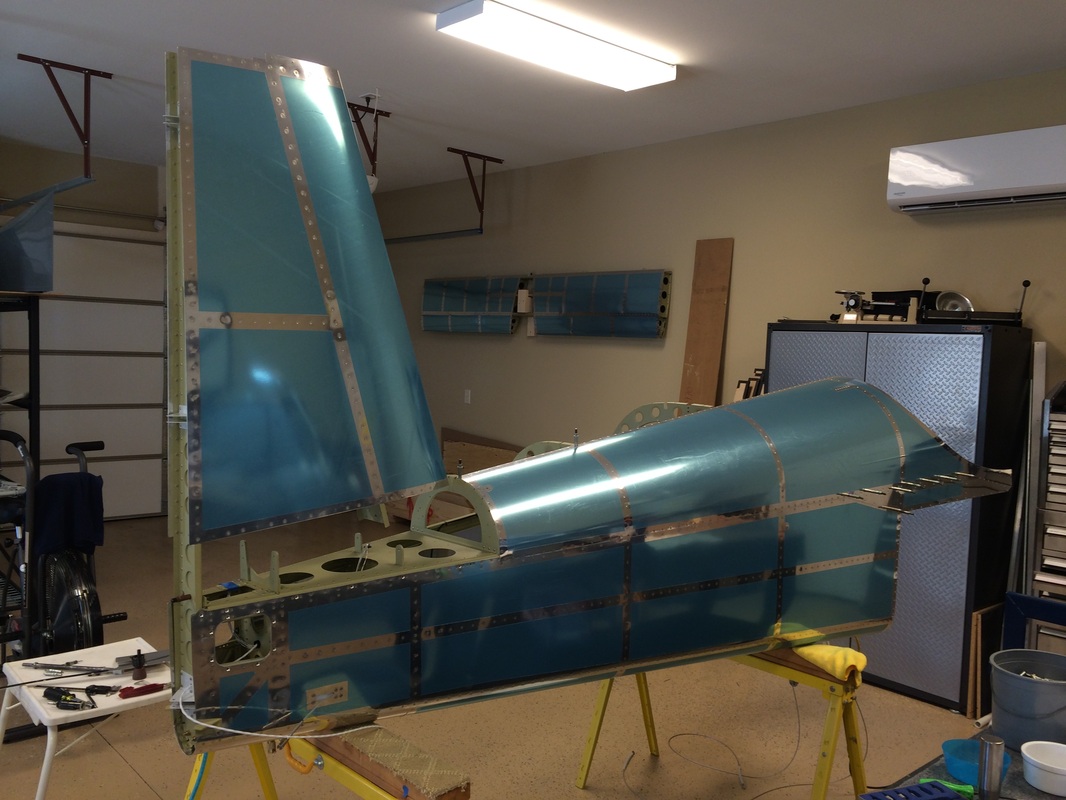
We decided to finish the tail today by mounting the stabilizer and the vertical fin. Tis here not a lot to this other then making sure you a square when you do the final drilling, and we reamed the final size rather than drilling.