Carl & Rafael's RV 14A Builders Site
  • Home
  • Aiken Airport KAIK
  • Previous Builds
  • Carl's RV 7A
  • Rafael's RV 12
  • About the RV 14
    • RV 14A Specifications
    • RV 14A Performance
  • Work Shop
  • Empennage
    • Kit Delivery
    • Vertical Stabilizer - Sec. 1 thru 6
    • Rudder - Sec. 7
    • Stabilizer - Sec. 8
    • Elevator - Sec. 9
    • Rear Fuselage - Sec. 10 thru 12
  • Wings
    • Kit Delivery
    • Spars - Sec. 13
    • Main Wing Parts - Sec. 14
    • Ribs - Sec. 14
    • Wing Assembly - Sec. 14 Thru 17
    • Fuel Tanks - Sec. 18
    • Bottom Wing Skins - Sec. 20
    • Flaps - Sec. 21
    • Ailerons - Sec. 22
    • Aileron Control System - Sec. 23
    • Wing Tips - Sec. 24
    • Aileron Trim - Optional
  • Fuselage
    • Kit Delivery
    • Mid Fuse Bulkheads - Sec. 25
    • Mid Fuse Lower Structure - Sec. 26
    • Firewall - Sec. 27
    • Fwd Fuse Lower Structure - Sec. 28
    • Fwd Mid Fuse Side Structure - Sec. 29
    • Aft Fuselage Attach - Sec. 30
    • Fuel System - Sec. 31
    • Baggage Area - Sec. 32
    • Interior Painting - End Sec. 32
    • Rudder and Brake Systems - Sec. 33
    • Flap Actuation System - Sec. 34
    • Upper Fwd Fuselage - Sec. 35
    • Aileron & Elevator Systems - Sec. 36
    • Roll Over Structure - Sec. 37
  • Finishing Kit
    • Finishing Kit Delivery
    • Canopy and Window - Sec. 38
    • Seat-backs - Sec. 39
    • Landing Gear and Engine Mount - Sec. 40A
    • Wing Attachment - Sec. 41
    • Miscellanea - Sec. 42
    • Engine & Propeller Delivery
    • Engine Installation - Sec. 43
    • Spinner & Propeller - Sec. 44
    • Cowling - Sec. 45
    • Tricycle Gear Legs & Fairings - Sec. 46A
  • Firewall Forward
    • Engine Specifications
    • Cowl Baffle - Sec. 47
    • Exhaust System - Sec 48
    • Fuel & Oil Systems - Sec. 49
    • Control Cables - Sec. 50
    • Firewall Forward Misc. - Sec. 51
  • Panel & Instrumentation
    • Panel
    • Wiring & Equipment
    • Sensors
    • Avionics
    • Landing Lights - OP52
  • Move to KAIK & Final Ass'y
    • Empennage Installation
    • Wing Installation
    • Odds and Ends
  • Fiberglass & Body work
  • Weight & Balance
  • FAA Inspection & First Flight
  • Phase I & Changes
  • Interiors
  • Paint Design & Painting
    • Scheme Designers
    • Glo Custom
  • RV Builders Forum
  • RV 14 Builder Sites
  • Builder's Location
  • Closing Thoughts
  • Picture Page

Fuel Tank Assembly - Section 18

Picture
We started the process of sealing our fuel tanks this week. The parts have been finished for some time but we decided to leave them until last to give them our undivided attention.
Picture
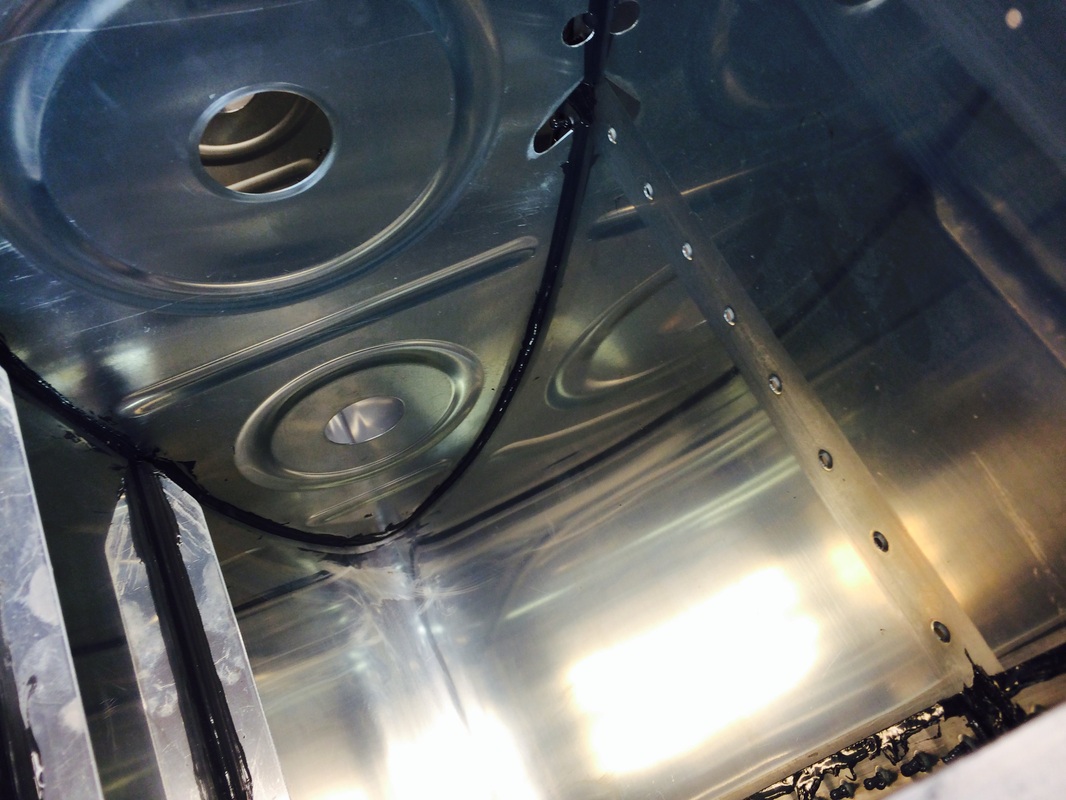
The interior of the tanks have been scuffed at all the fraying areas to insure a good bond using Pro-Seal between the ribs and stiffeners.
Picture
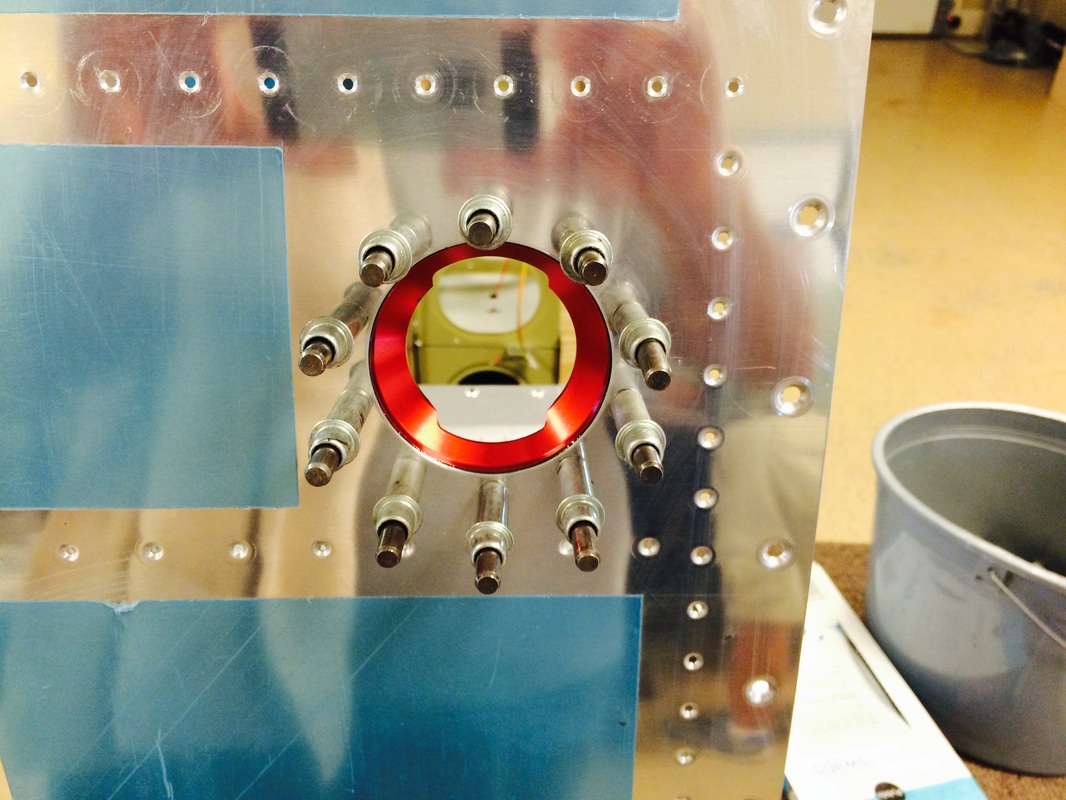
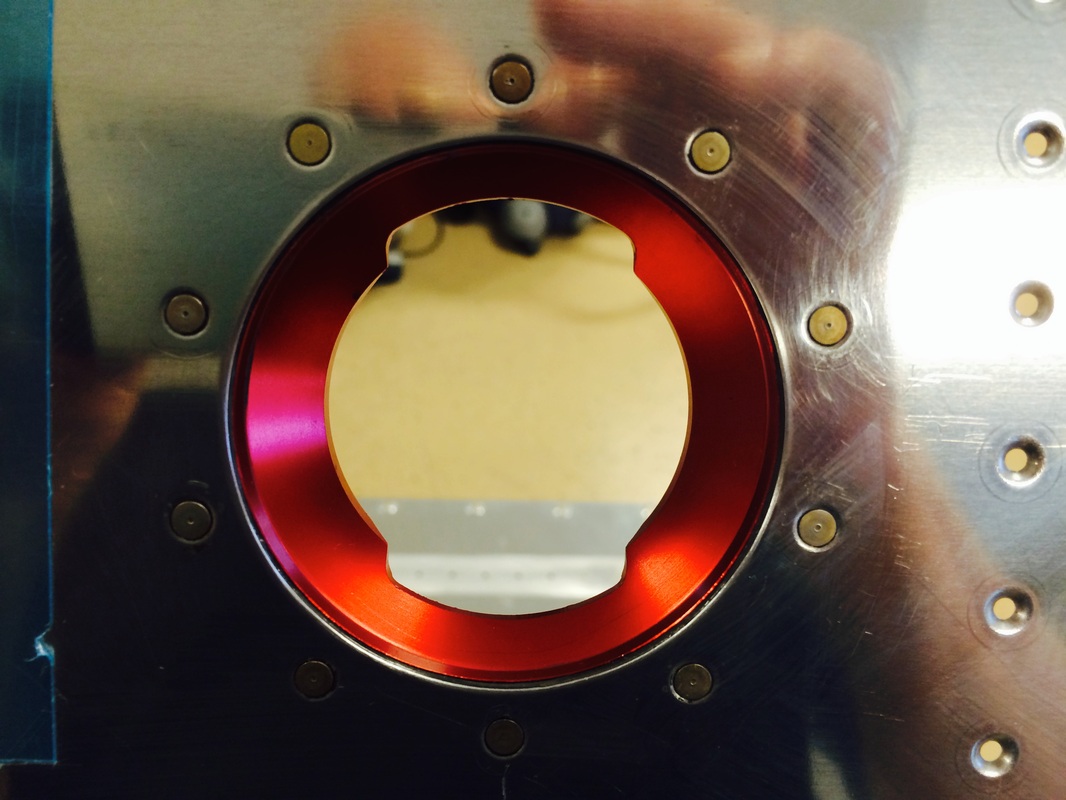
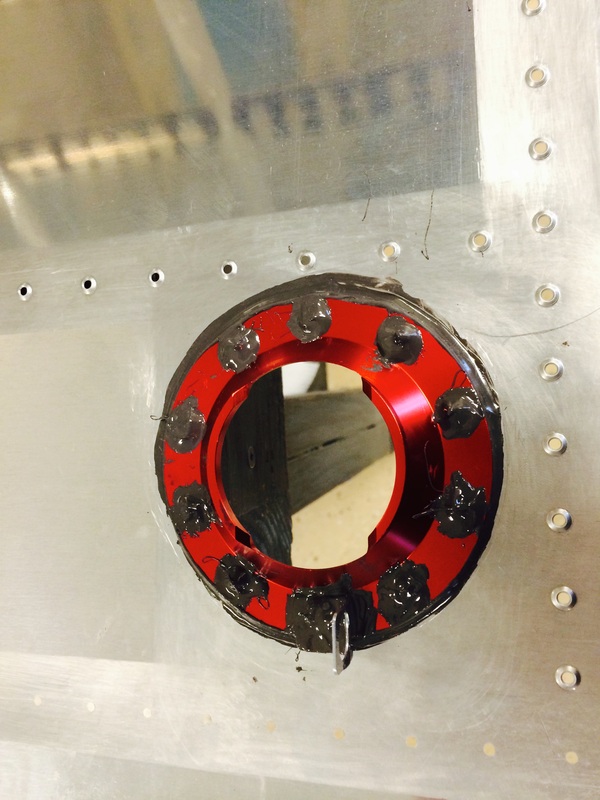
Tank filler after cleaning up the pro-seal on the exterior side
Picture
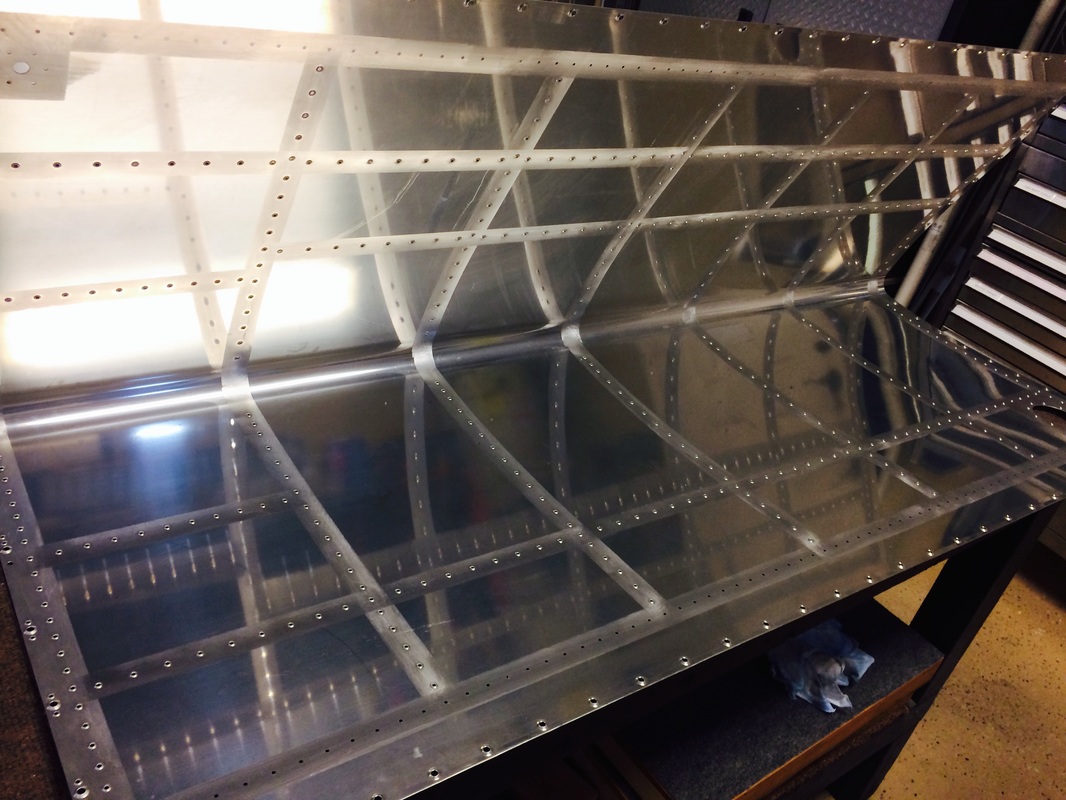
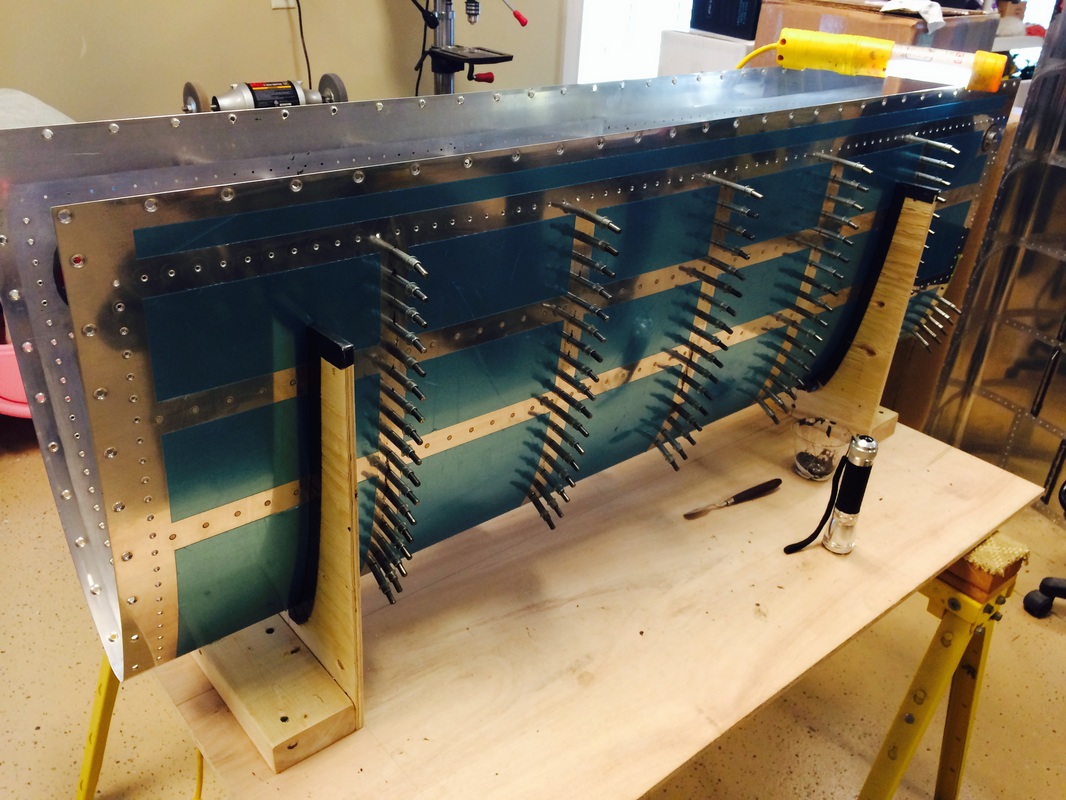
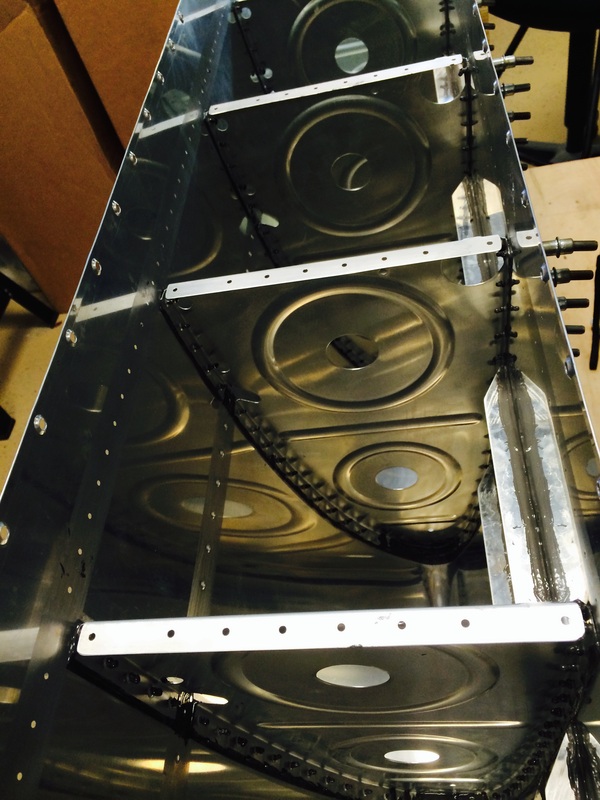
These are the bottom tank stiffeners after sealing to the bottom skin
Picture
Picture
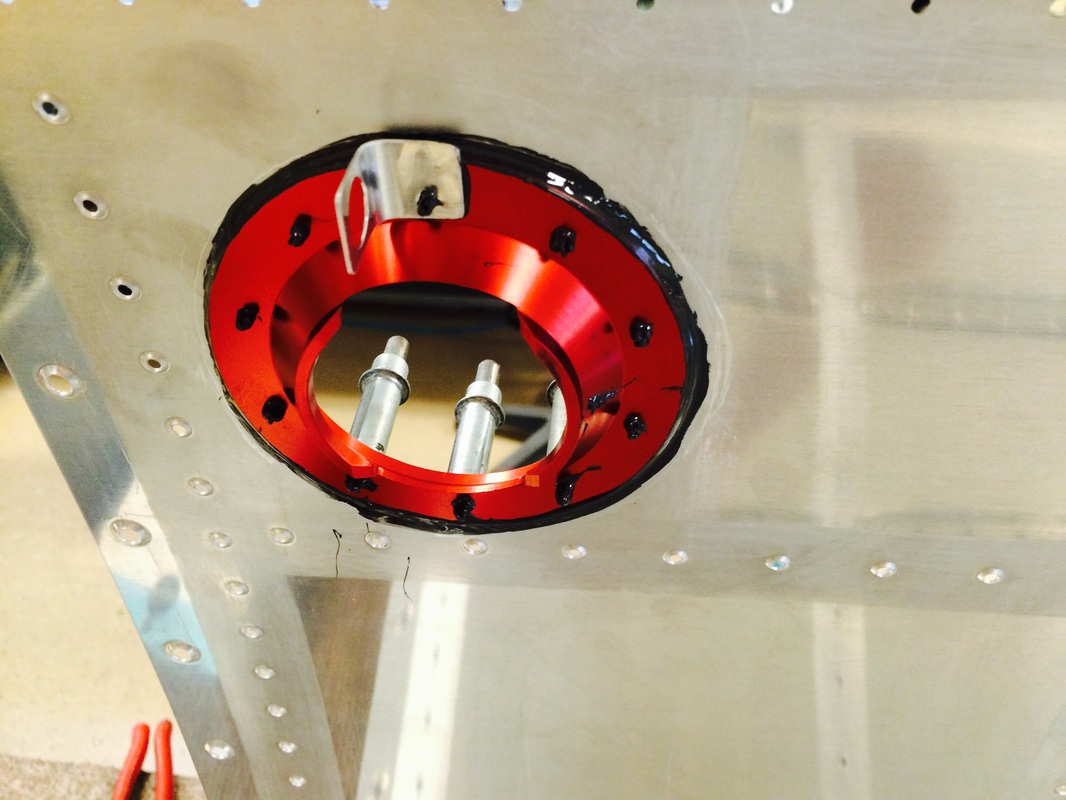
Interior of the tank filler, not pretty, but it won't leak and it looks great from the exterior
Picture
Picture
Fuel tank drain before riveting
Picture
Picture
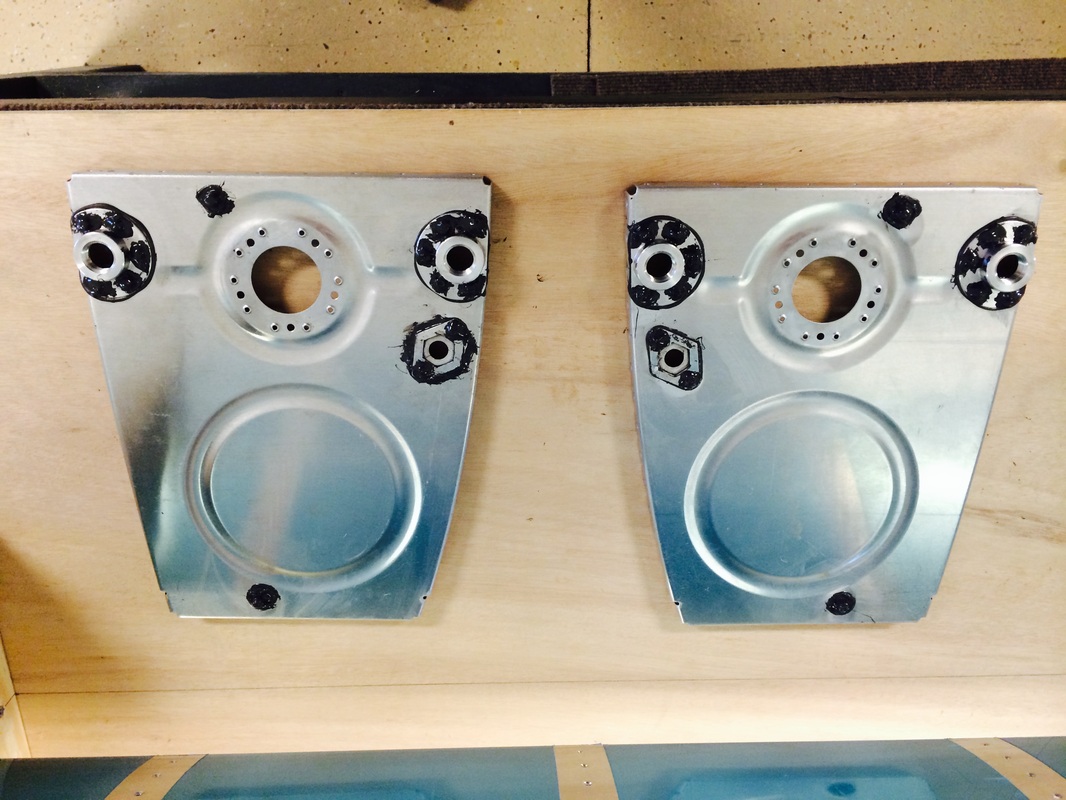
fuel tank fittings sealed on the root rib, plate nuts for the fuel level sender will get installed next
Picture
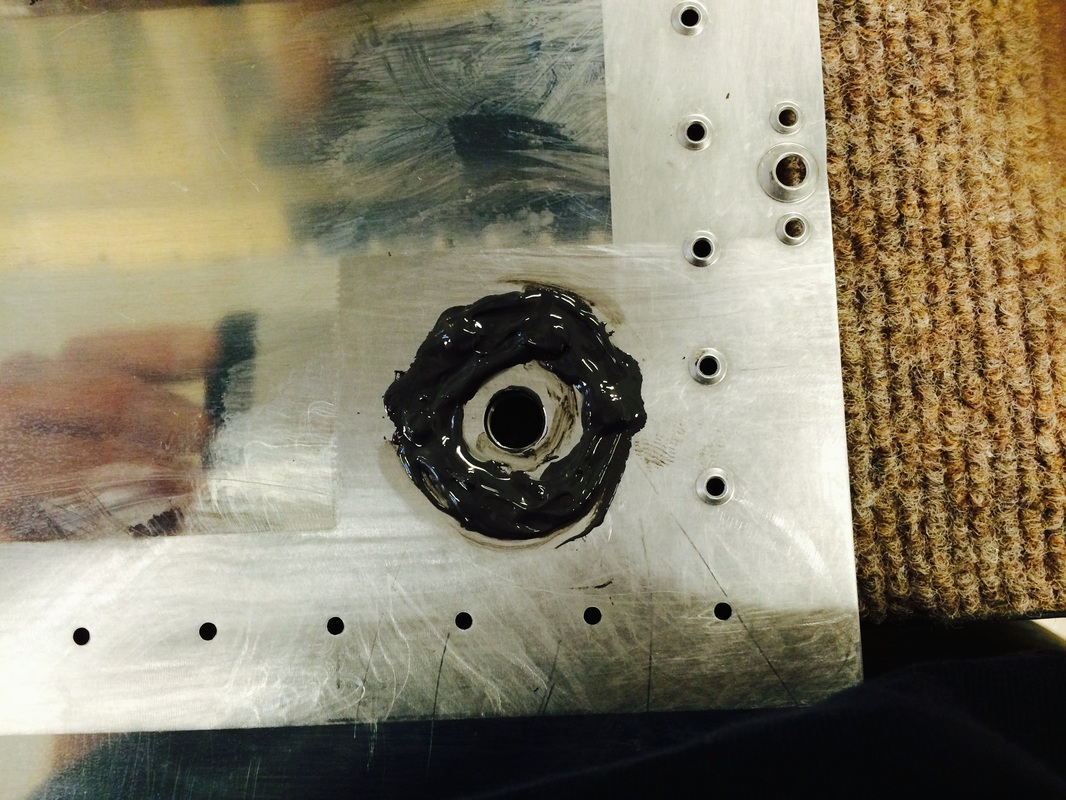
Filler after wet riveting and clean up.
Picture
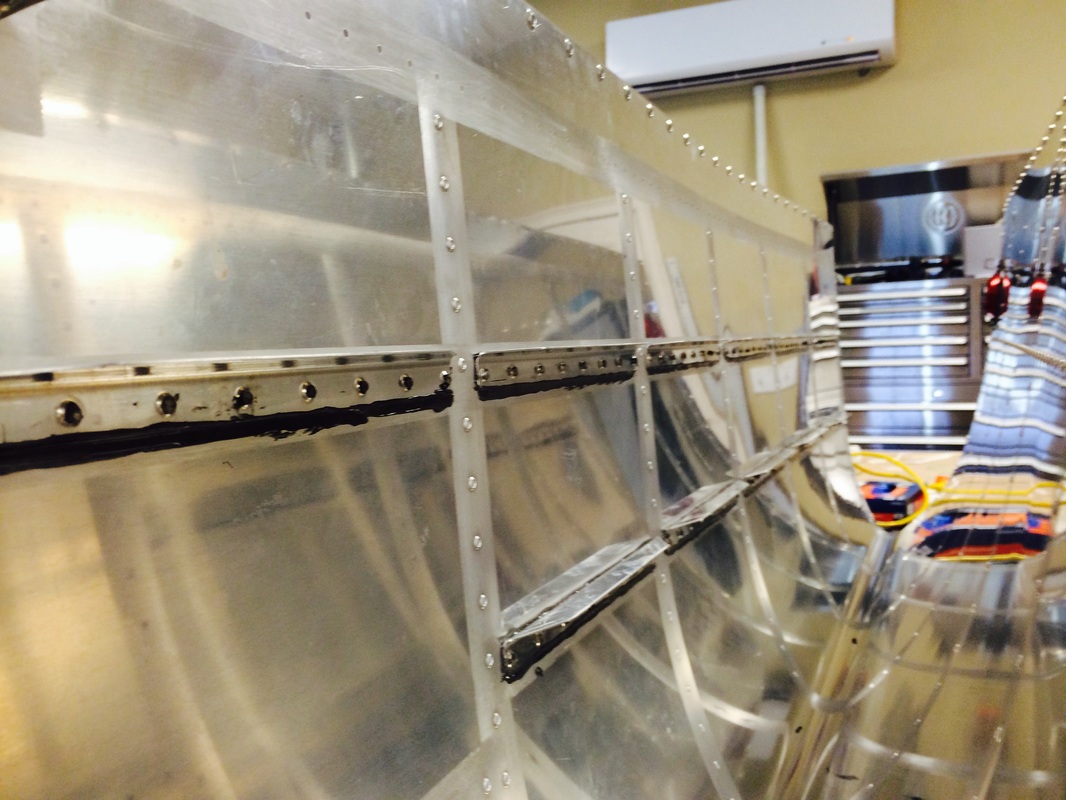
Tank stiffeners are done, sealed on all four side and wet riveted
Picture
Fuel drain after riveting and sealing the rivets
Picture
Filler neck on the interior of the tank after wet riveting and sealing the shop rivet heads. No, it's not pretty, but it is on the inside and it works, soooo!
Picture
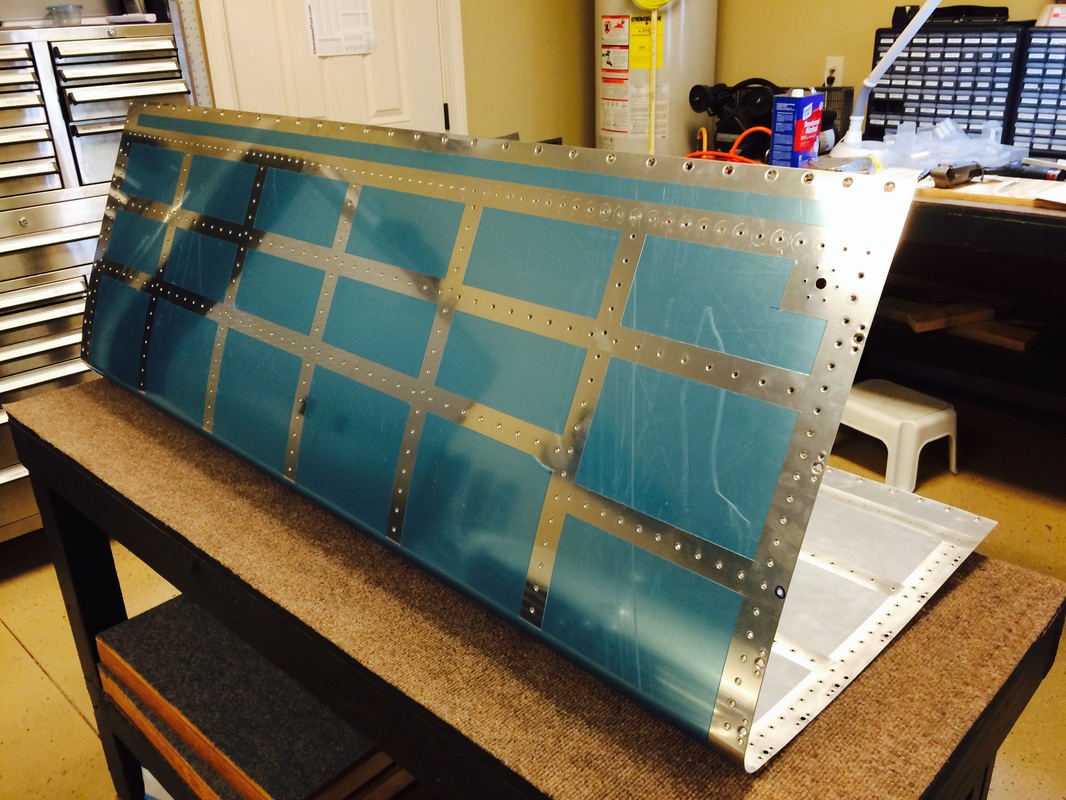
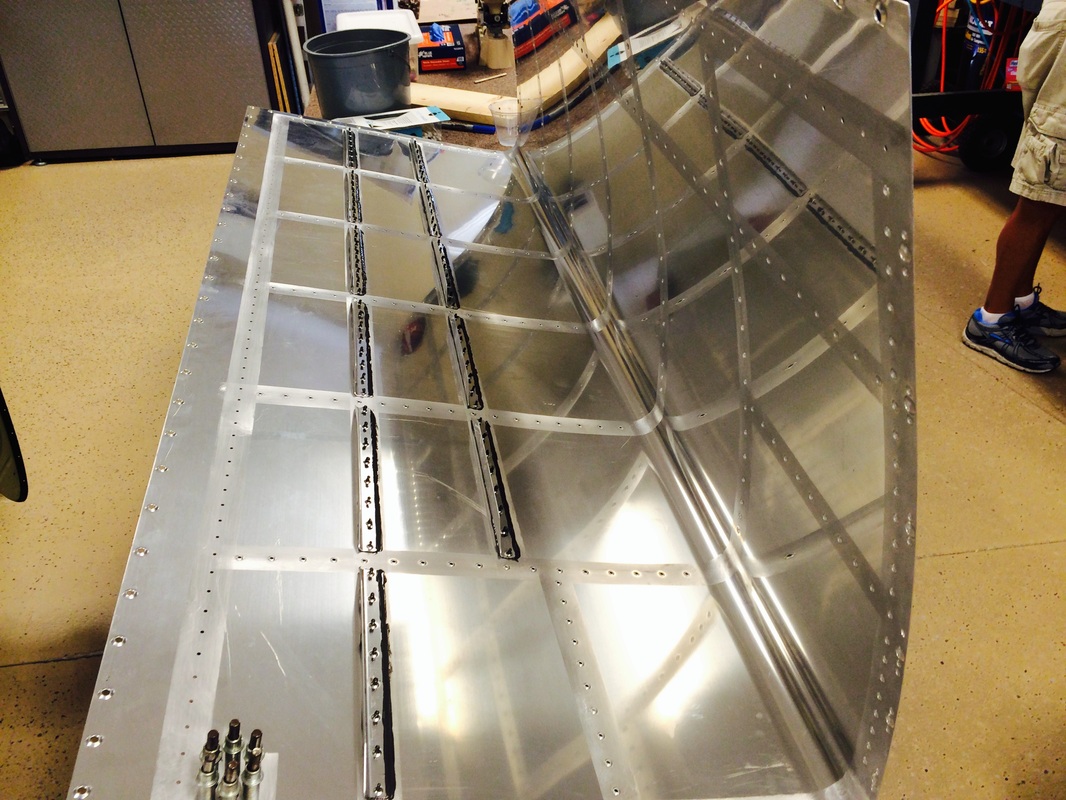
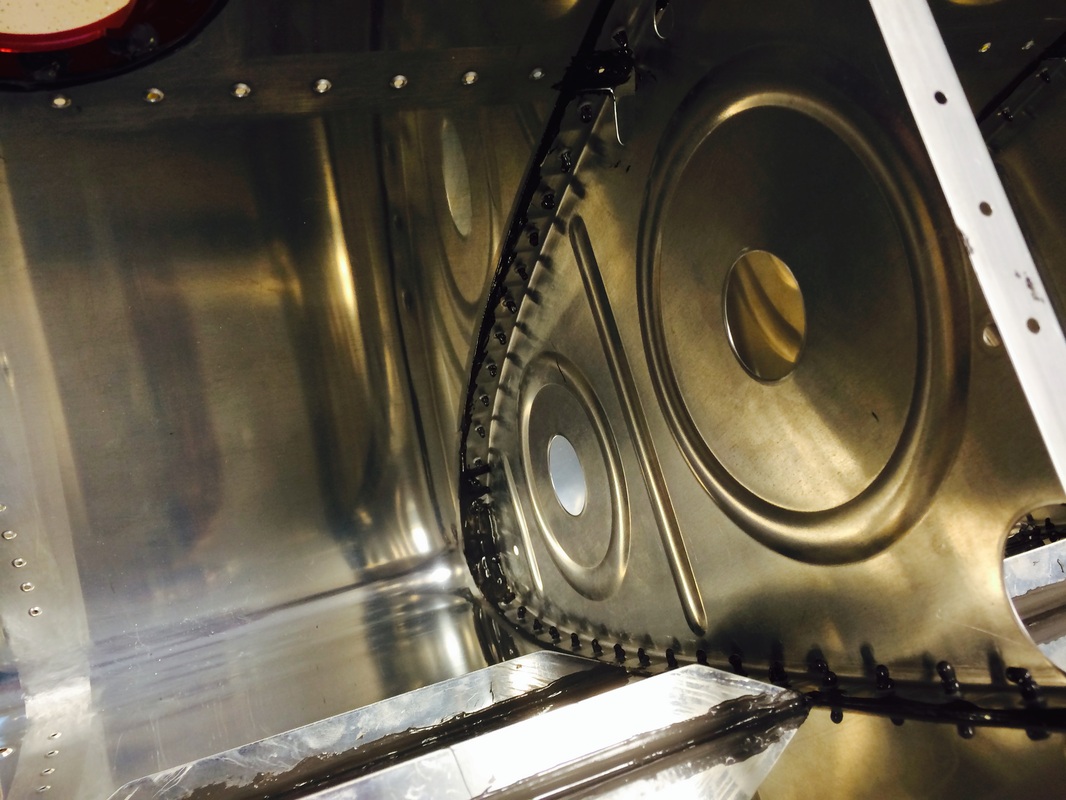
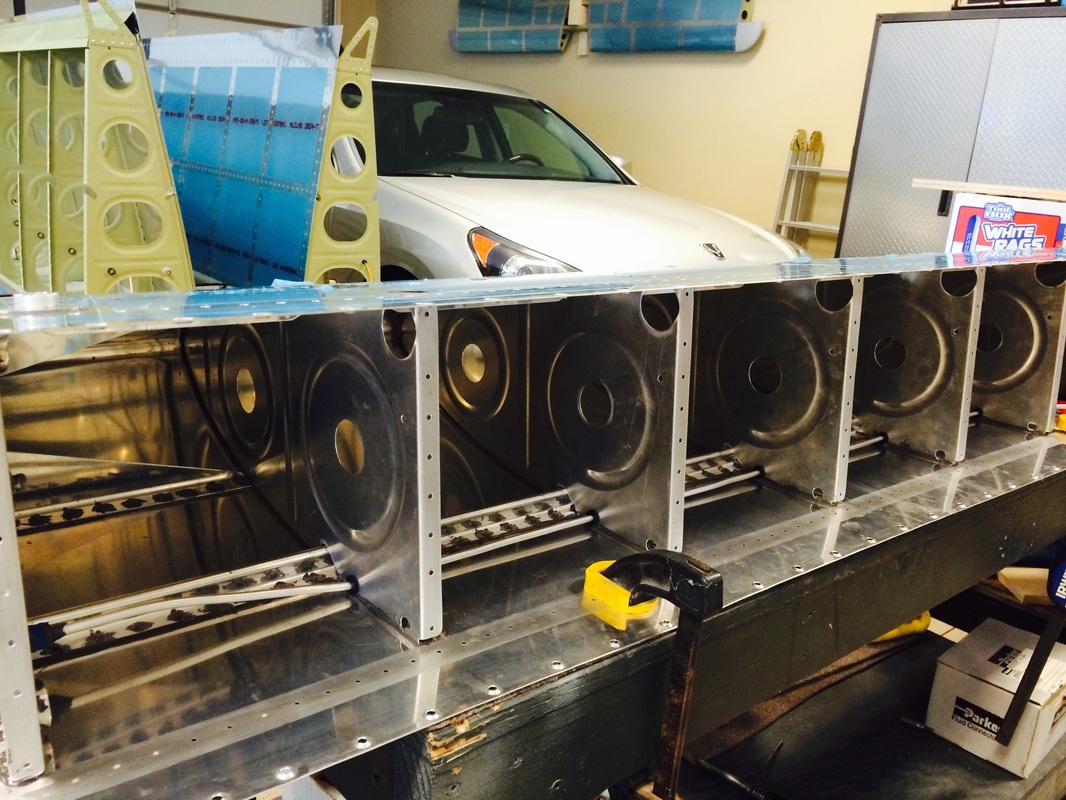
The main tank baffles (ribs) are in place after using sealer on both the skin and the ribs.
Picture
This is a typical tank rib with Proseal between the fraying surfaces, clecoed in place to be riveted tomorrow.
Picture
Picture
We have been taking our time on this process and only starting off what we can accomplish in the time we have. It is easy to get into a mess quickly.
Picture
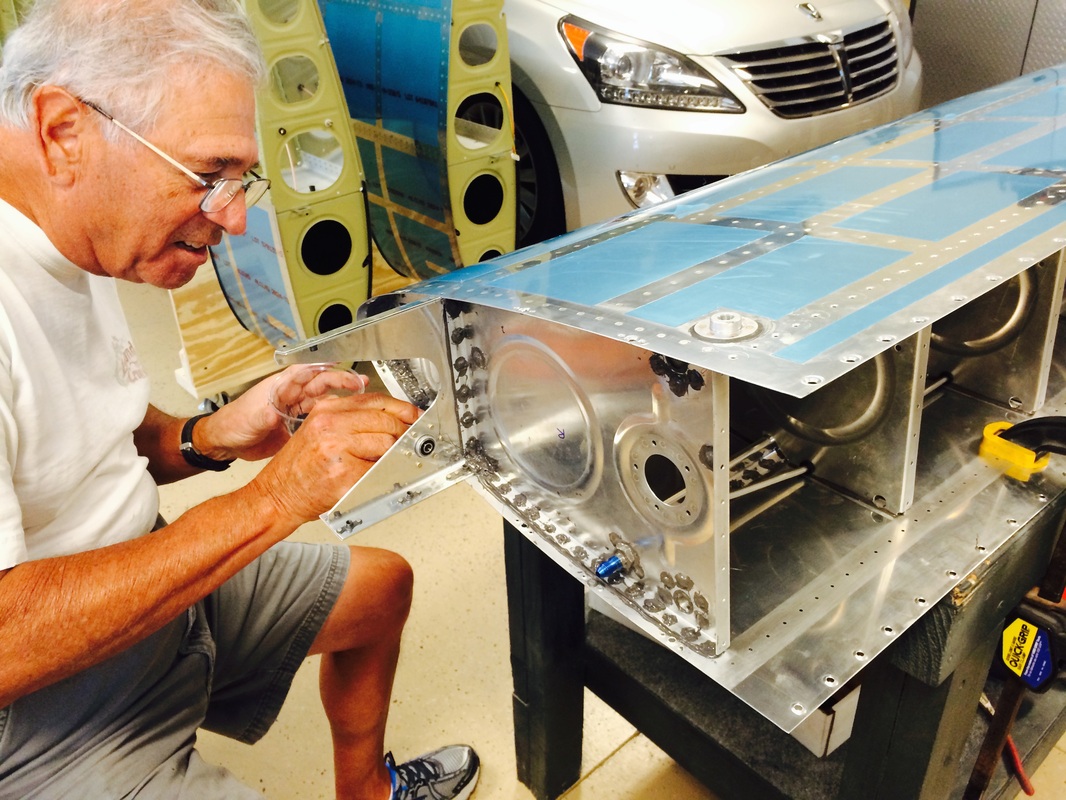
Rafael sealing the shop heads of the rivets.
Picture
Vent line is installed as is the last rib. We are almost ready to seal the backplate of the tank but we are going to have it inspected by our favorite friend, A & P and designee Ed Booth.
Picture
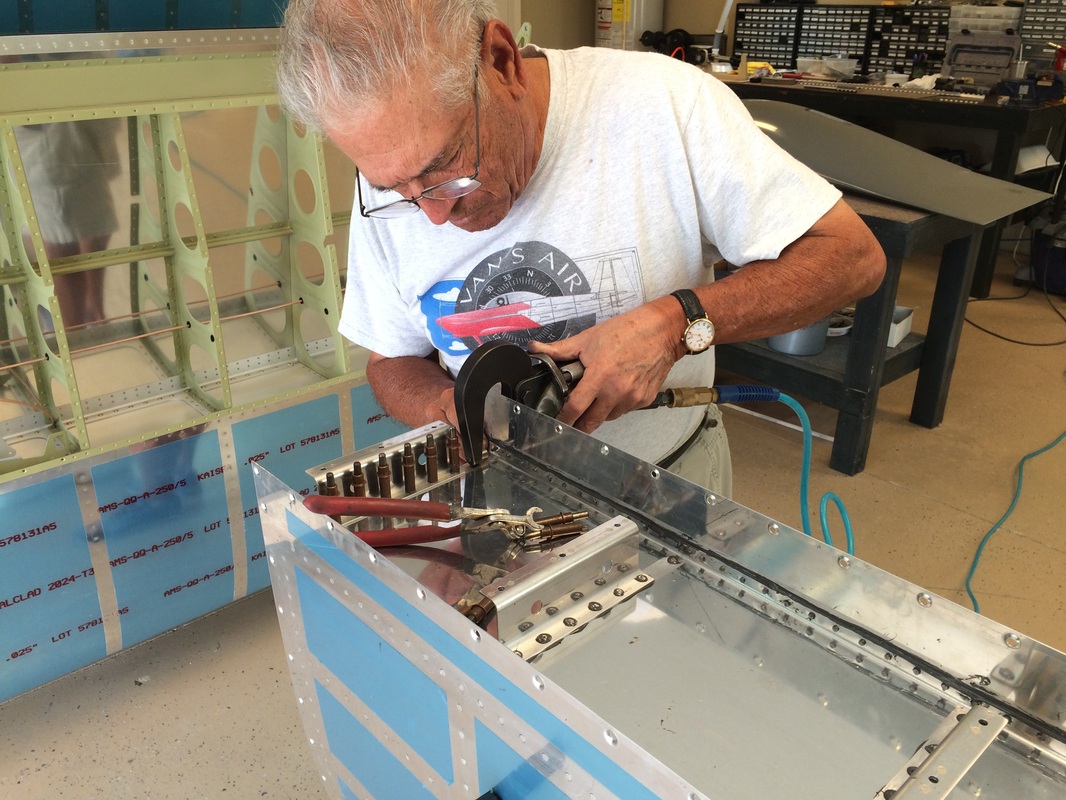
Rafael squeezing rivets with his favorite tool
Picture
This is a view of the tank/spar attach brackets
Picture
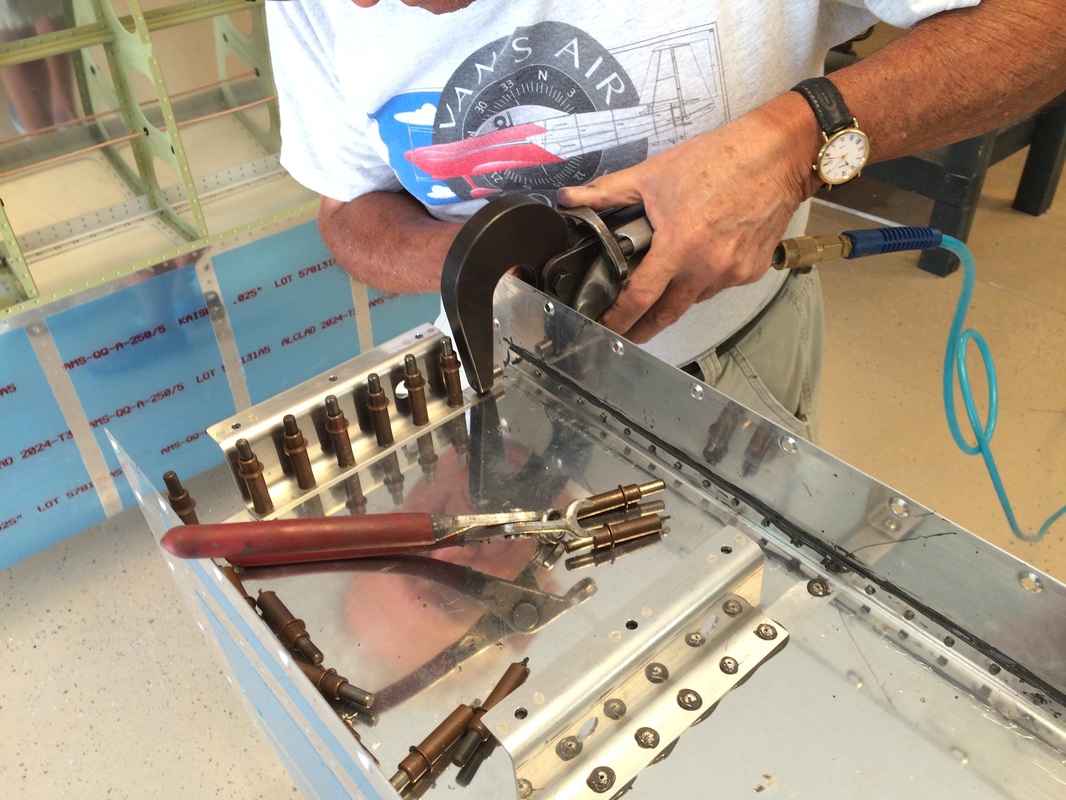
Close up of Rafa and the pneumatic squeezer in action
Powered by Create your own unique website with customizable templates.