Wing Installation:
We attached the wings today and with 4 guys the whole job took about two hours. Robin Riley and his fried Kyle helped us today, both are RV owners/builders. Robin turned out to be the muscle guy who jiggled the wing as we pushed the wing in between the two spar stubs in the fuselage. This turned out to be the hardest job, it was very tight.
I decided to put the NAS bolts in the freezer the night before. I'm not sure how much this helps, but I'm sure it doesn't hurt in coaxing the big bolts in place. I use a 2x rivet gun with a brass head on a low 35psi setting and they slid right into place. We had a little issue with the threads pulling the rear spar skin out, but clamped it into place and all worked fine after that.
I decided to put the NAS bolts in the freezer the night before. I'm not sure how much this helps, but I'm sure it doesn't hurt in coaxing the big bolts in place. I use a 2x rivet gun with a brass head on a low 35psi setting and they slid right into place. We had a little issue with the threads pulling the rear spar skin out, but clamped it into place and all worked fine after that.
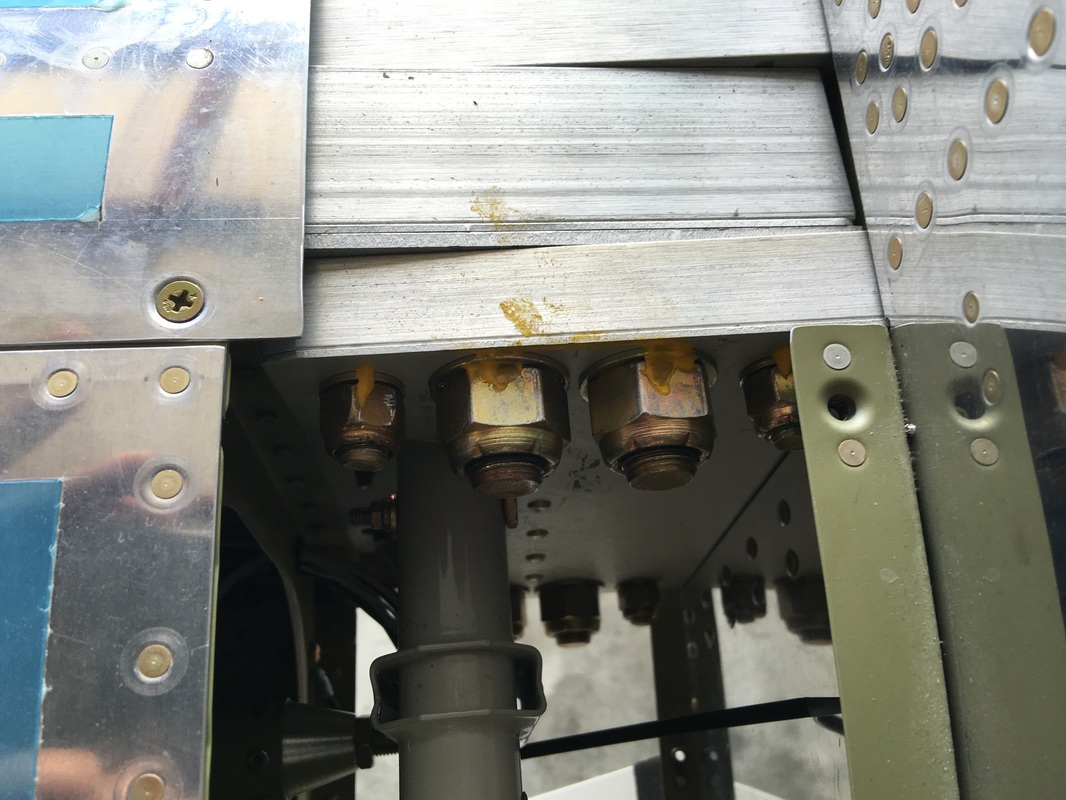
A little torque seal on the heads and nuts to keep track of movement of the bolts and nuts
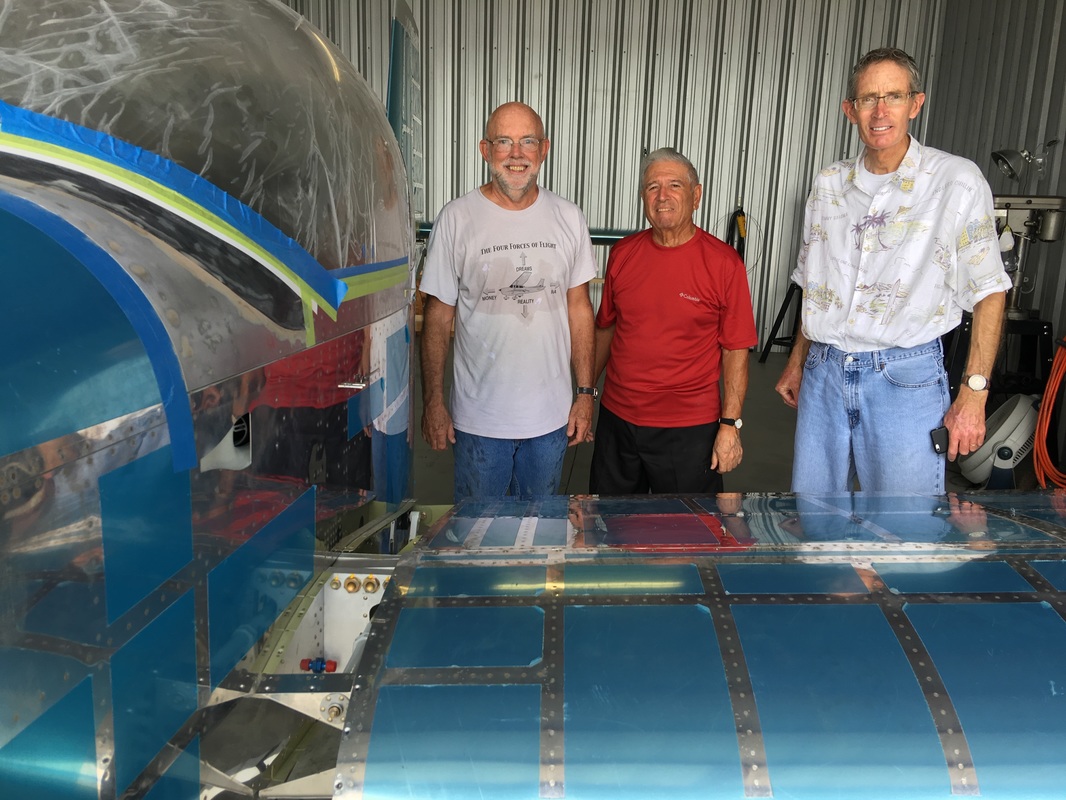
Muscle guy Robin with Rafael and Kyle
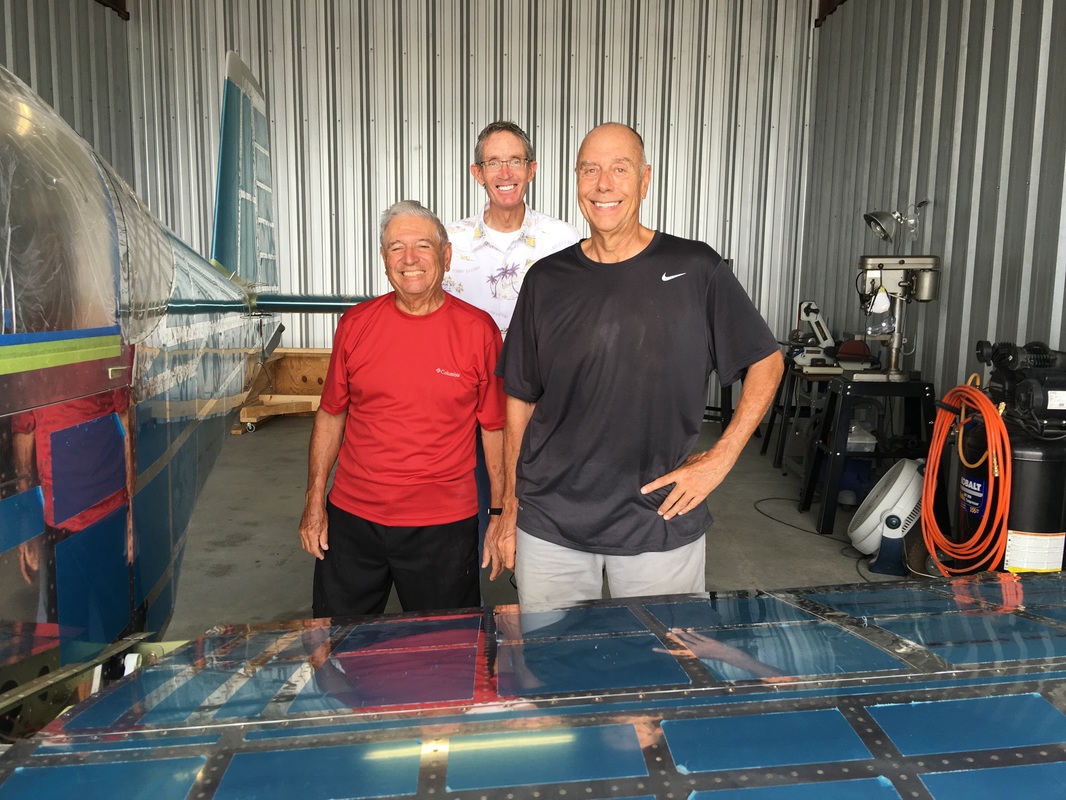
Rafael, me and Kyle in the back row
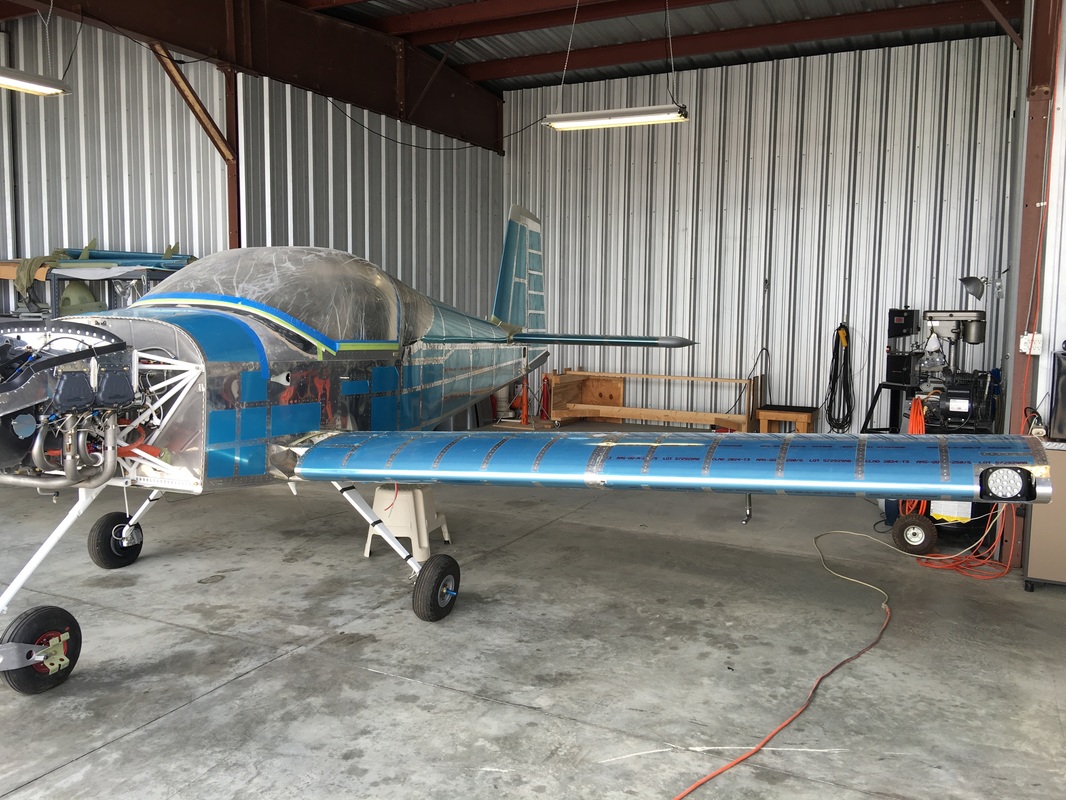
Looks like an airplane now, we still need to finish the wing gap skins, and I plane to work on this later in the week. The wing tips are built and ready to be installed
Although it may look small in this view, the 14 is considerably larger than my 7. It just seems like such a stout plane, every part seems stiff and robust. I'm getting excited about getting her in the air.

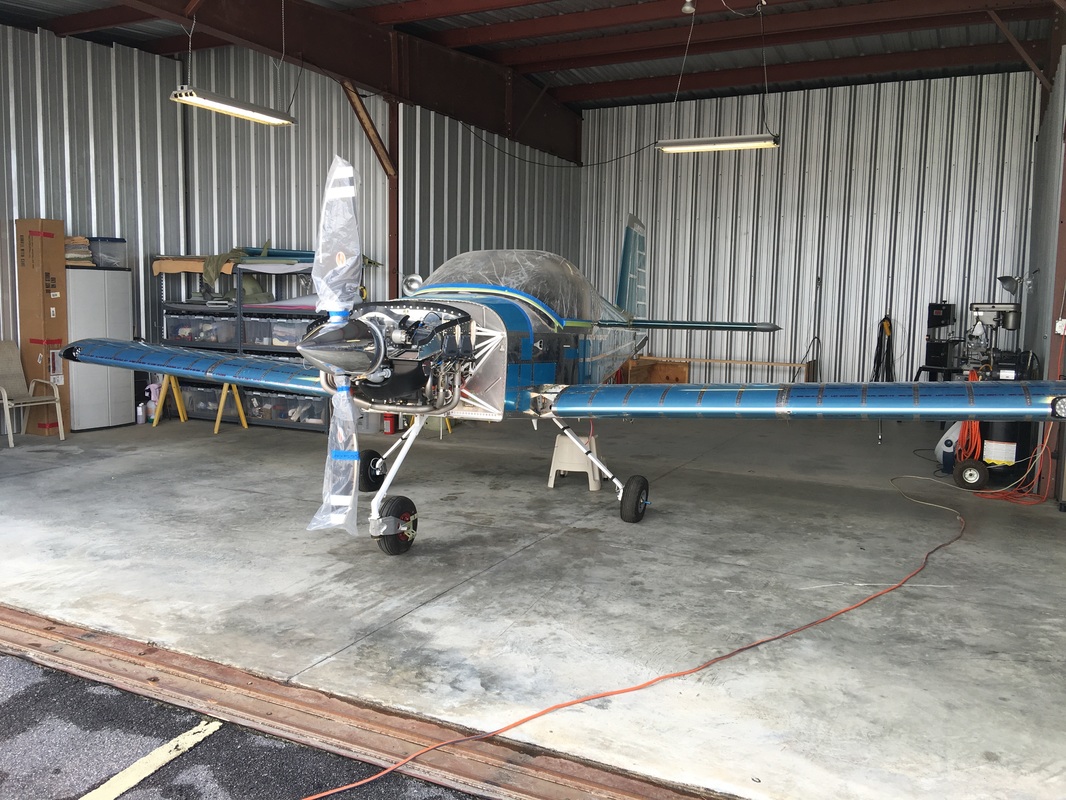
The ailerons and flaps went on today, we now need to rig the them with the jig that Vans supplies. Evidently there is a newer jig than the one we have, so we need to do some research on what the difference is. This picture shows the jig we have temporairily mounted.

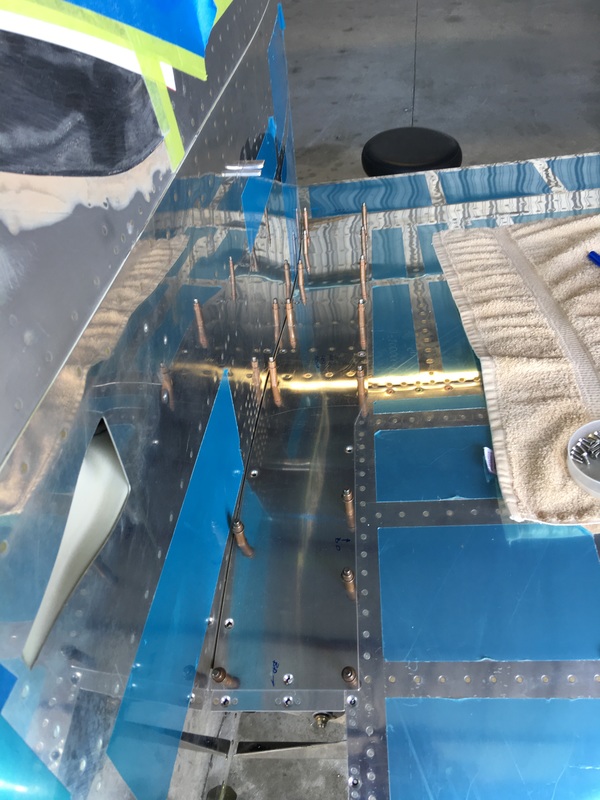
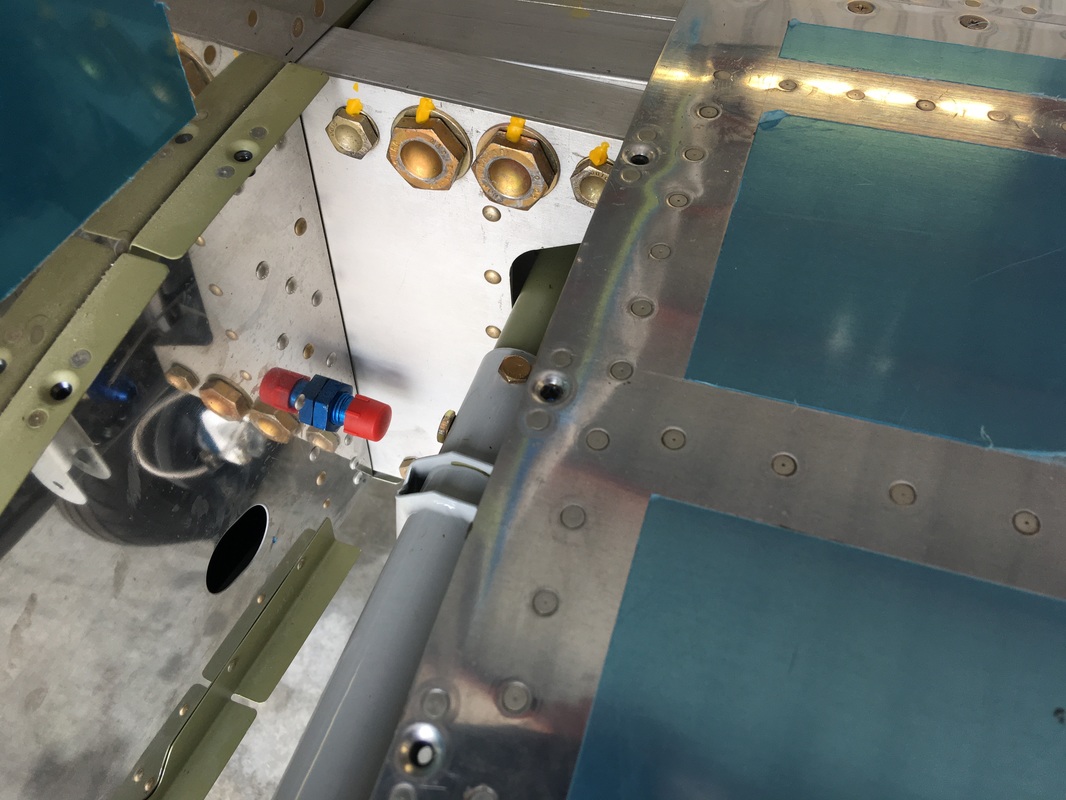
I started the wing gap/walkways and was really pleased about how well they matched up to the plate-nuts in the wing and fuselage mounting strip. Not perfect but close enough to make it work. I plan on bending the bottom/leading edge gap skin next time in the hanger, but I need to buy a 1 1/4" piece of pipe to bend it around.
