Carl & Rafael's RV 14A Builders Site
  • Home
  • Aiken Airport KAIK
  • Previous Builds
  • Carl's RV 7A
  • Rafael's RV 12
  • About the RV 14
    • RV 14A Specifications
    • RV 14A Performance
  • Work Shop
  • Empennage
    • Kit Delivery
    • Vertical Stabilizer - Sec. 1 thru 6
    • Rudder - Sec. 7
    • Stabilizer - Sec. 8
    • Elevator - Sec. 9
    • Rear Fuselage - Sec. 10 thru 12
  • Wings
    • Kit Delivery
    • Spars - Sec. 13
    • Main Wing Parts - Sec. 14
    • Ribs - Sec. 14
    • Wing Assembly - Sec. 14 Thru 17
    • Fuel Tanks - Sec. 18
    • Bottom Wing Skins - Sec. 20
    • Flaps - Sec. 21
    • Ailerons - Sec. 22
    • Aileron Control System - Sec. 23
    • Wing Tips - Sec. 24
    • Aileron Trim - Optional
  • Fuselage
    • Kit Delivery
    • Mid Fuse Bulkheads - Sec. 25
    • Mid Fuse Lower Structure - Sec. 26
    • Firewall - Sec. 27
    • Fwd Fuse Lower Structure - Sec. 28
    • Fwd Mid Fuse Side Structure - Sec. 29
    • Aft Fuselage Attach - Sec. 30
    • Fuel System - Sec. 31
    • Baggage Area - Sec. 32
    • Interior Painting - End Sec. 32
    • Rudder and Brake Systems - Sec. 33
    • Flap Actuation System - Sec. 34
    • Upper Fwd Fuselage - Sec. 35
    • Aileron & Elevator Systems - Sec. 36
    • Roll Over Structure - Sec. 37
  • Finishing Kit
    • Finishing Kit Delivery
    • Canopy and Window - Sec. 38
    • Seat-backs - Sec. 39
    • Landing Gear and Engine Mount - Sec. 40A
    • Wing Attachment - Sec. 41
    • Miscellanea - Sec. 42
    • Engine & Propeller Delivery
    • Engine Installation - Sec. 43
    • Spinner & Propeller - Sec. 44
    • Cowling - Sec. 45
    • Tricycle Gear Legs & Fairings - Sec. 46A
  • Firewall Forward
    • Engine Specifications
    • Cowl Baffle - Sec. 47
    • Exhaust System - Sec 48
    • Fuel & Oil Systems - Sec. 49
    • Control Cables - Sec. 50
    • Firewall Forward Misc. - Sec. 51
  • Panel & Instrumentation
    • Panel
    • Wiring & Equipment
    • Sensors
    • Avionics
    • Landing Lights - OP52
  • Move to KAIK & Final Ass'y
    • Empennage Installation
    • Wing Installation
    • Odds and Ends
  • Fiberglass & Body work
  • Weight & Balance
  • FAA Inspection & First Flight
  • Phase I & Changes
  • Interiors
  • Paint Design & Painting
    • Scheme Designers
    • Glo Custom
  • RV Builders Forum
  • RV 14 Builder Sites
  • Builder's Location
  • Closing Thoughts
  • Picture Page

Firewall - Section 27

Picture
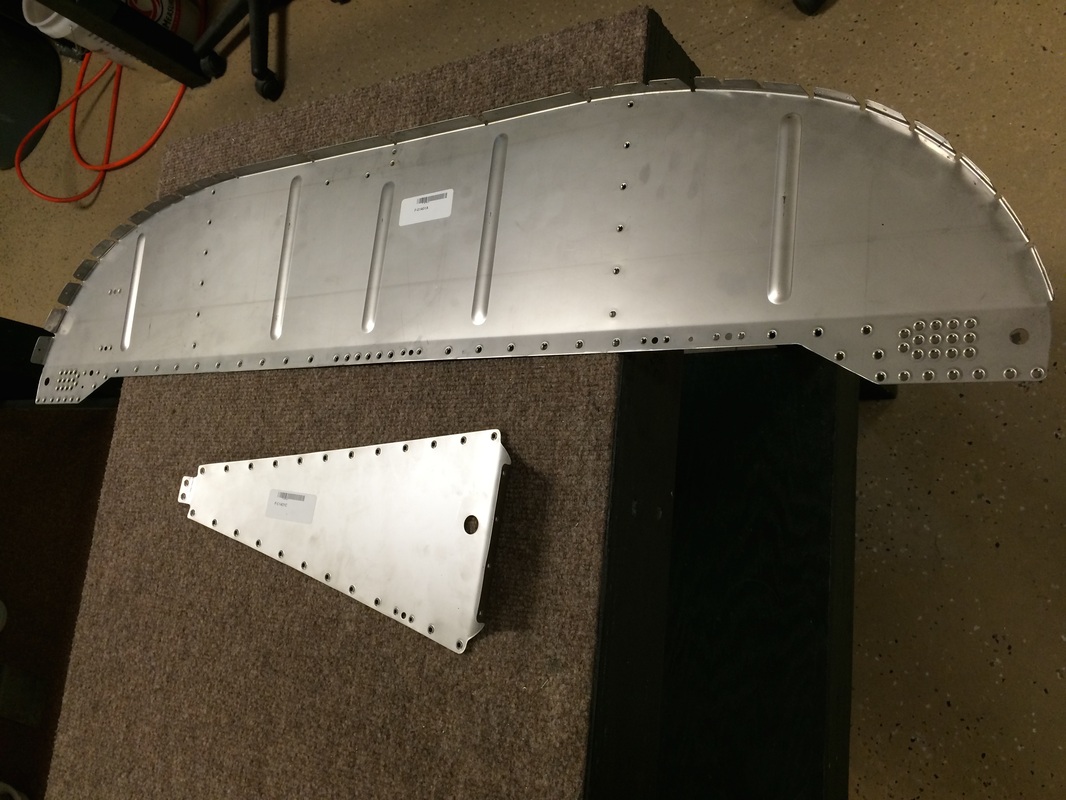
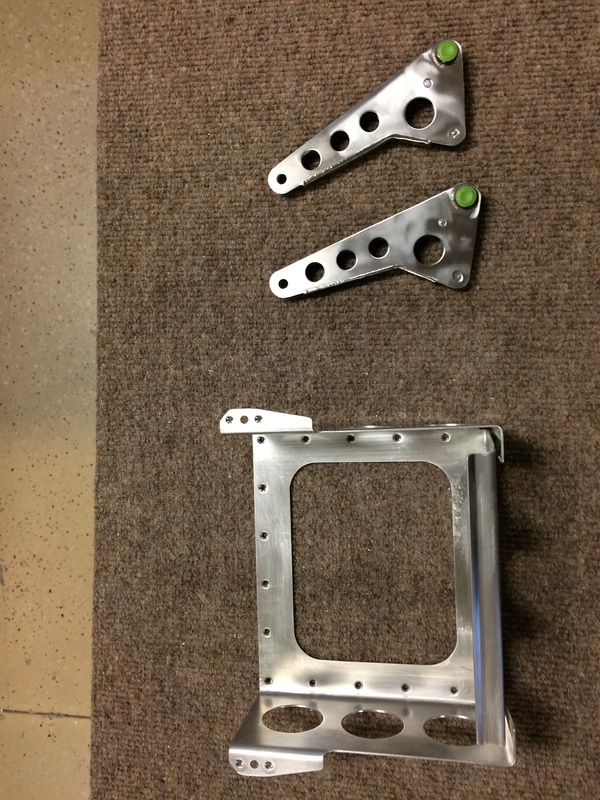
This is the start of the stainless firewall parts. Mostly an edge finishing and dimpling exercise. On stainless the edge finishing is even more important because stainless is very sharp after it is cut.
Picture
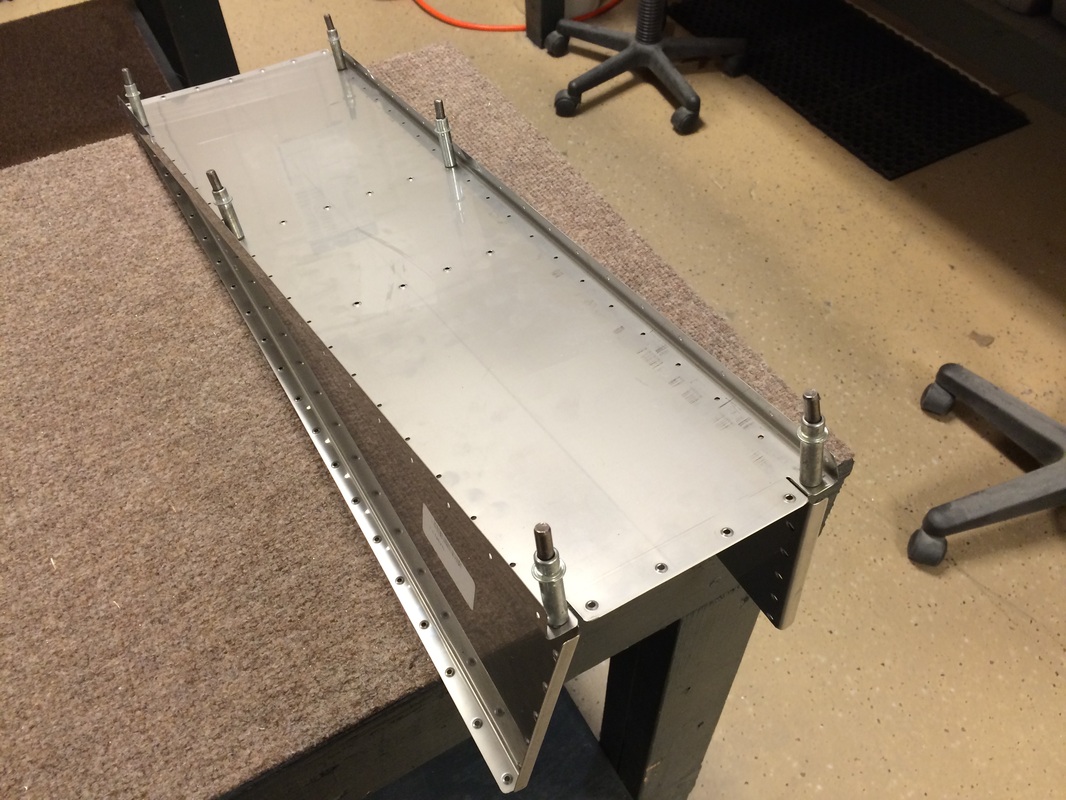
The muffler tunnel made from stainless steel. This won't get primed or painted because of the heat.
Picture
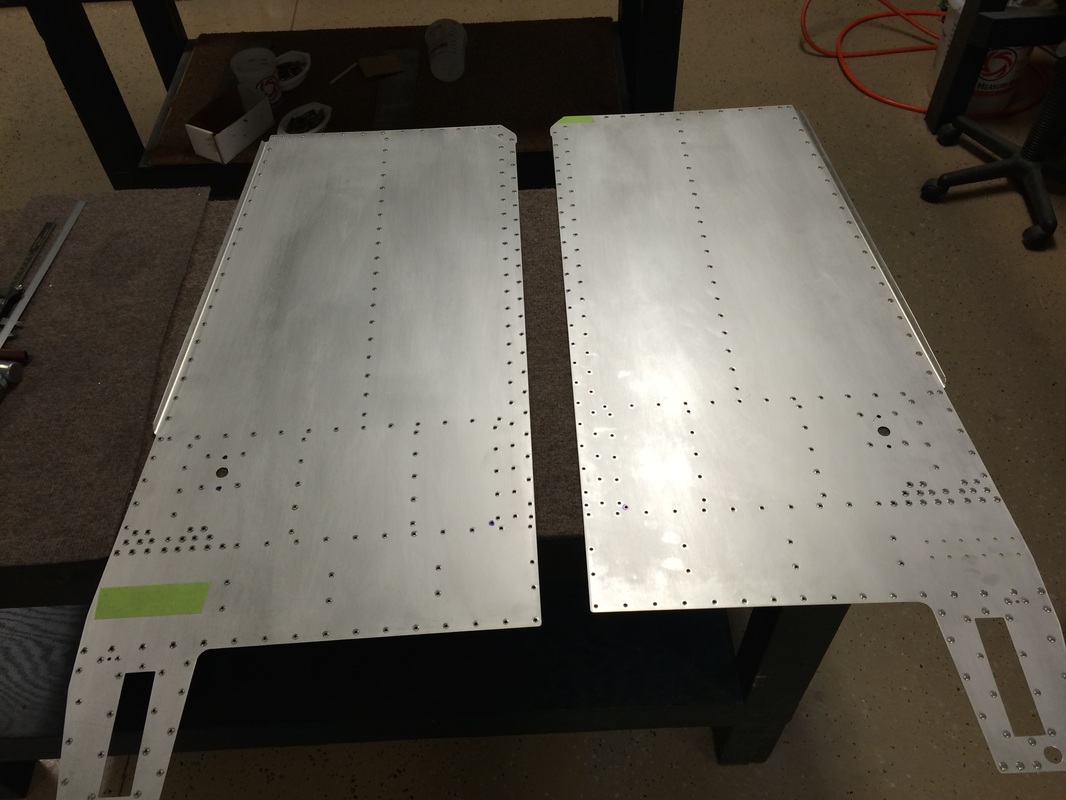
Bottom floor skins, note the rectangular cut out of Van"s new landing gear
Picture
Picture
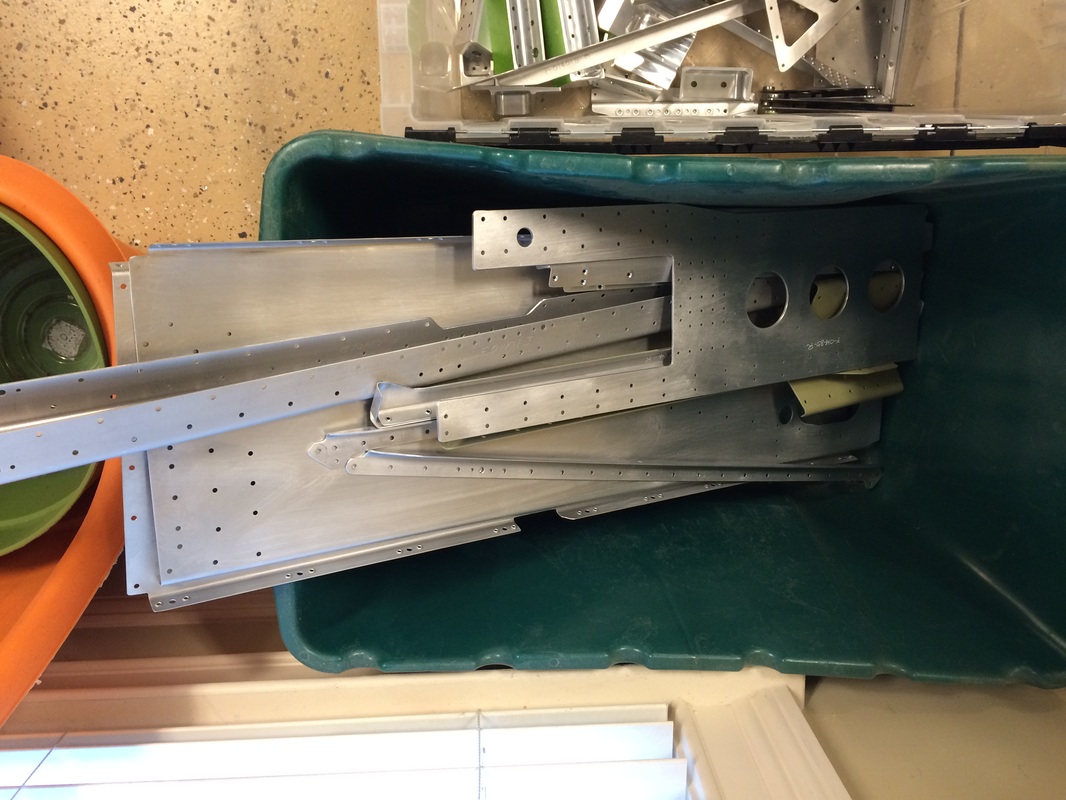
Box of fuselage parts ready for priming
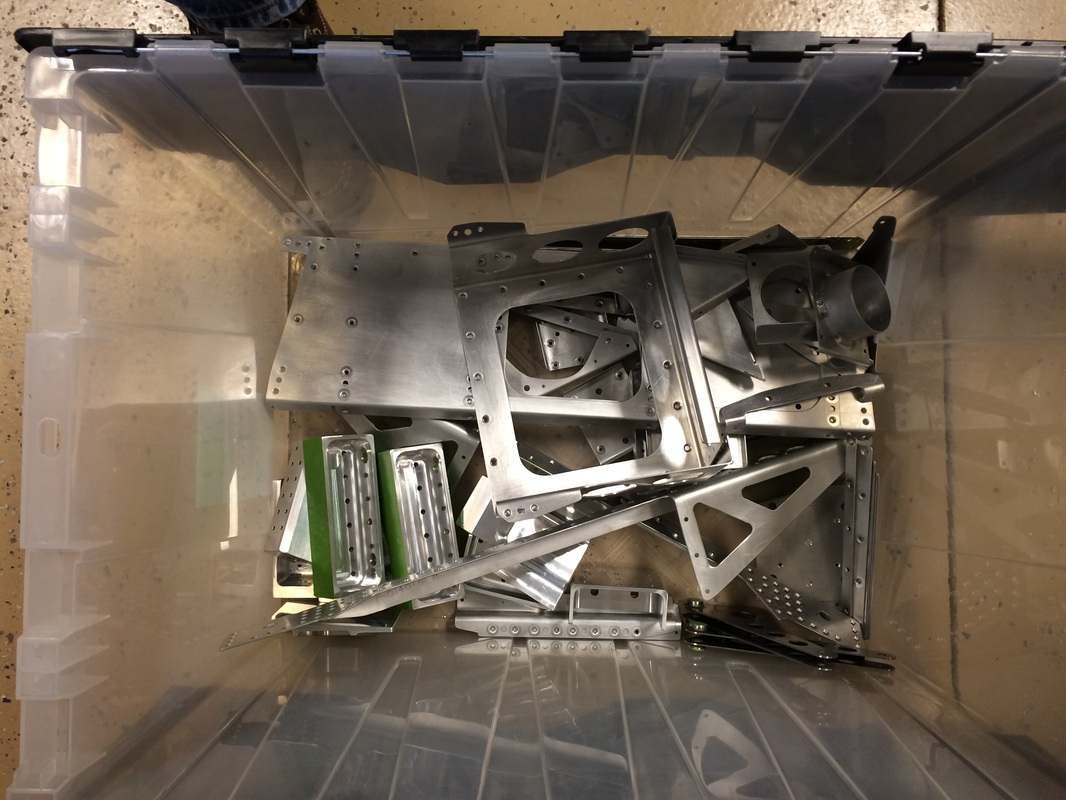
Picture
More fuselage parts
Picture
Battery box and canopy parts for priming
Picture
Heating inlet flow boxes with regulating gate doors
Picture
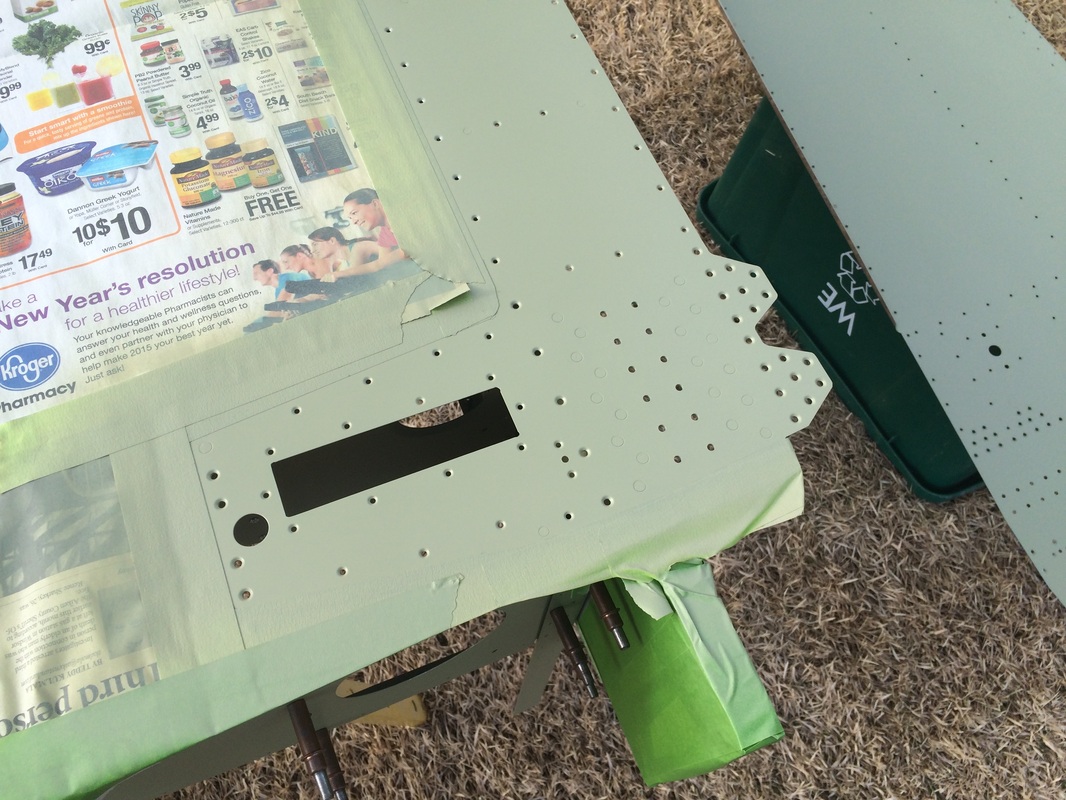
Priming the area of the bottom skins where they over lap for corrosion resistance per the plans.
Picture
Picture
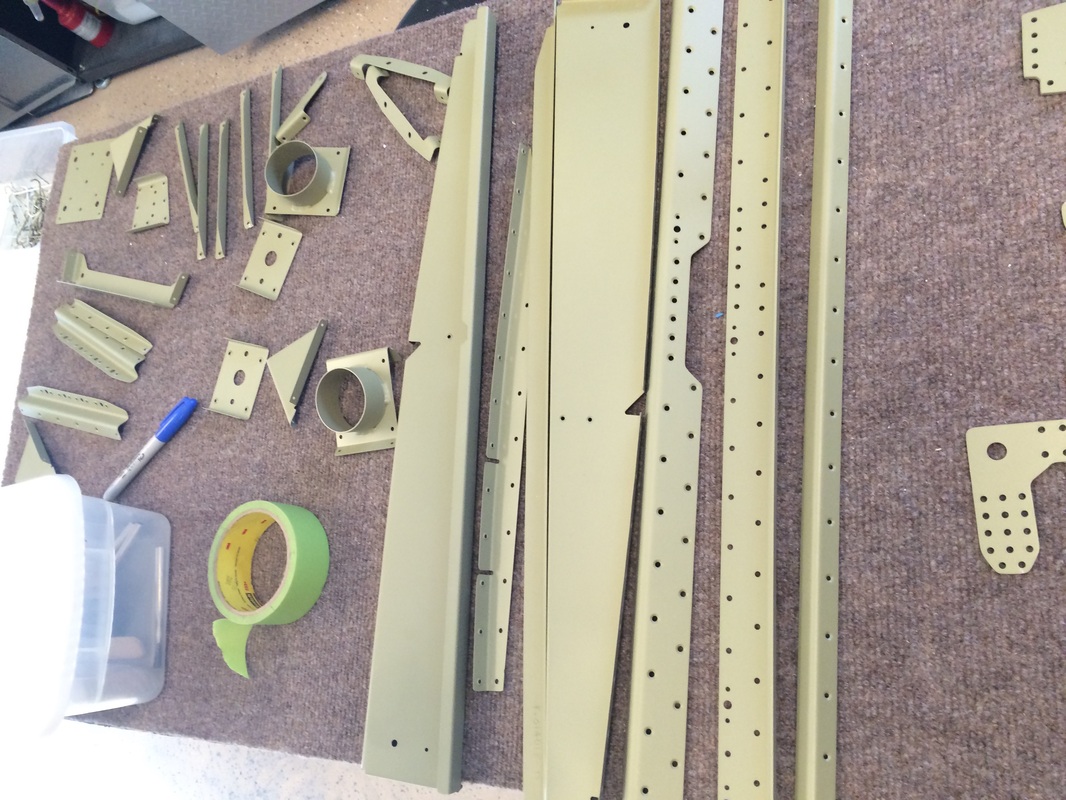
More fuselage parts being primed. We like to build all the parts for each section of the plans, fit them up to make sure all is well and then disassemble and prime before final riveting.
Picture
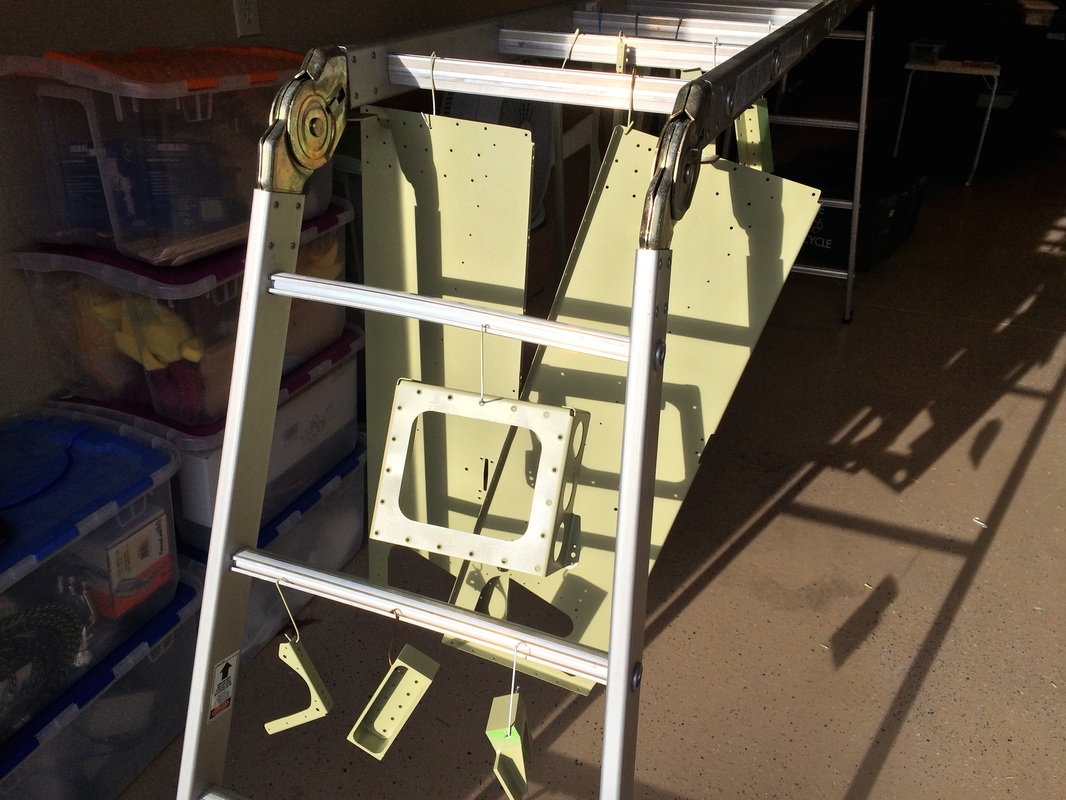
More fuselage parts being primed. We had a warm day and must have painted one hundred parts
Picture
The star of riveting the firewall parts
Picture
There are many rivets in the firewall assembly, but we completed both halves in less than a day
Picture
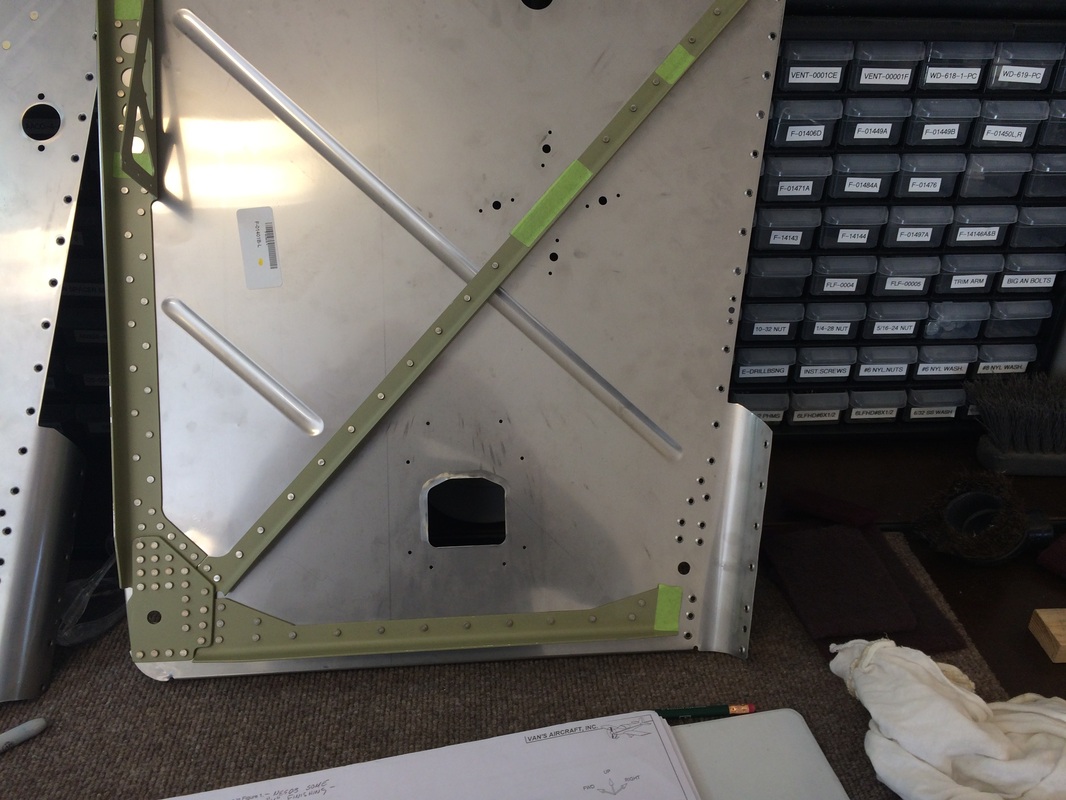
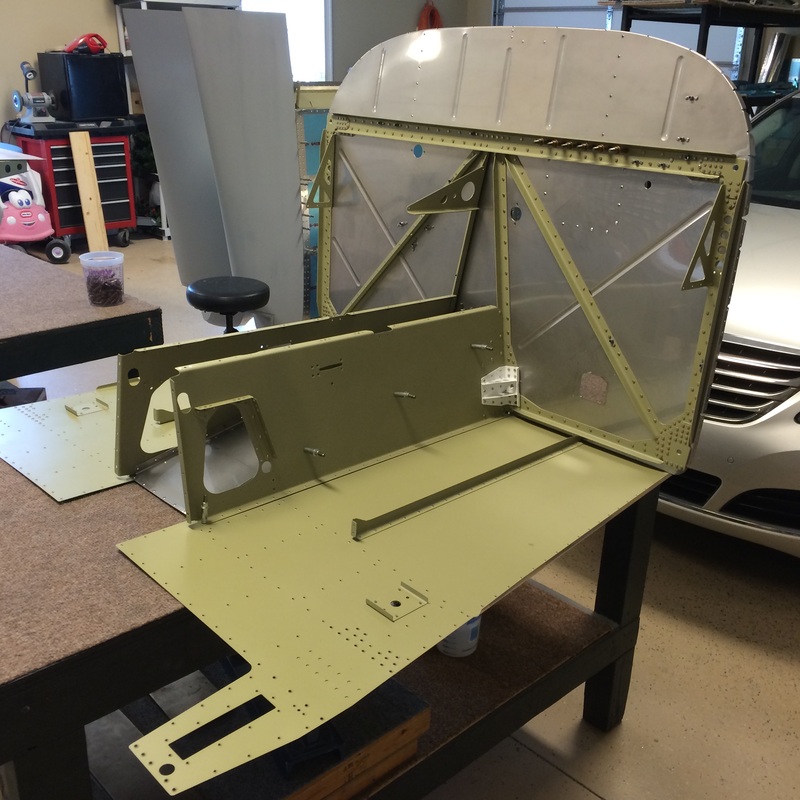
View of the corner where the motor mount is attached
Picture
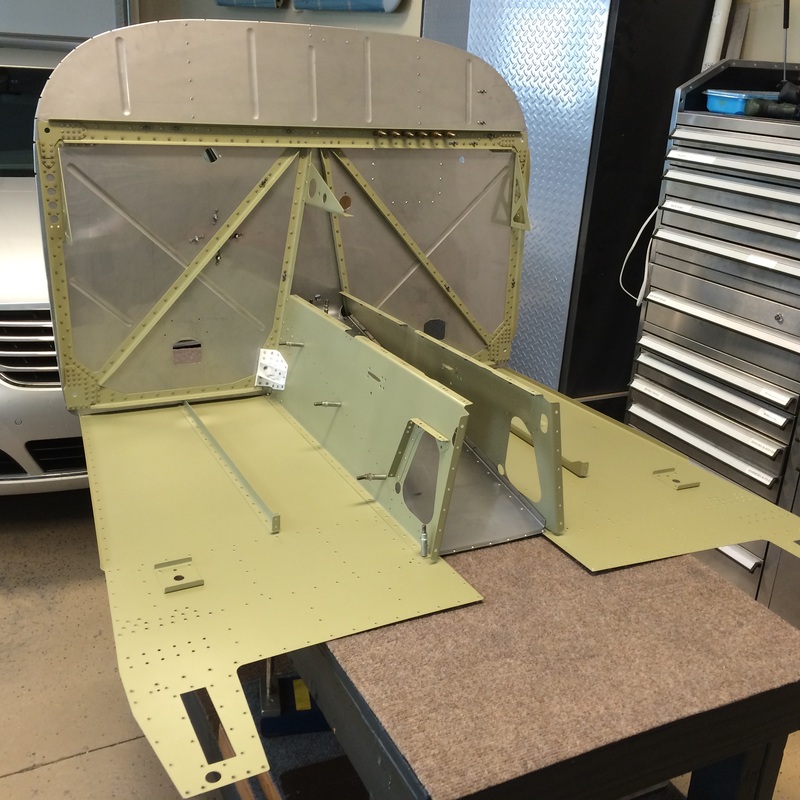
Front view of the completed firewall - Section 27
Picture
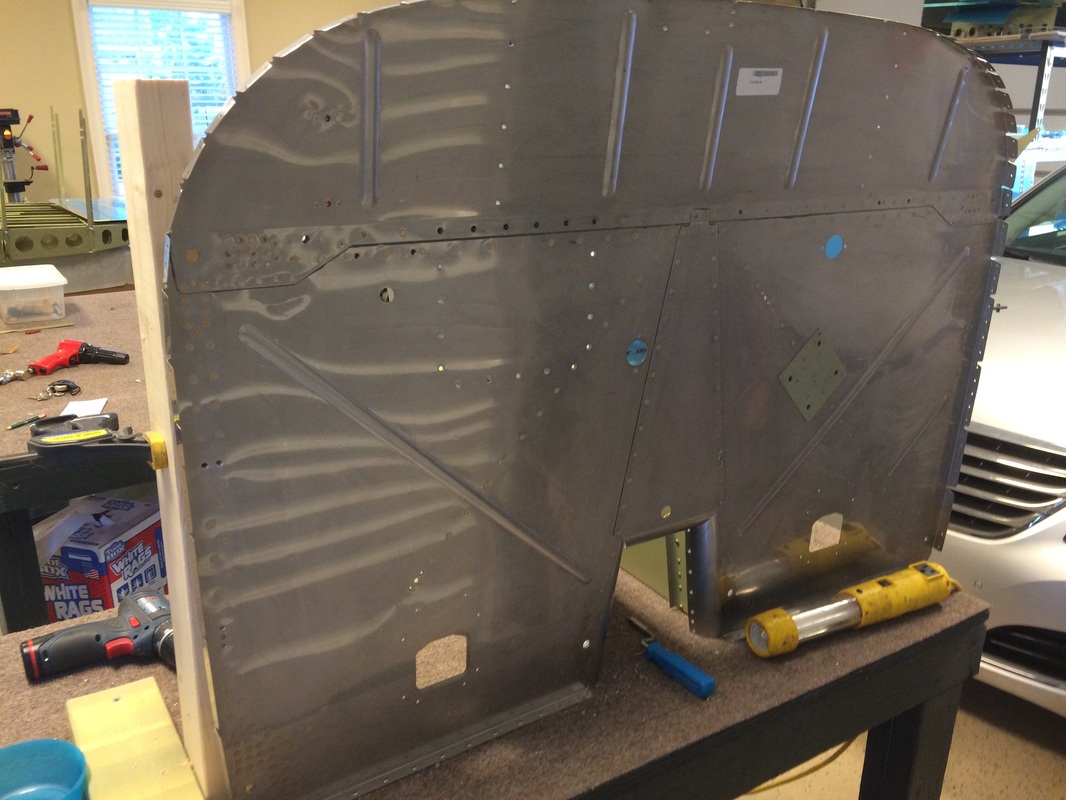
Inside view of the firewall Section 27 Assembly, note we used a couple 2 x 4's to hold the firewall vertical while we riveted this section
Picture
Picture
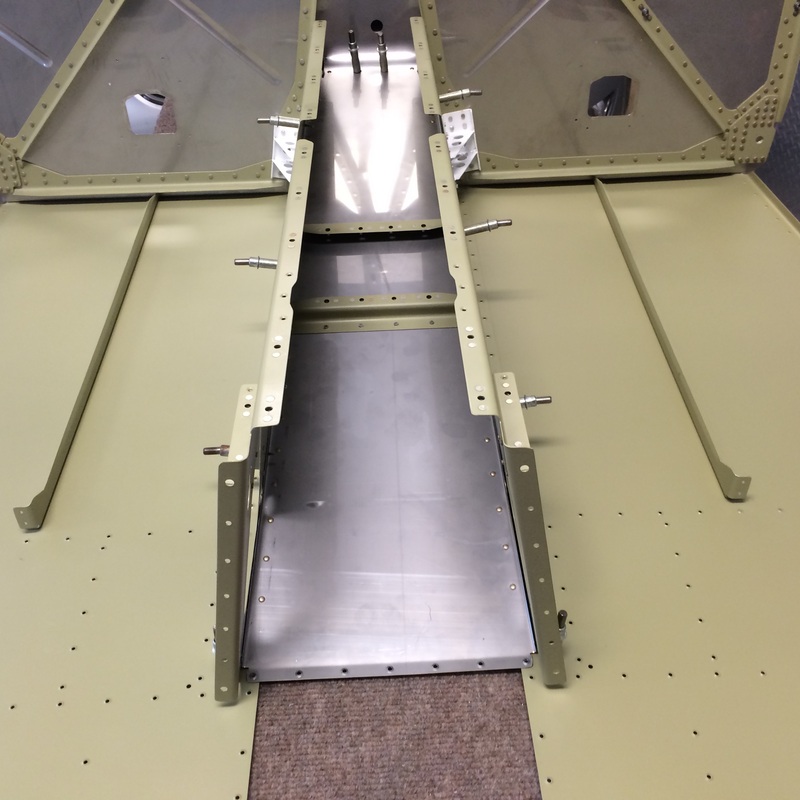
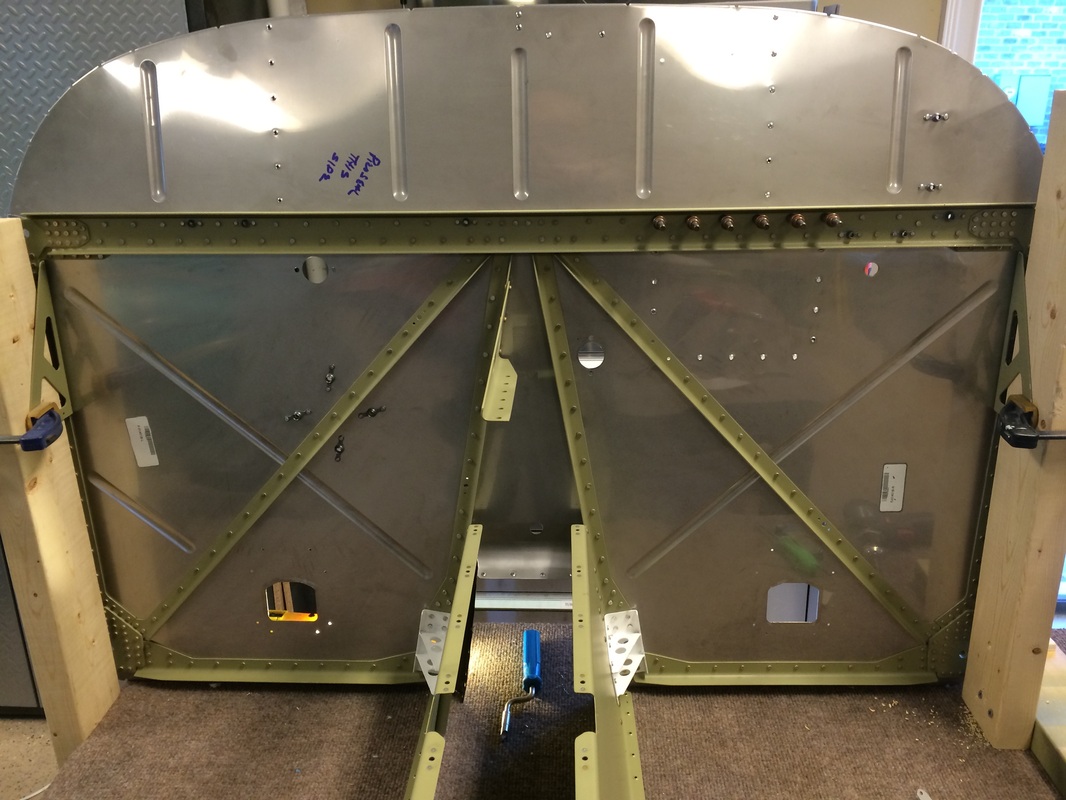
Here we started the assembly of the floor pans to the firewall, yeas it all fit together very nicely even thought it took a few attempts to nest the two assemblies.
Picture
We finished Pro-sealing the appropriate seams around the firewall and the exhaust ramp, clecoed them together in every hole and will rivet the assembly next time in the shop
Powered by Create your own unique website with customizable templates.