Carl & Rafael's RV 14A Builders Site
  • Home
  • Aiken Airport KAIK
  • Previous Builds
  • Carl's RV 7A
  • Rafael's RV 12
  • About the RV 14
    • RV 14A Specifications
    • RV 14A Performance
  • Work Shop
  • Empennage
    • Kit Delivery
    • Vertical Stabilizer - Sec. 1 thru 6
    • Rudder - Sec. 7
    • Stabilizer - Sec. 8
    • Elevator - Sec. 9
    • Rear Fuselage - Sec. 10 thru 12
  • Wings
    • Kit Delivery
    • Spars - Sec. 13
    • Main Wing Parts - Sec. 14
    • Ribs - Sec. 14
    • Wing Assembly - Sec. 14 Thru 17
    • Fuel Tanks - Sec. 18
    • Bottom Wing Skins - Sec. 20
    • Flaps - Sec. 21
    • Ailerons - Sec. 22
    • Aileron Control System - Sec. 23
    • Wing Tips - Sec. 24
    • Aileron Trim - Optional
  • Fuselage
    • Kit Delivery
    • Mid Fuse Bulkheads - Sec. 25
    • Mid Fuse Lower Structure - Sec. 26
    • Firewall - Sec. 27
    • Fwd Fuse Lower Structure - Sec. 28
    • Fwd Mid Fuse Side Structure - Sec. 29
    • Aft Fuselage Attach - Sec. 30
    • Fuel System - Sec. 31
    • Baggage Area - Sec. 32
    • Interior Painting - End Sec. 32
    • Rudder and Brake Systems - Sec. 33
    • Flap Actuation System - Sec. 34
    • Upper Fwd Fuselage - Sec. 35
    • Aileron & Elevator Systems - Sec. 36
    • Roll Over Structure - Sec. 37
  • Finishing Kit
    • Finishing Kit Delivery
    • Canopy and Window - Sec. 38
    • Seat-backs - Sec. 39
    • Landing Gear and Engine Mount - Sec. 40A
    • Wing Attachment - Sec. 41
    • Miscellanea - Sec. 42
    • Engine & Propeller Delivery
    • Engine Installation - Sec. 43
    • Spinner & Propeller - Sec. 44
    • Cowling - Sec. 45
    • Tricycle Gear Legs & Fairings - Sec. 46A
  • Firewall Forward
    • Engine Specifications
    • Cowl Baffle - Sec. 47
    • Exhaust System - Sec 48
    • Fuel & Oil Systems - Sec. 49
    • Control Cables - Sec. 50
    • Firewall Forward Misc. - Sec. 51
  • Panel & Instrumentation
    • Panel
    • Wiring & Equipment
    • Sensors
    • Avionics
    • Landing Lights - OP52
  • Move to KAIK & Final Ass'y
    • Empennage Installation
    • Wing Installation
    • Odds and Ends
  • Fiberglass & Body work
  • Weight & Balance
  • FAA Inspection & First Flight
  • Phase I & Changes
  • Interiors
  • Paint Design & Painting
    • Scheme Designers
    • Glo Custom
  • RV Builders Forum
  • RV 14 Builder Sites
  • Builder's Location
  • Closing Thoughts
  • Picture Page

Main Wing Parts - Section 14

Picture
Rafael made the aileron torque tube assemblies this week. We had trouble getting them to fit between the rib flanges without distorting them outwards. I took some bending a tweaking mods and don't forget to radius the back to fit in to the rib flange radius. This all helped to get it where it fit properly. Small tweaks util it fits, or as Van's would say "make it fit"
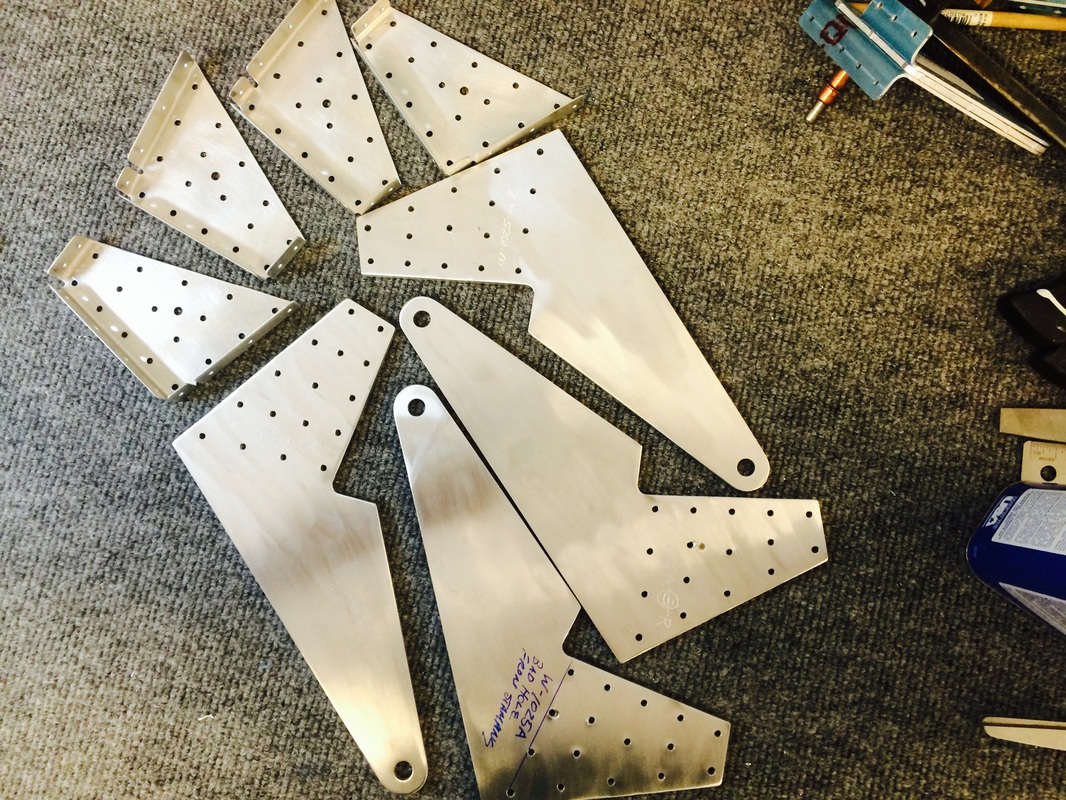
Picture
Flap bracket parts
Picture
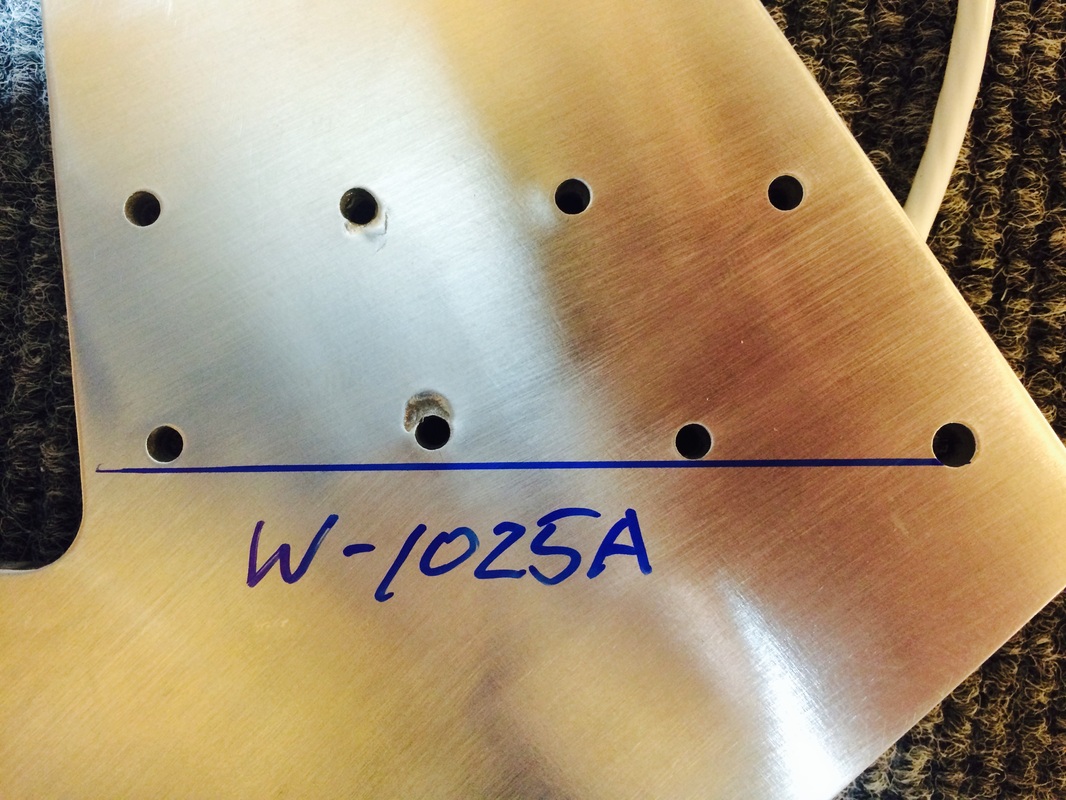
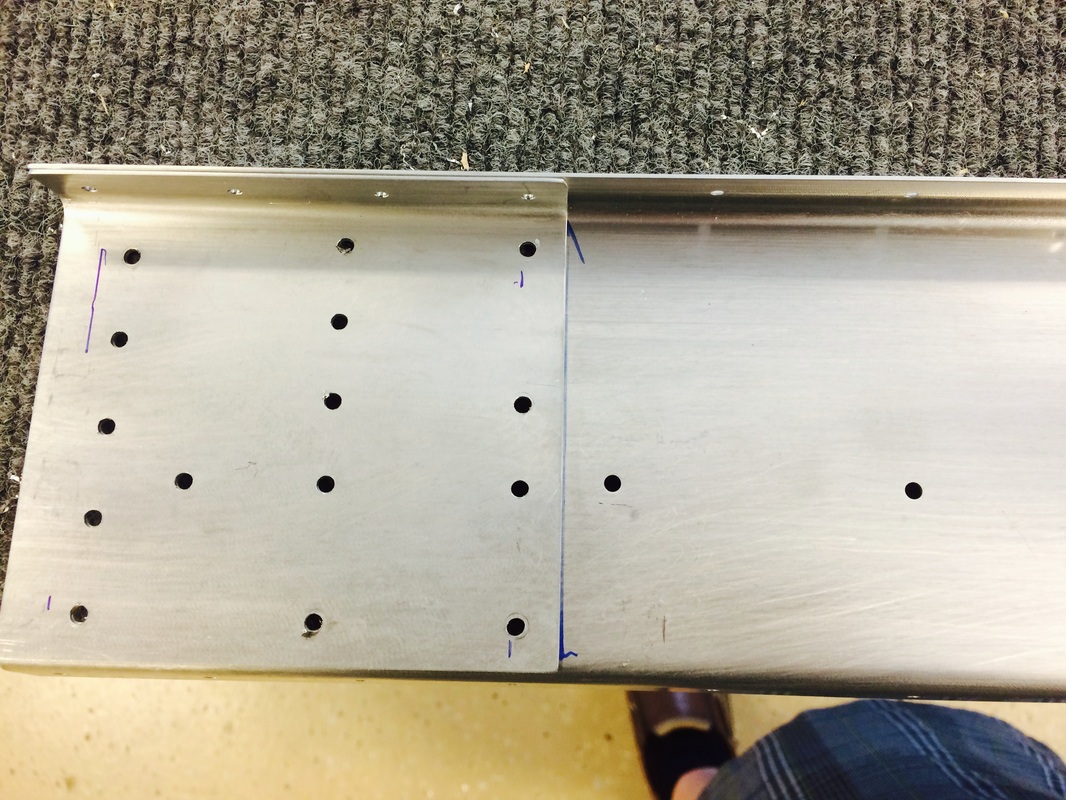
No company is perfect and here is an example of Vans punch going catawampus. Our solution since all the holes are undersize slightly was to average the holes by finding the one hole get gets them all close and the match drilling. It is not perfect but very close. I will use a half size longer rivet on that hole and use the pneumatic squeezer to make sure the hole is filled
Picture
Picture
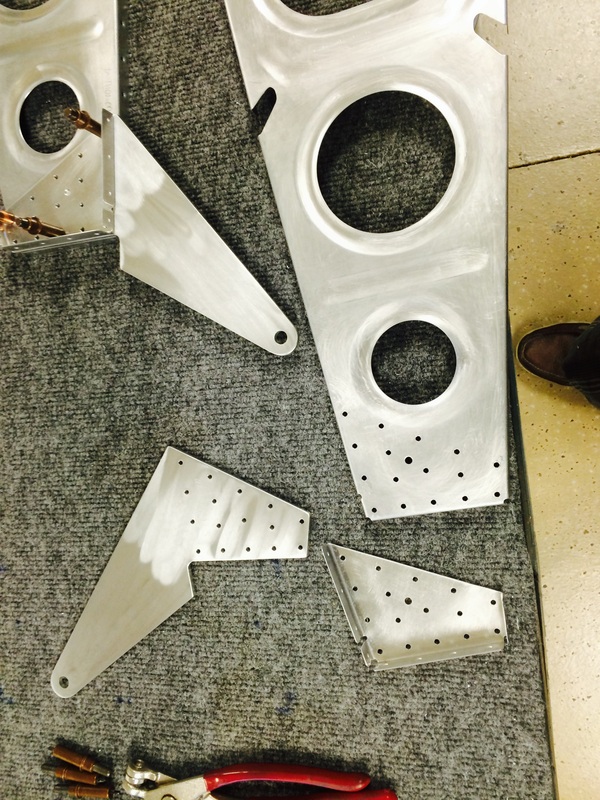
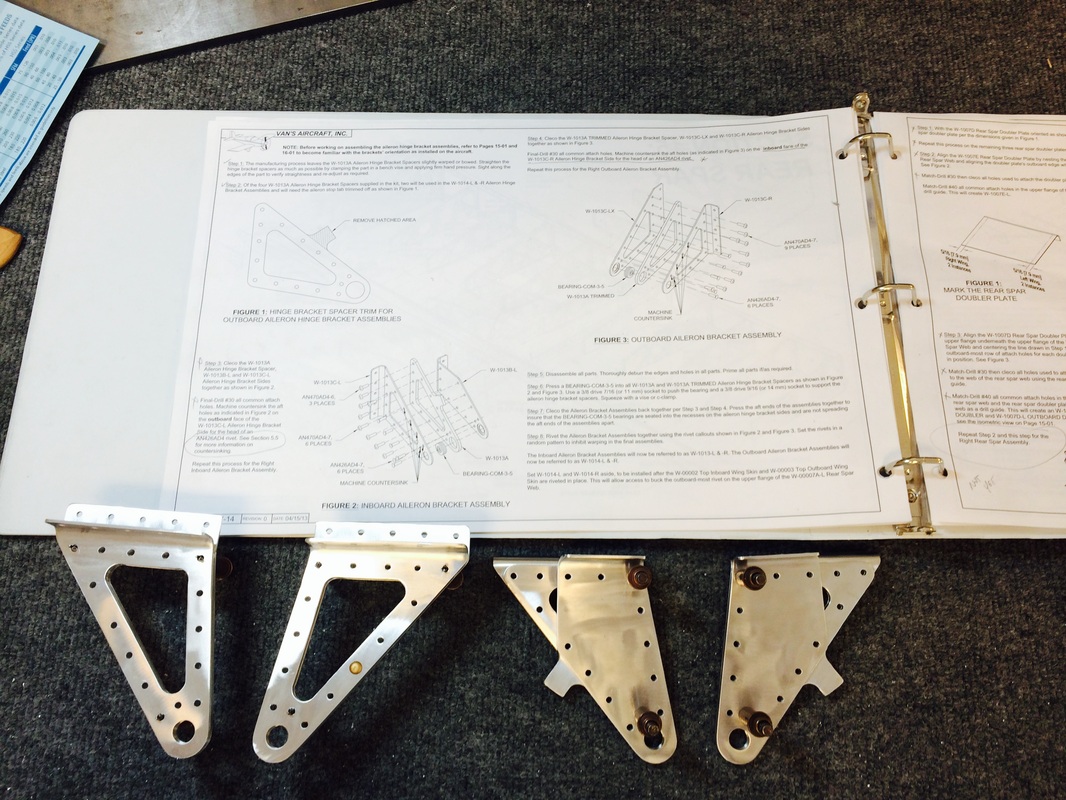
Aileron brackets ready for priming
Picture
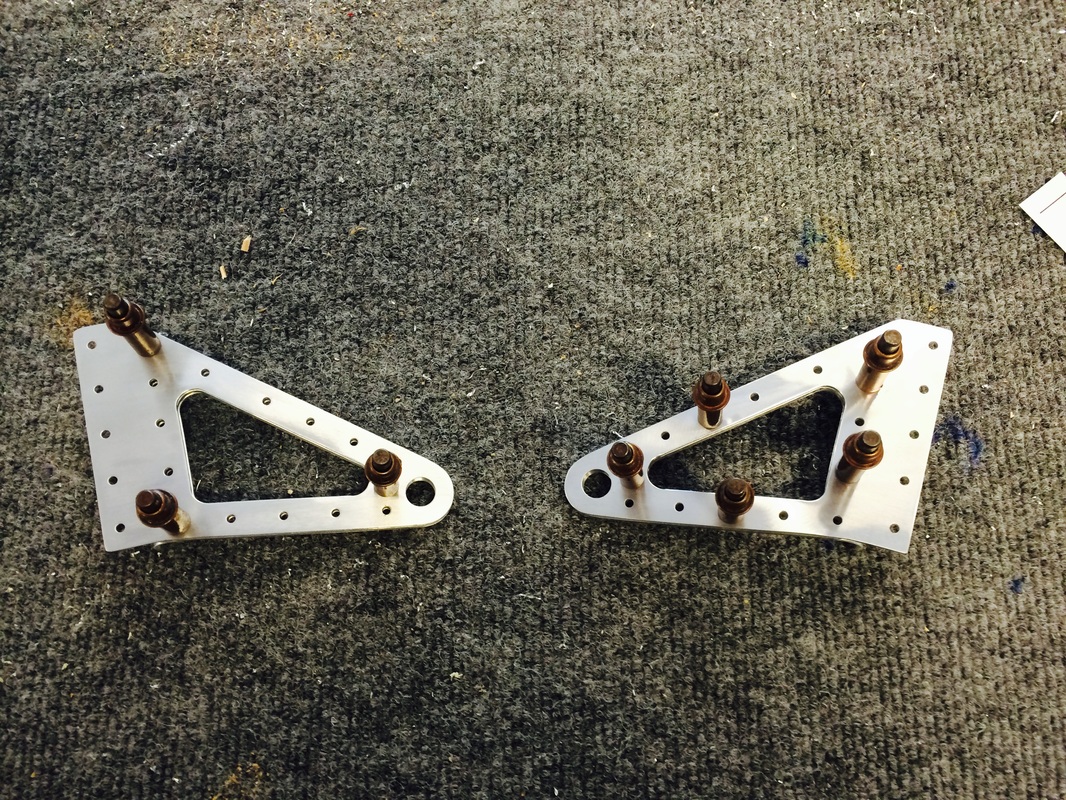
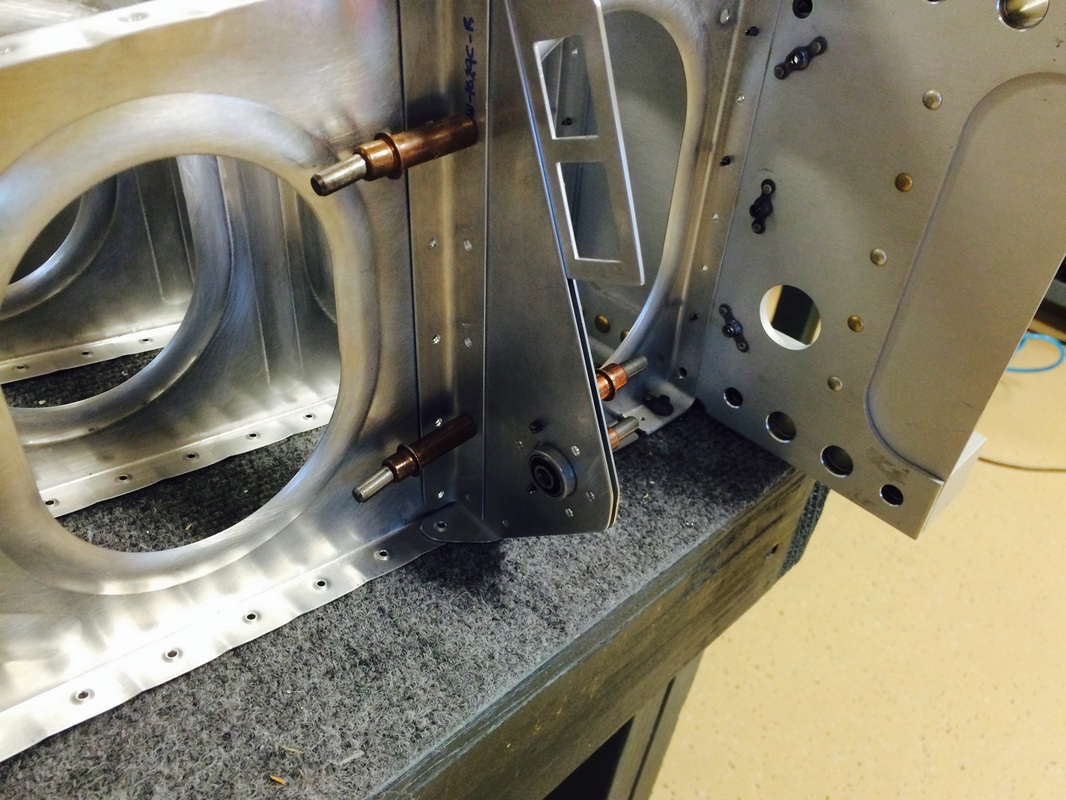
Side view of the outboard aileron brackets
Picture
This is how we like to finish the edges of the our aluminum parts. There is no chance of a crack if there is no place for to start, plus it just looks like a professionally machined part.
Picture
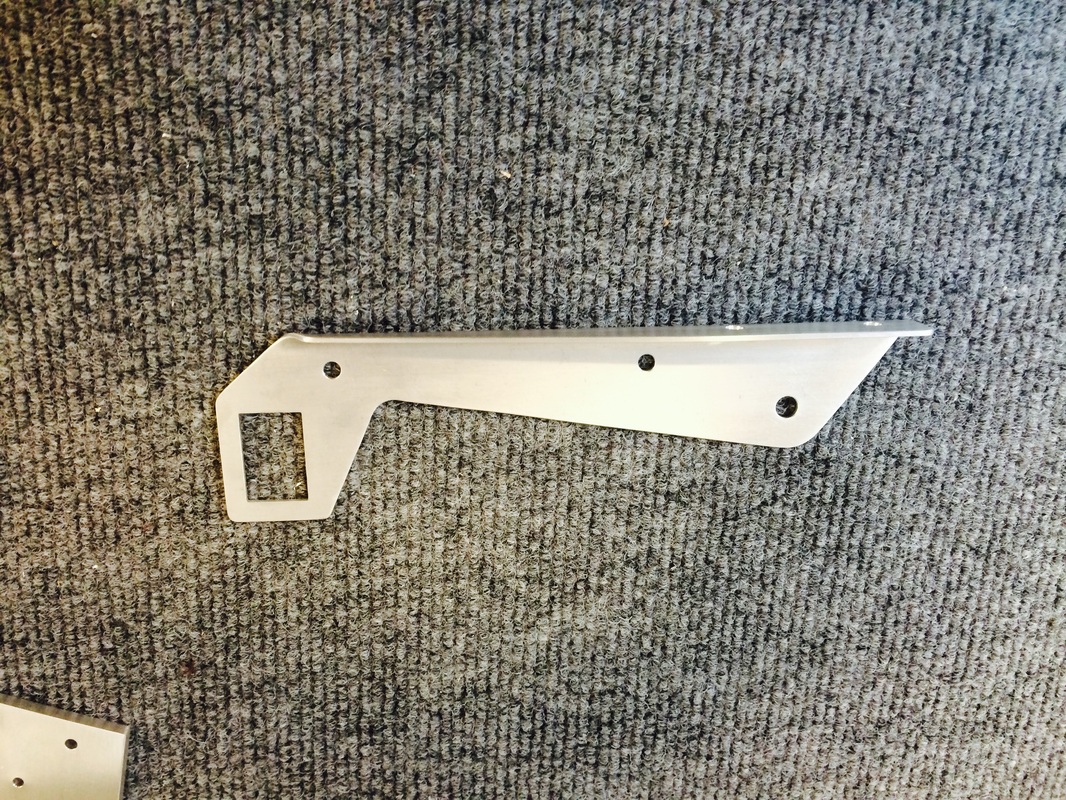
Auto pilot bracket, which also holds the cable connector, the rectangular cut out.
Picture
Match drilling the rear spar to fuselage attachment doubler.
Picture
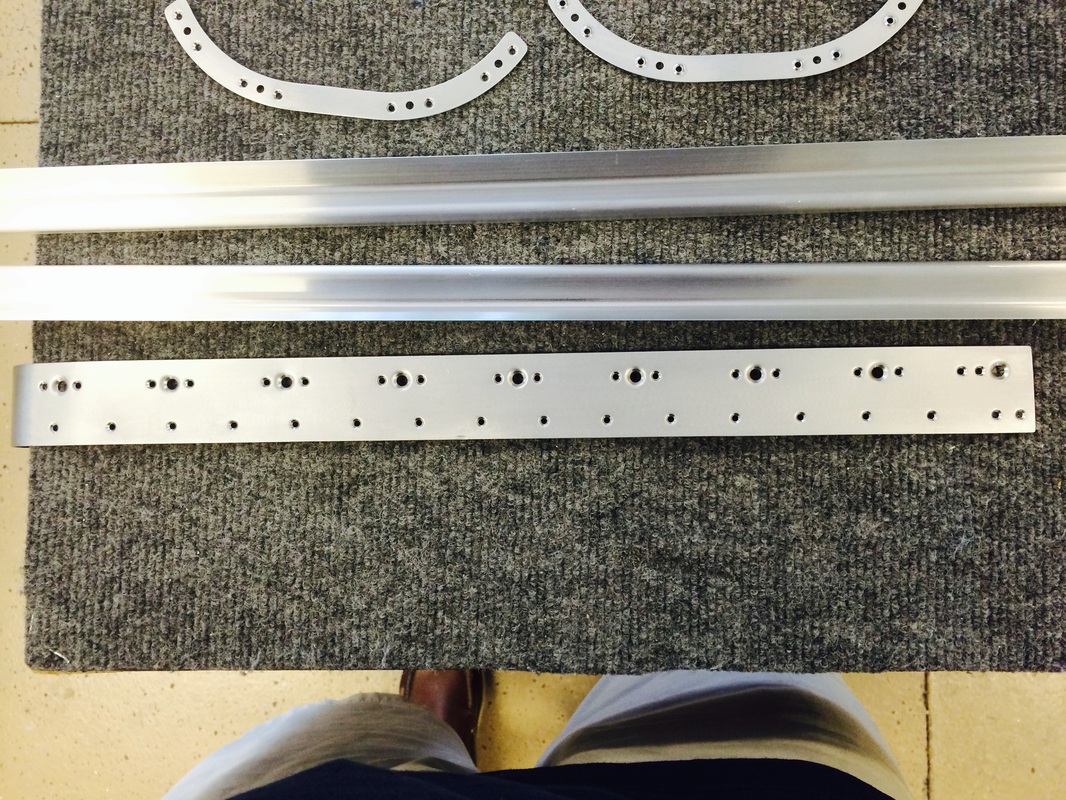
Aileron attachment doubler
Picture
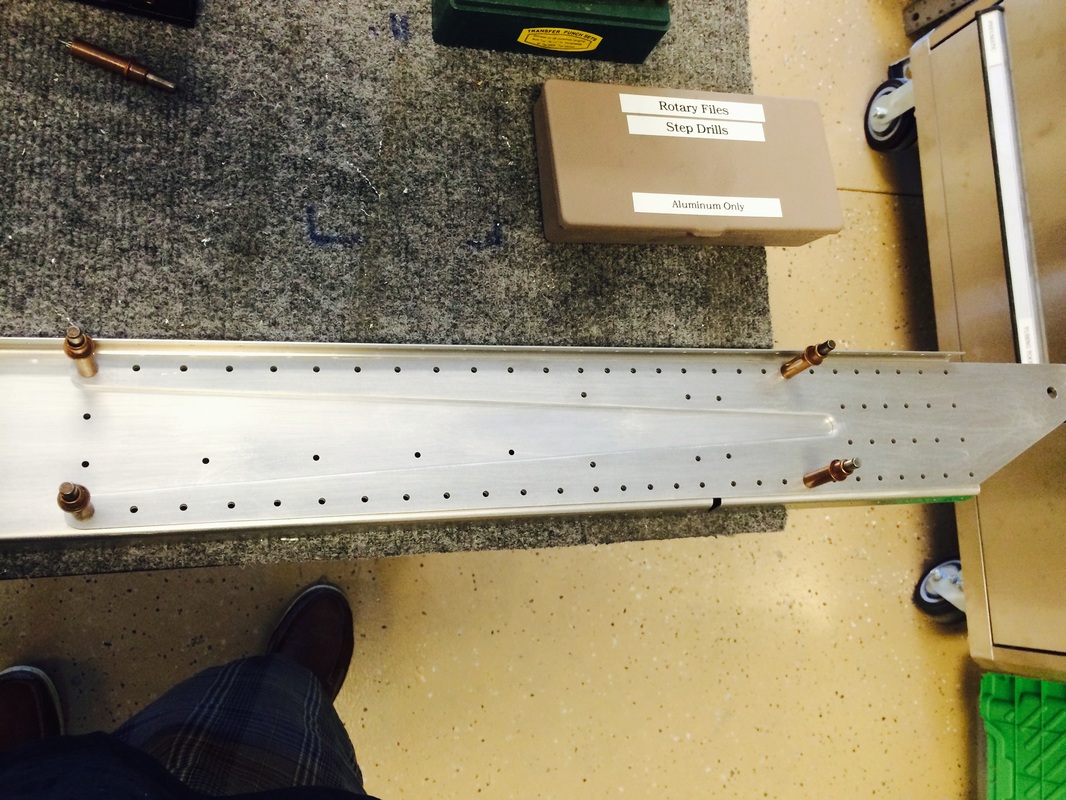
Outboard aileron bracket to rear spar doubler plate, match drilled to the rear spar.
Picture
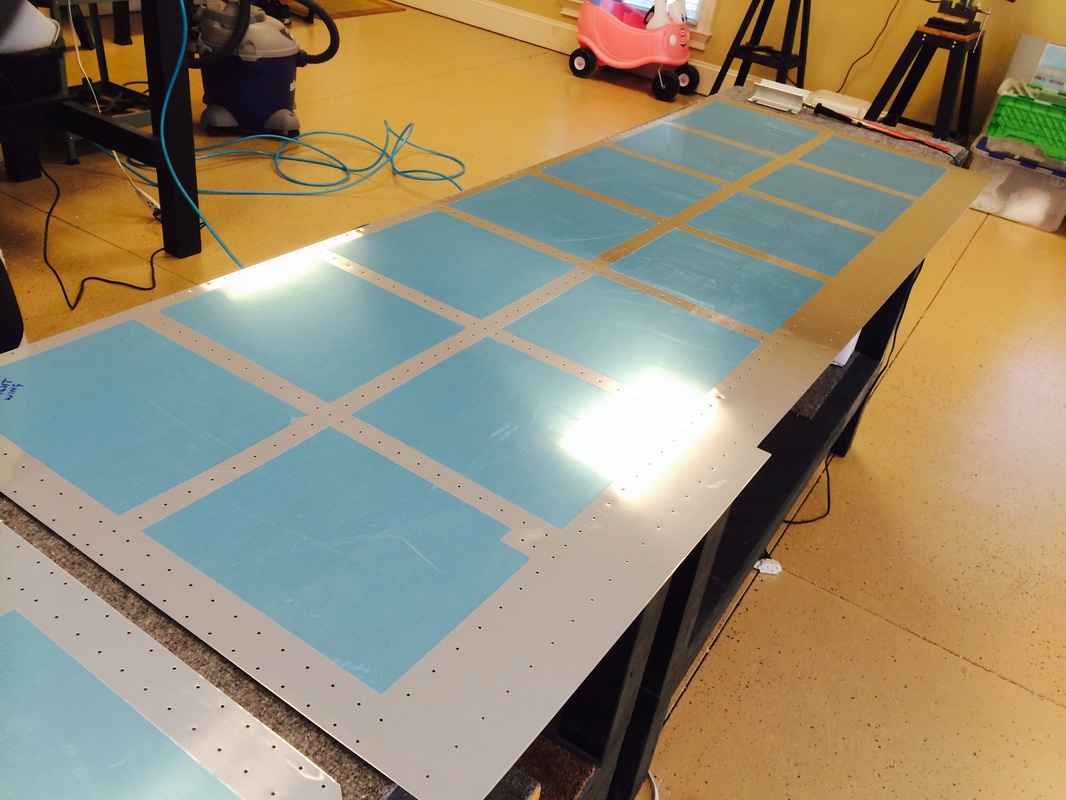
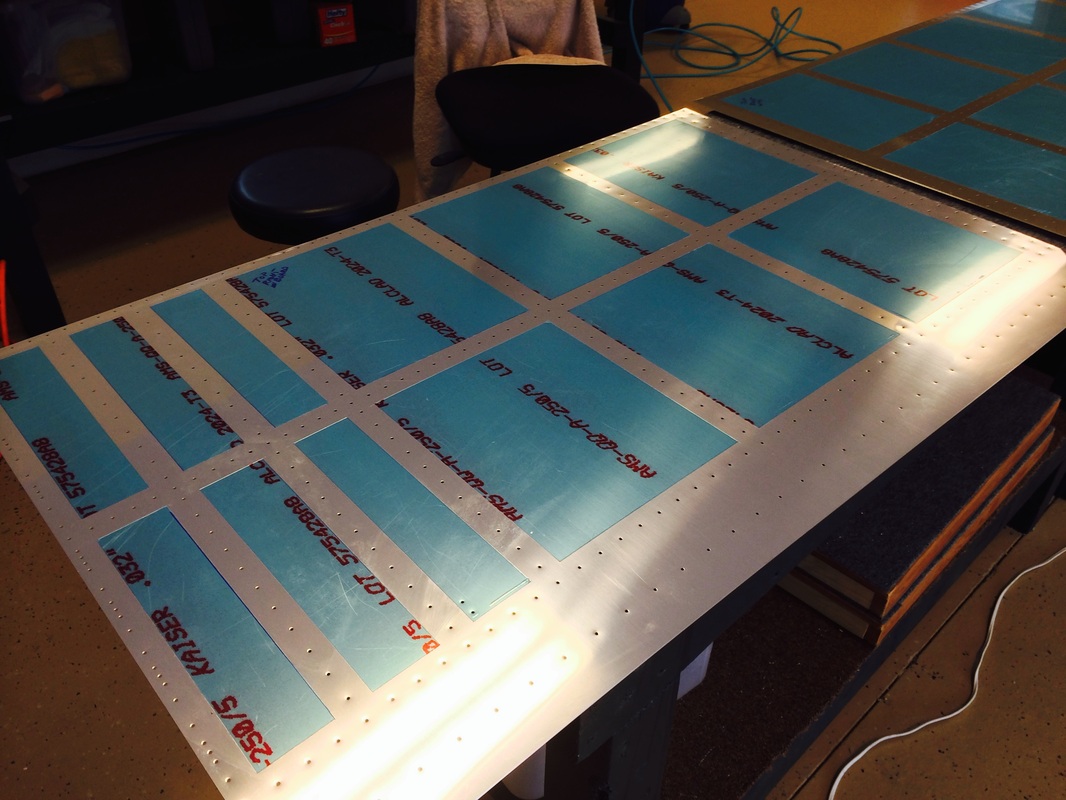
Wing skins after trimming for the dimple and riveting process.
Picture
After trimming the protective plastic for dimpling, we finish the edges with #120 & 240 grit emery glued to a 1 x 3 x 12" wood block. Then we'll run over it with the hand grinder with a soft Scotch Brite wheel.
Picture
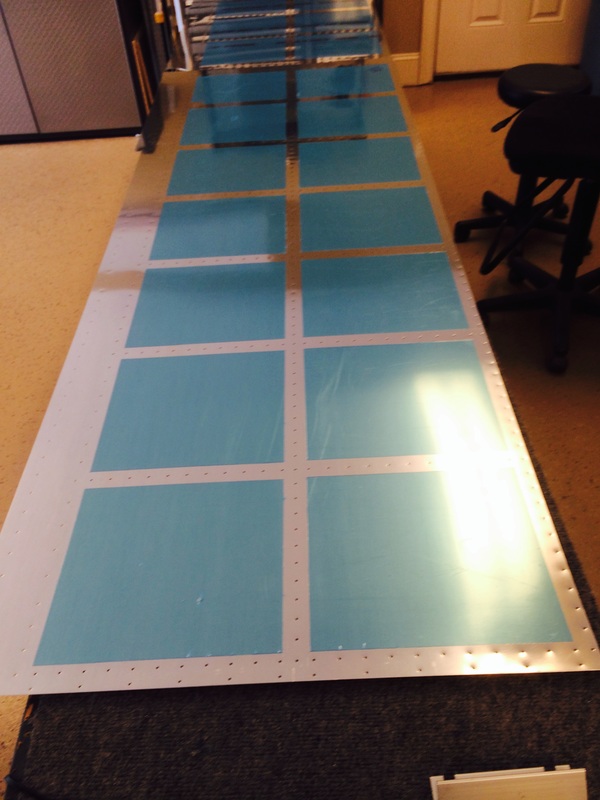
More skins for the right wing, ready for dimpling.
Picture
While Rafa has been working on ribs, I have been working on wing parts. We are batching parts so we can prime them all at one time. These parts are for the outboard forward wing including landing light frame, lens frame, hatch and J stringers.
Picture
More wing parts ready for priming.
Picture
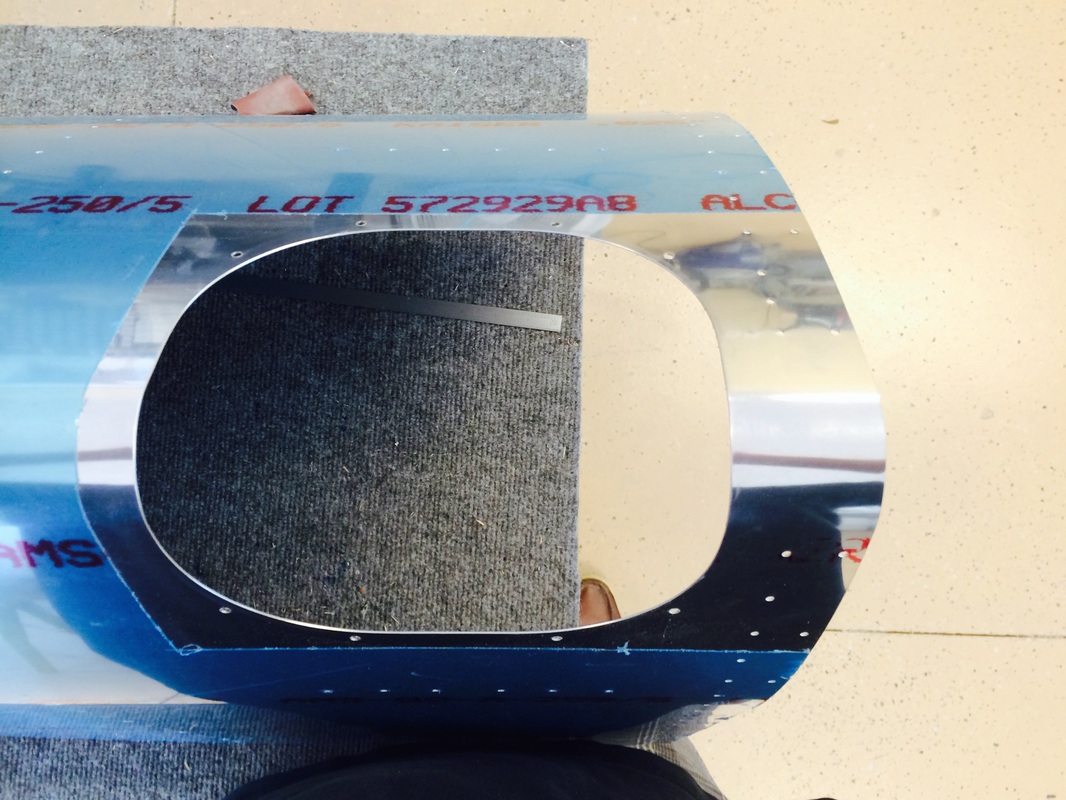
Landing light cutout after finishing.
Picture
We painted inside the light wing bays, so it looks finished when viewed through the plexiglass from outside. This is also mentioned in the plans, so it seemed like a good idea.
Powered by Create your own unique website with customizable templates.