Work Shop
We are building all of the major sub-structures in Rafael's garage. He built his new home for airplane building with a garage that is two cars wide and 2 cars deep. He is very wise and installed a heat pump that keeps the shop toasty in the winter and cool in our sweltering South Carolina summers. It is very comfortable all the time, so any time is a good time to build.
We like to build RV's so we try to keep things from becoming a job. Typically we build 3 days a week with a few weekend days scattered in. Since Rafael lives there he can walk out any time and make parts, scuff for priming, etc. We assemble all the major components together to reduce risk of error, two eyes and brains are better than one.
So our shop consists of and area about 25' wide and 12' - 16' deep with two cars in and double that with the cars in the driveway. We will do the final assembly at our hanger in Barnwell (KBNL) where we keep the RV 7A.
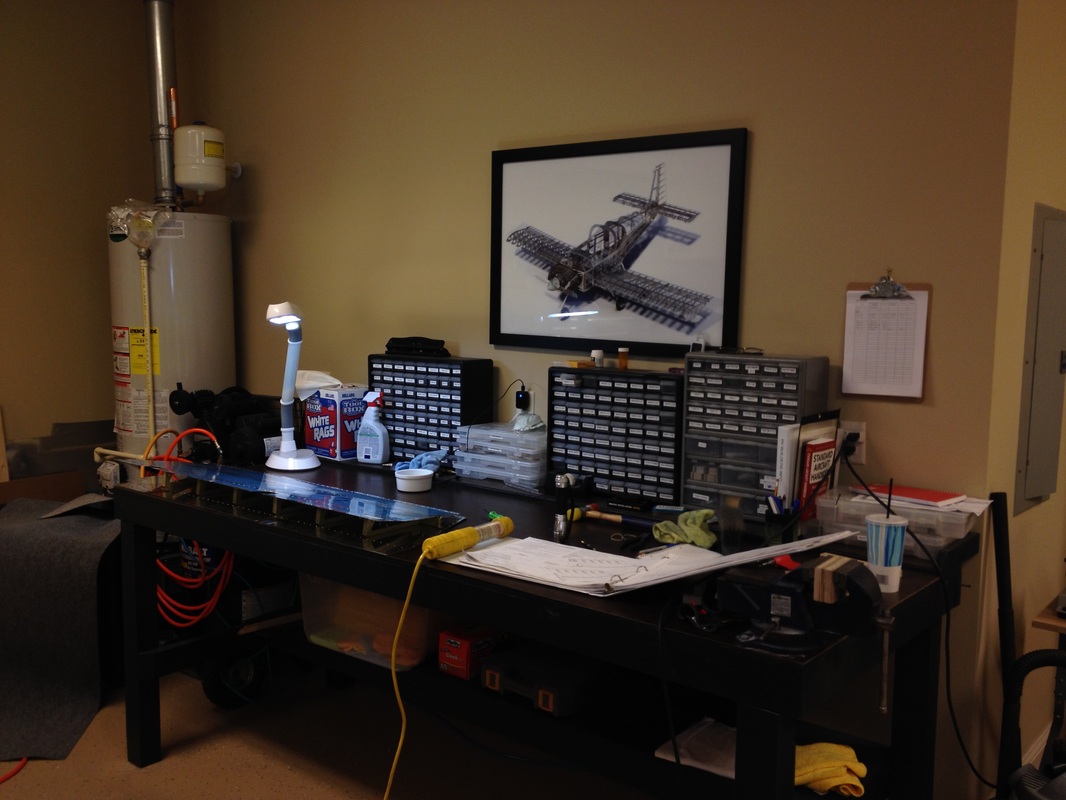
The main bench is 40" x 96" and the parts cabinets are where we keep all the hardware for the kit.
We also use two bench's that are 24" x 60". These are a good size for flight surfaces, push them together and they are fine for a wing or the stabilizer. This works well for us.

Nothing elaborate, but good tools help speed up the building process, and reduce frustration. The 1" x 30" belt sander is a must for building an aluminum plane. The band saw is also used all the time, and we managed to get this one at Sears on sale for less then $200. The 4" belt sander is great for finishing edges on bar and angle pieces.
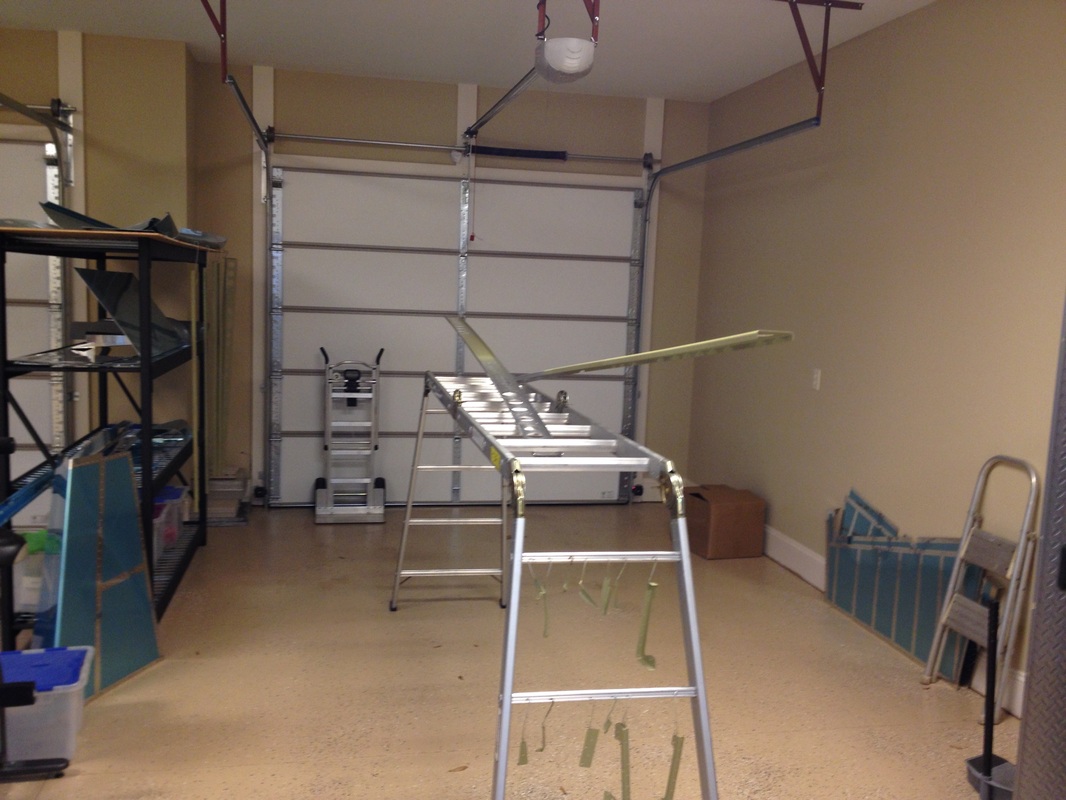
The folding ladder is a good place to hang primed parts to dry and when you are done it folds up for storage
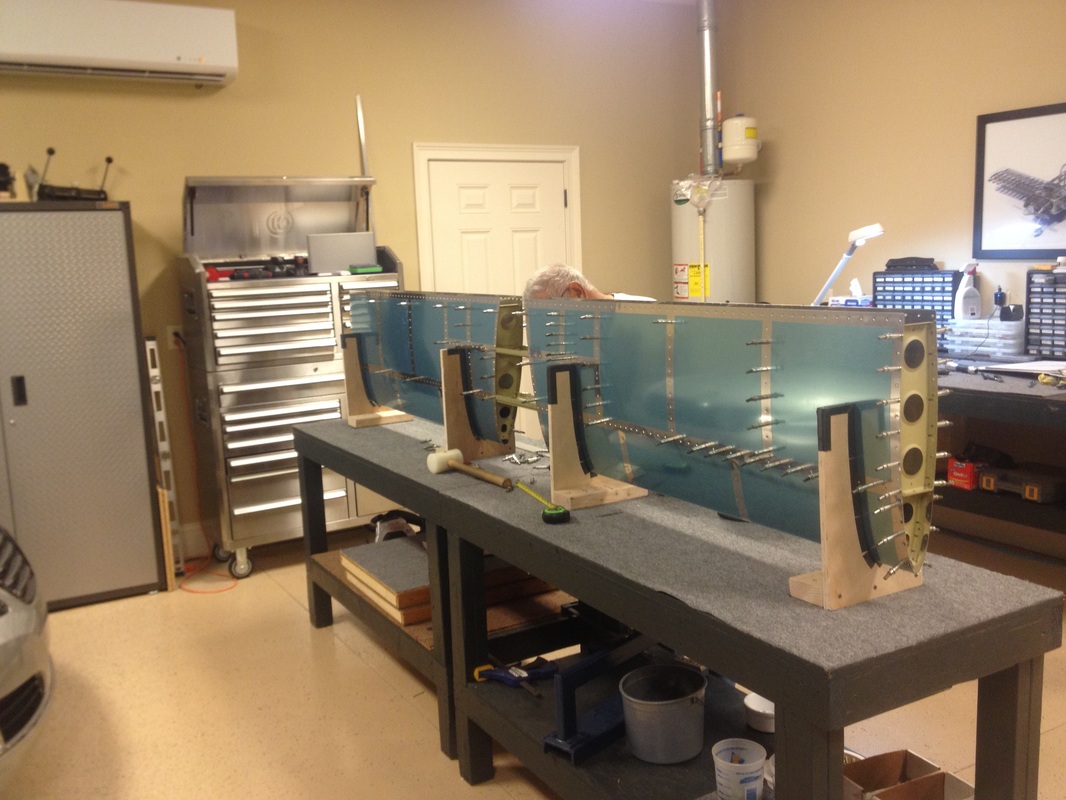
Building the stabilizer using the 2 smaller benches clamped together.

Our 6" bench buffer with Scotch Brite wheels is in constant use, we push it back against the wall when we are done for the day. The drill press is a Sear Craftsman, it works well for RV parts and it also was less than $200 on sale.

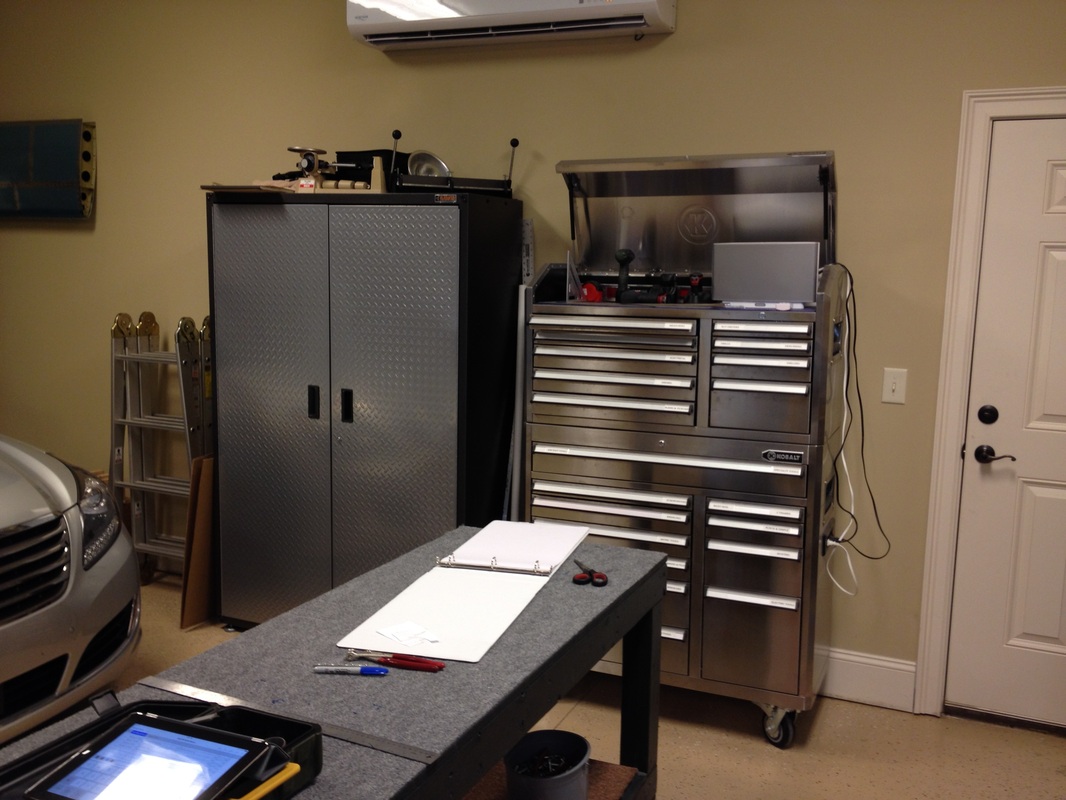
This is a view from the front right bay of the garage where Rafael's wife parks. She works during the week and it is usually car free. Yes, that is an A/C unit on the wall. I built the RV 7 in a hanger and froze in the winter and cooked in the summer, it is not a good environment to built a quality plane worth that costs a $100K or more.
