Odds and Ends to Finish
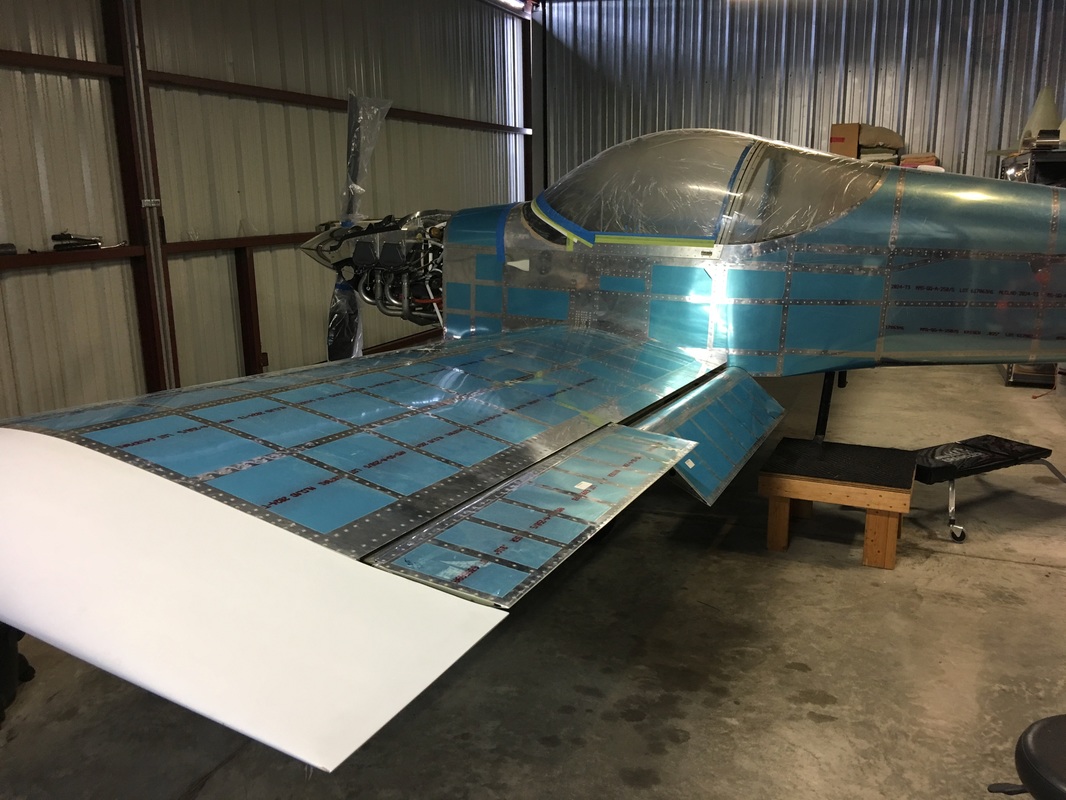
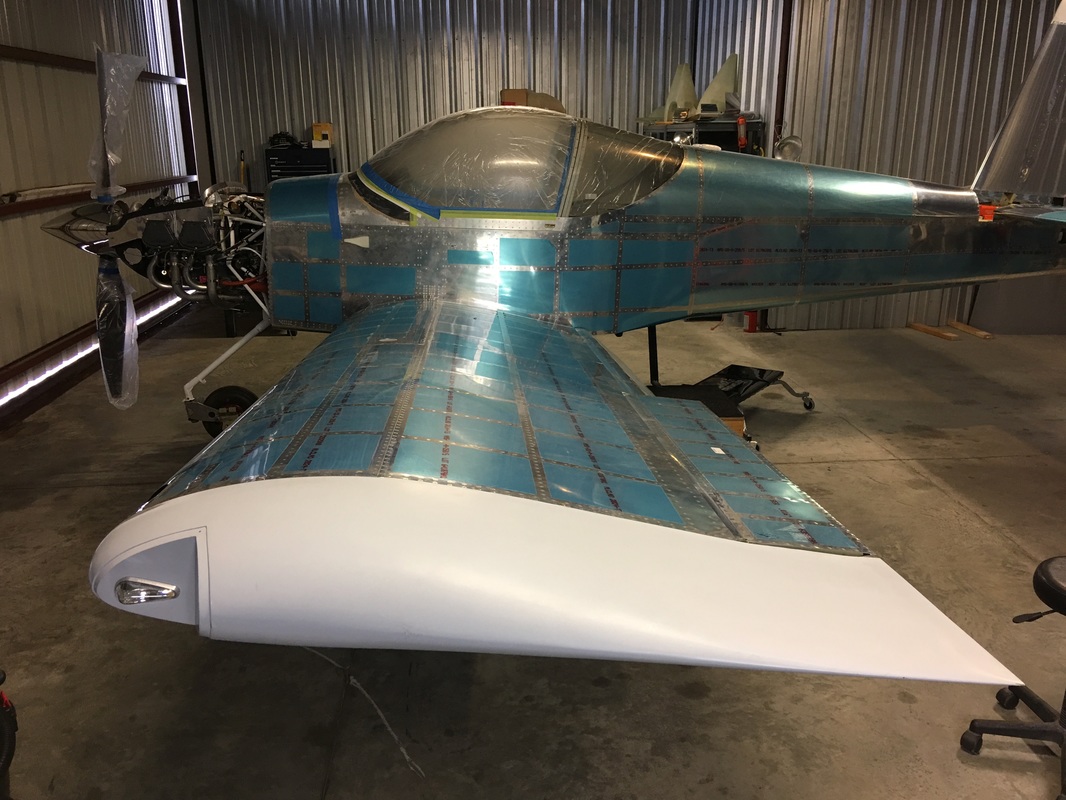
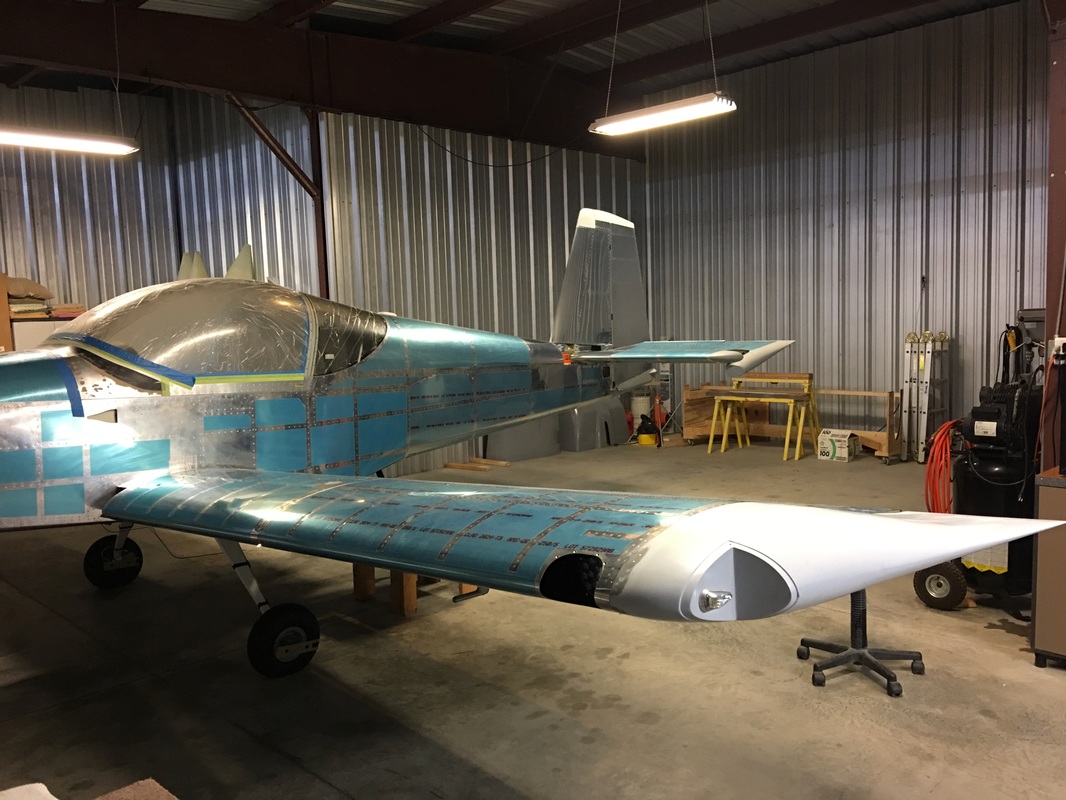
This section will be a catch all, to clean up the loose ends. The plans have been completed for the most part. There is some safety wiring to be done, and of course the sanding and finishing work with the fiberglass pieces.
Next week I leave for Van's to get some stick time on the RV 14 with Mike Seager and the week after Rafael heads out there. Even though we have many hours in my RV 7A, there is nothing wrong and everything right about getting some training on the new plane. We have not had any stick time in the last 18 months since we sold the 7 and this is something we sorely need and are looking forward to.
Next week I leave for Van's to get some stick time on the RV 14 with Mike Seager and the week after Rafael heads out there. Even though we have many hours in my RV 7A, there is nothing wrong and everything right about getting some training on the new plane. We have not had any stick time in the last 18 months since we sold the 7 and this is something we sorely need and are looking forward to.
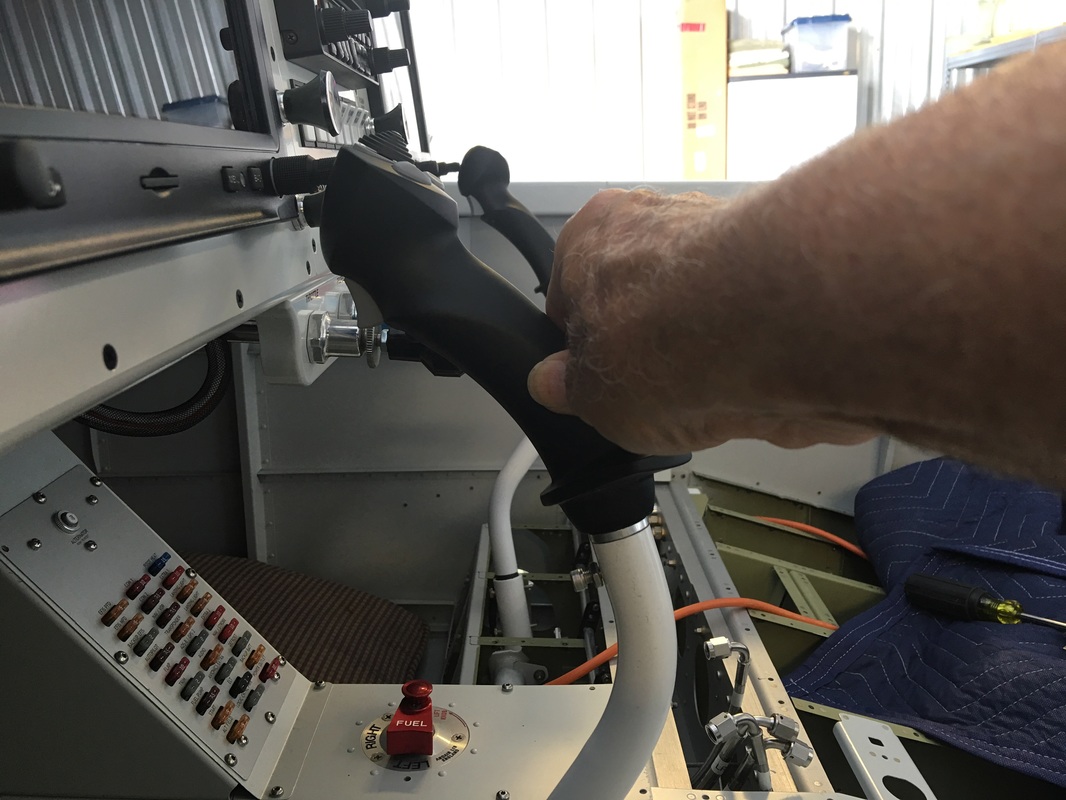
We ran into an issue with the Tosten sticks. These are not the ones in Van's catalog, rather the CS - 8 grips with the modern vs military look. I had these on my RV - 7A and just loved them, they never let me down and the switches were flawless. So, I figured we would just use these instead of the military ones. Dratzs, they did not work out because they tilt forward quite a bit and hit the knobs on the the Garmin GX Touch. Admittedly the Garmin has long, double tier knobs that may not be an issue with other AFIS systems like the Dynon or Advanced, but they hit ours and had to be changed. Kevin at Tosen is great at servicing his customers and very gracious. He is swapping them out for the MS Military grips with our switch configuration. Because they are not curved forward, there should be no interference. This is the grip tested on the factory model. I encourage builders to use these grips. They are available in Vans web-store on the stick with the wiring and plug installed. Save time and money and get them hear: (Click on the picture to go to Van's web-store and the RV 14 stick.)
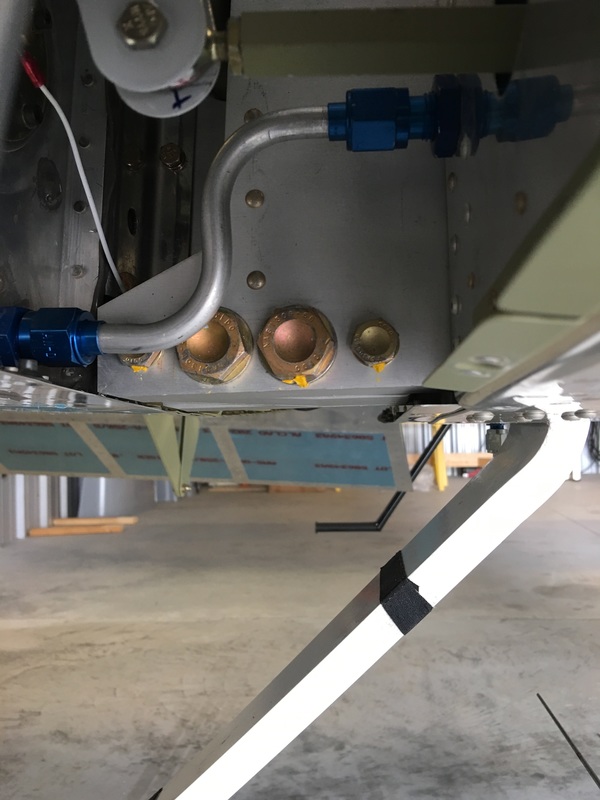
It took three tries to get that darn little fuel line bent properly and have it fit into place. It is always the simple little pieces that take the most time. On our plane the version in the plans turned out to be 1/4" too long. You will also run into serious tool bending issues doing the reverse bend back. Have fun, I sure did. Thanks Ed for the extra 3/8' tubing.

Thank the lord the fuel overflow was perfect and went right in, I had enough experience with the fuel lines. Also, we filled the right tank to the brim. No leaks so far and the overflow worked perfectly, meaning as the sun came through the hanger door and heated the tank, the fuel dripped out the overflow, just like its supposed to. We will next move this fuel to the left tank, one gallon at a time and calibrate the left tank, then reverse the procedure back to the right tank.