Interior Painting - End of Section 32
Painting Notes and what we learned:
We decided early on to use a water based paint for the interior because we were building in Rafael's garage not in a hanger. We had some issues even in our hanger painting with poly urethanes ( Dupont Imron ), they are slower drying and the overspray tends to stick to everything in the area. Rafael managed to get overspray on my new car which was black and it cost $300 to get it off using a clay method. Needless to say we didn't want to go down that road again and decided to use Sherwin Williams Jet Flex WR, which is faster drying and safer to use. This paint is much thicker than the poly's and requires a whole different way of spraying. THINK LATEX PAINT from the way it handles and sprays. On the good side, we were worried about toughness and serviceability, and found out that this is not and issue. This is one tough paint if the surface is prepare properly. IT JUST SPAYS DIFFERENTLY, so do not try to spay it like poly's.
From the beginning the small parts came out very nice with a satin finish. I found I had to spray close 3-4" to get it to look good, but the paint levels out nicely when it drys.
Our problems didn't start until we painted the interior of the fuselage.
We had a total blowup painting the interior. The JetFlex covered well, but it dried very rough and did not smooth out like the individual parts we painted. Oh crap!, what now. I made a call to the tech rep at Sherwin Williams and found out many new things that were not covered in the tidbits written on the VAF blog and had many misconceptions from them. It turns out that the cheap spay guns like the Harbor Freight and the Spray IT, are just that. They can lead to real trouble and did in our case. Yep, sometimes they will be just fine, but like our experience, they may give up the ghost when you need it them the most. You will find YouTube videos on how to make cheap guns work properly but good luck with that, it didn't work for us. We had to hand sand the entire interior with 400 grit wet and dry to get back to where we can spay it again and make it right. 16 hours worth of sanding just to get it smooth! It turns out the Spray IT gun we bought had air backing up in to the pot and the rest is history! I would recommend an Asturo, Binks or DeVilbiss quality of gun for this job to do it right.
Here is what the tech rep told us, and after trying his recommendations we are now getting good results on large practice pieces:
- The paint comes from the factory in different viscosities that can vary quite a bit. Do not rely on 10-25% in the data sheet, or the information in VAF web blog, it is not necessarily applicable to your specific can of paint! In some cases they have had to thin as much as 35% and more and in some case very little thinning at all is required.
- You do not need a 1.7 tip, a 1.3 will work better in most cases, because the paint atomizes easily.
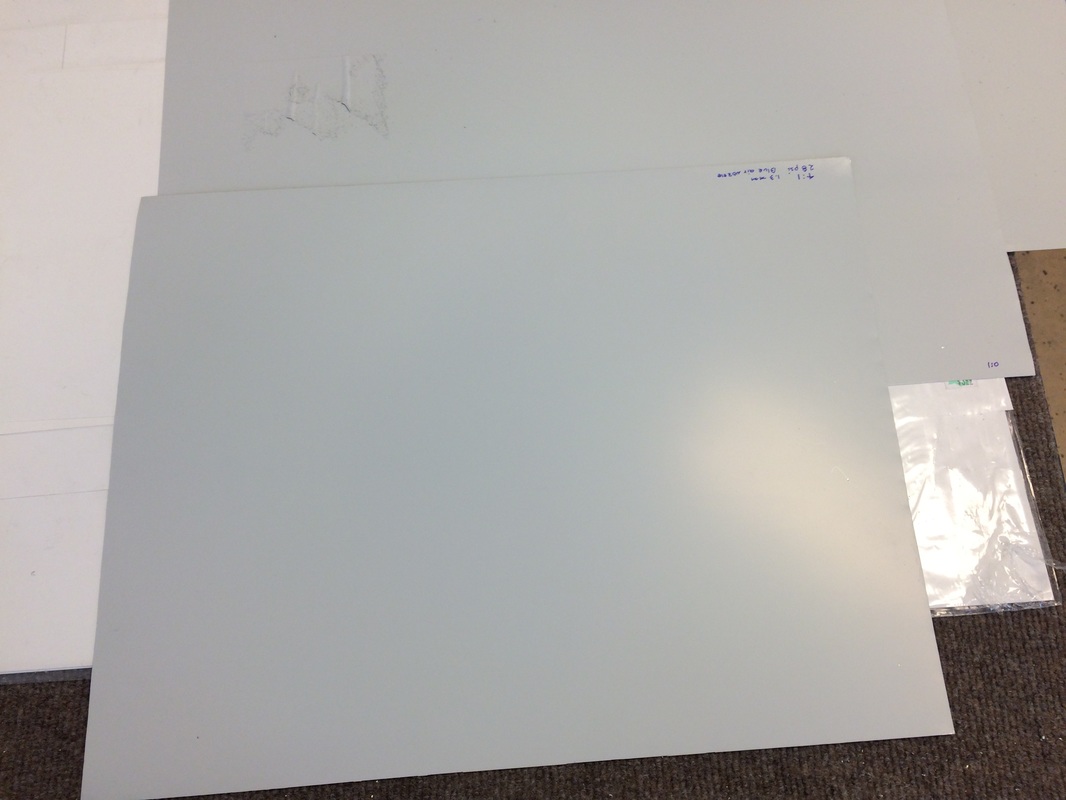
- Run a good HVLP at between 20-30psi, practice on some 18" aluminum flashing, this works great.
- Play with the thinning, we found on our gallon of paint that 1:4 ratio was the best mix for nice even results, spraying about 5-6" from the surface with a 50% overlap.
More to come after we apply the finish coat to the interior.
We decided early on to use a water based paint for the interior because we were building in Rafael's garage not in a hanger. We had some issues even in our hanger painting with poly urethanes ( Dupont Imron ), they are slower drying and the overspray tends to stick to everything in the area. Rafael managed to get overspray on my new car which was black and it cost $300 to get it off using a clay method. Needless to say we didn't want to go down that road again and decided to use Sherwin Williams Jet Flex WR, which is faster drying and safer to use. This paint is much thicker than the poly's and requires a whole different way of spraying. THINK LATEX PAINT from the way it handles and sprays. On the good side, we were worried about toughness and serviceability, and found out that this is not and issue. This is one tough paint if the surface is prepare properly. IT JUST SPAYS DIFFERENTLY, so do not try to spay it like poly's.
From the beginning the small parts came out very nice with a satin finish. I found I had to spray close 3-4" to get it to look good, but the paint levels out nicely when it drys.
Our problems didn't start until we painted the interior of the fuselage.
We had a total blowup painting the interior. The JetFlex covered well, but it dried very rough and did not smooth out like the individual parts we painted. Oh crap!, what now. I made a call to the tech rep at Sherwin Williams and found out many new things that were not covered in the tidbits written on the VAF blog and had many misconceptions from them. It turns out that the cheap spay guns like the Harbor Freight and the Spray IT, are just that. They can lead to real trouble and did in our case. Yep, sometimes they will be just fine, but like our experience, they may give up the ghost when you need it them the most. You will find YouTube videos on how to make cheap guns work properly but good luck with that, it didn't work for us. We had to hand sand the entire interior with 400 grit wet and dry to get back to where we can spay it again and make it right. 16 hours worth of sanding just to get it smooth! It turns out the Spray IT gun we bought had air backing up in to the pot and the rest is history! I would recommend an Asturo, Binks or DeVilbiss quality of gun for this job to do it right.
Here is what the tech rep told us, and after trying his recommendations we are now getting good results on large practice pieces:
- The paint comes from the factory in different viscosities that can vary quite a bit. Do not rely on 10-25% in the data sheet, or the information in VAF web blog, it is not necessarily applicable to your specific can of paint! In some cases they have had to thin as much as 35% and more and in some case very little thinning at all is required.
- You do not need a 1.7 tip, a 1.3 will work better in most cases, because the paint atomizes easily.
- Run a good HVLP at between 20-30psi, practice on some 18" aluminum flashing, this works great.
- Play with the thinning, we found on our gallon of paint that 1:4 ratio was the best mix for nice even results, spraying about 5-6" from the surface with a 50% overlap.
More to come after we apply the finish coat to the interior.
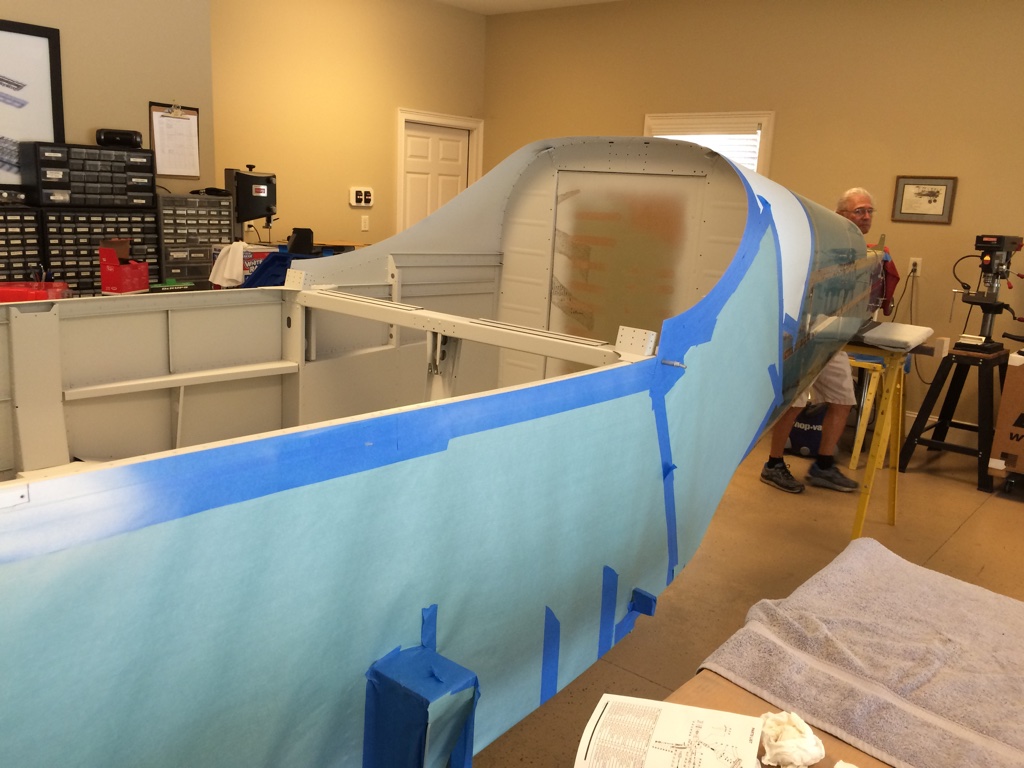
Fuselage taped off for the interior finish application
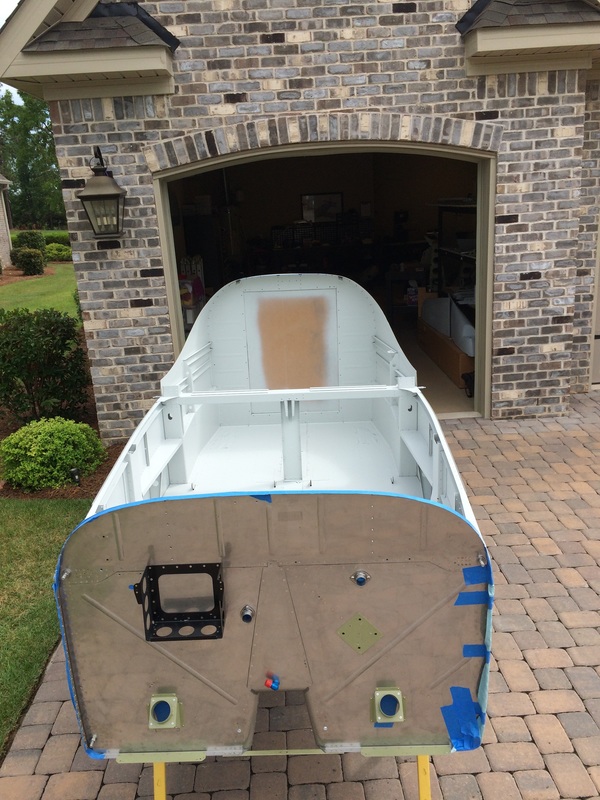
All is well with this paint job using a good gun, we are pleased with the results and it is smooth to the touch and tough and can be
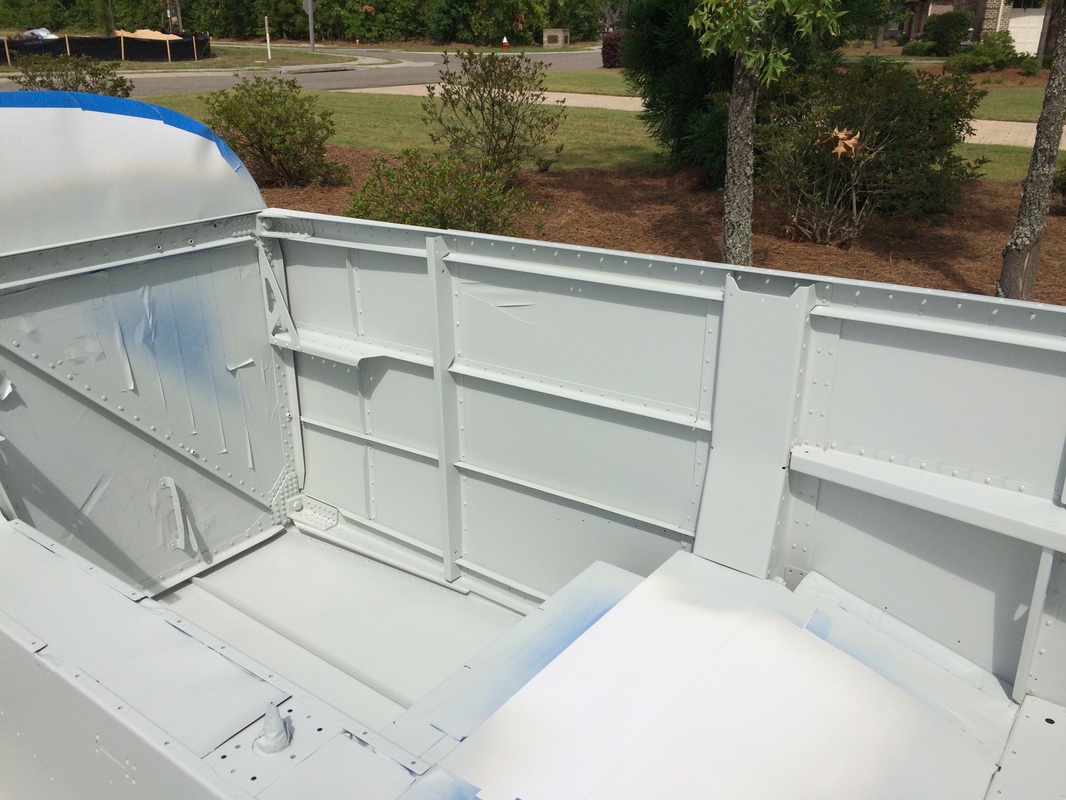
View of the sides after paint on round two
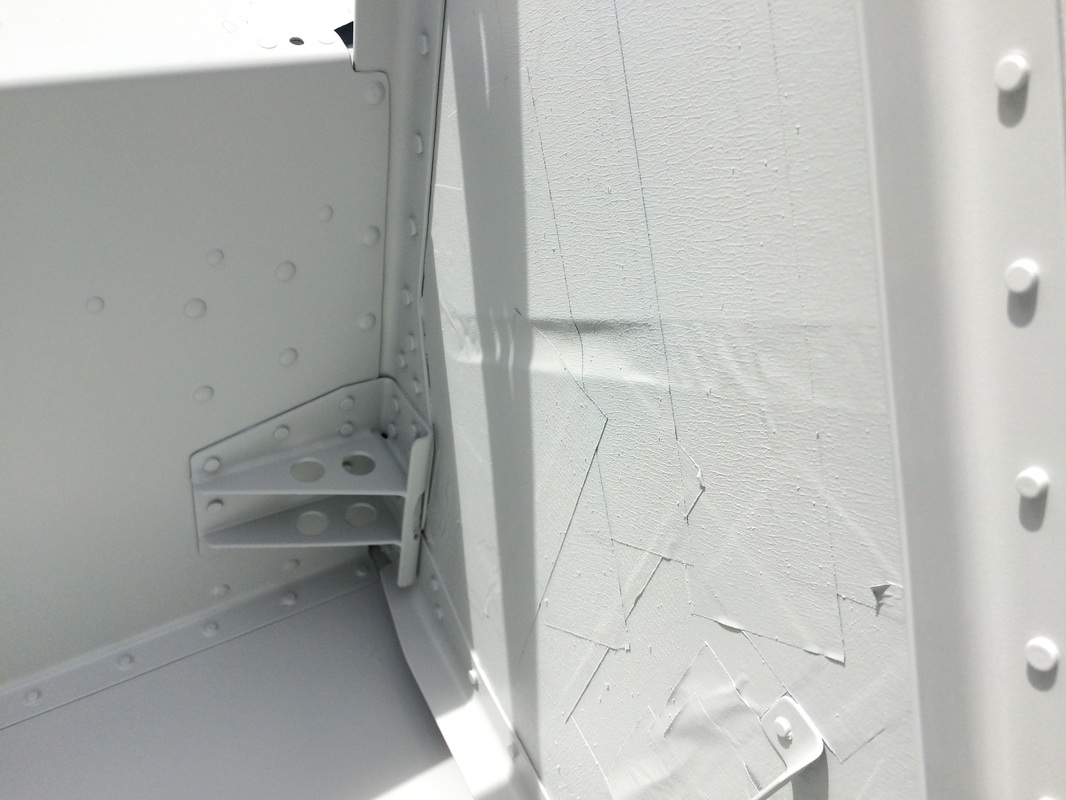
Close up of paint on the motor mount attach brackets. Note how we tape off the firewall so we can attach to firewall insulation.
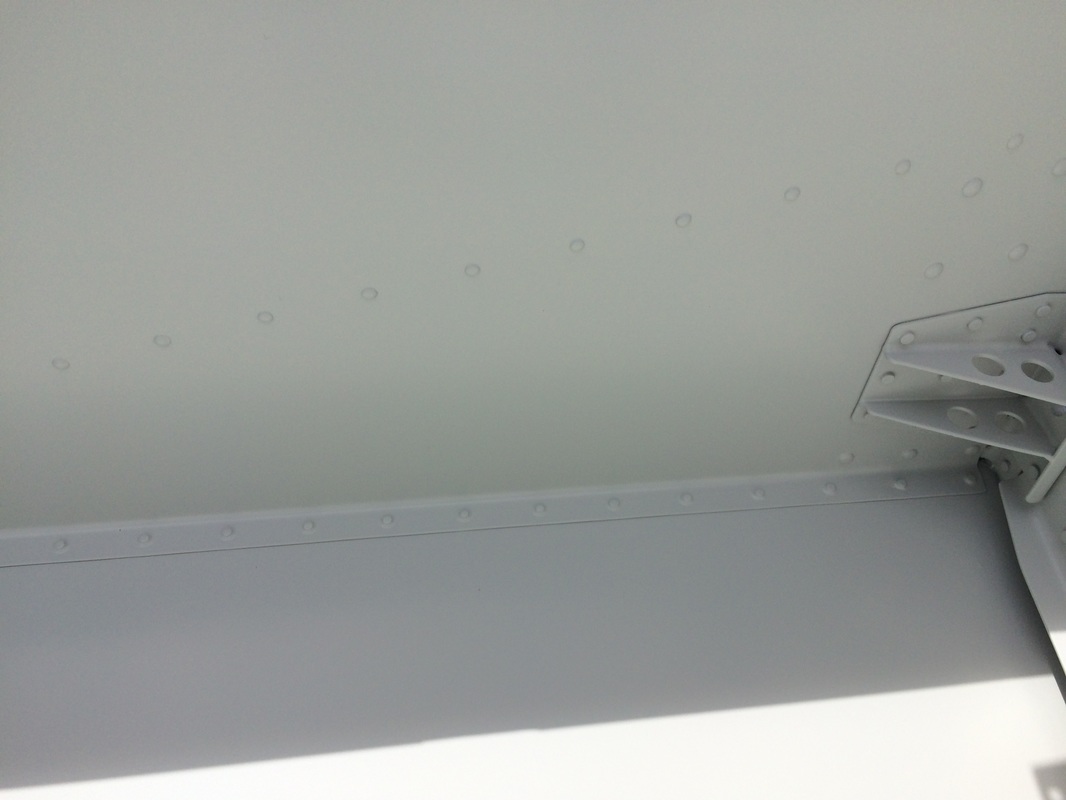

View of the seat and baggage floor and the harness attach brackets
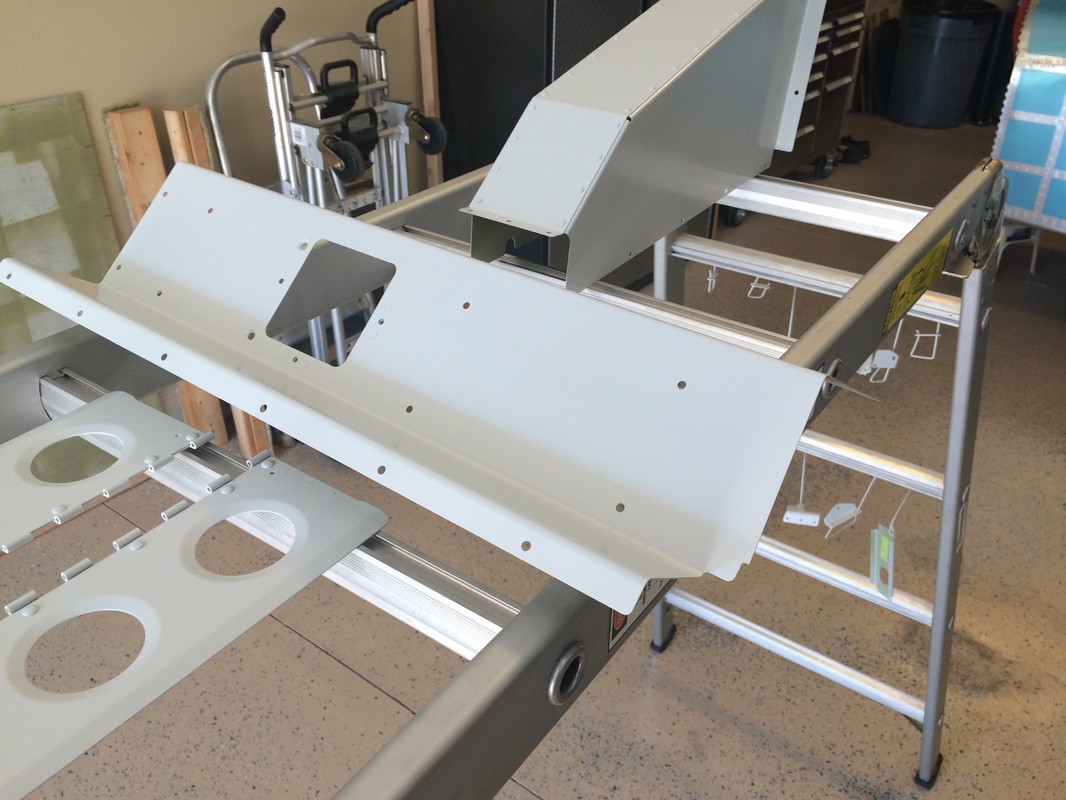
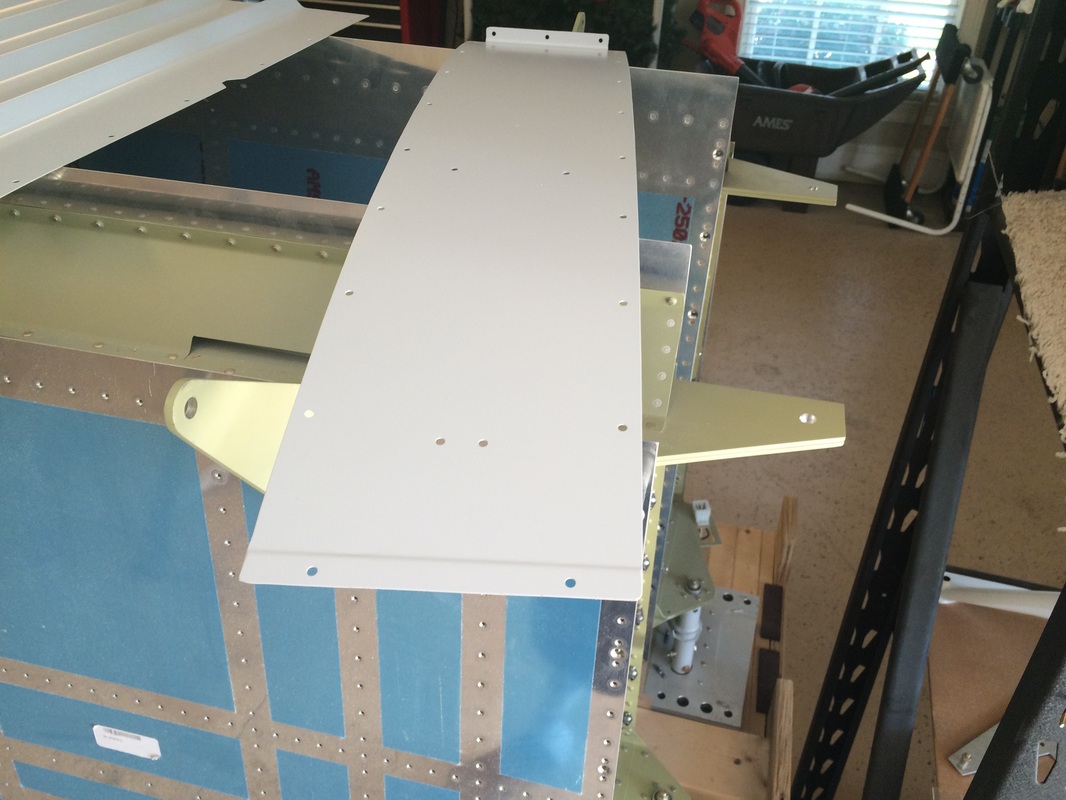
The next group of pictures are all interior parts and covers for the interior including the flap motor cover above.

Rear baggage bulkhead
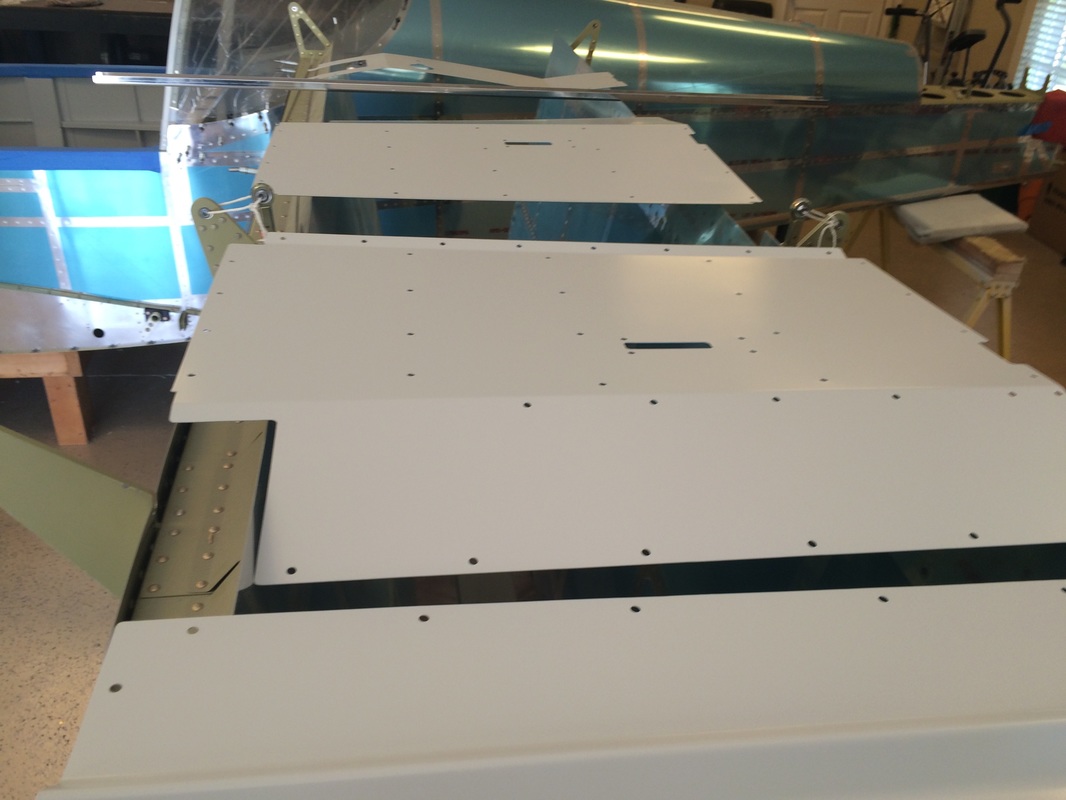
Seat pans
Tunnel cover
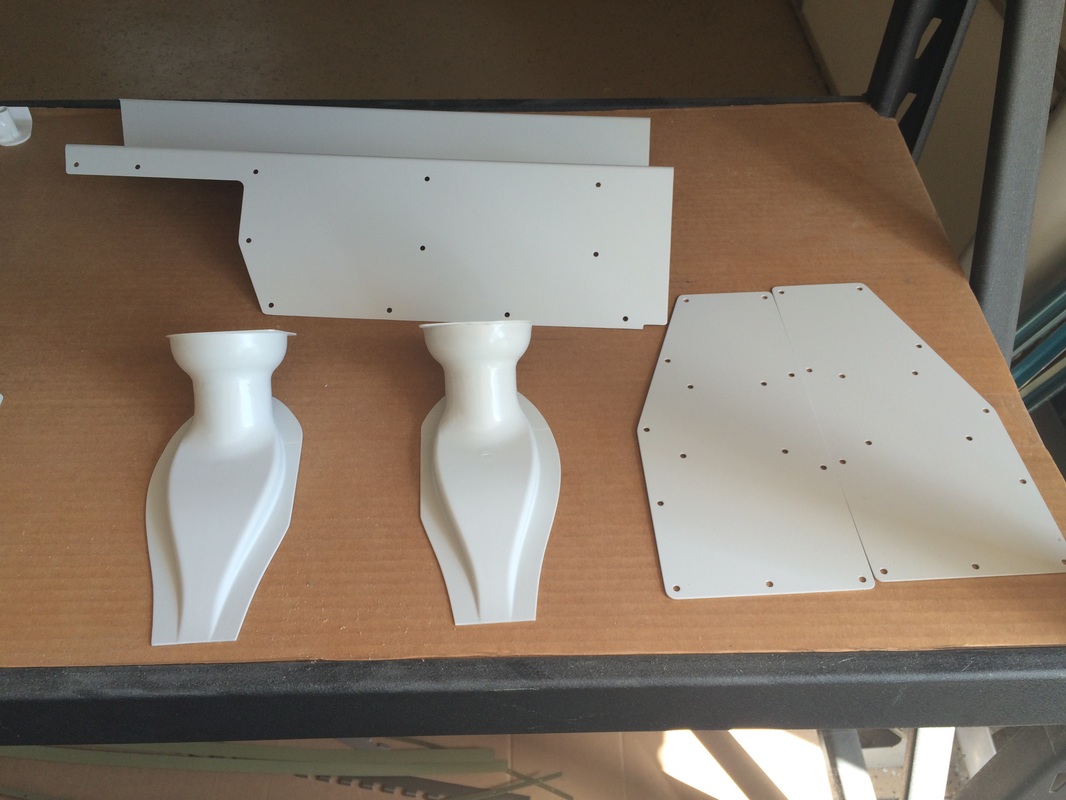
Air Vents and landing boarding step mount covers.
