
Stabilizer Build: Rafael is working on the rudder parts so I started on the Stabilizer
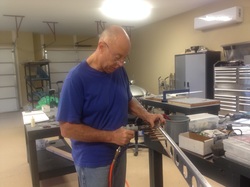
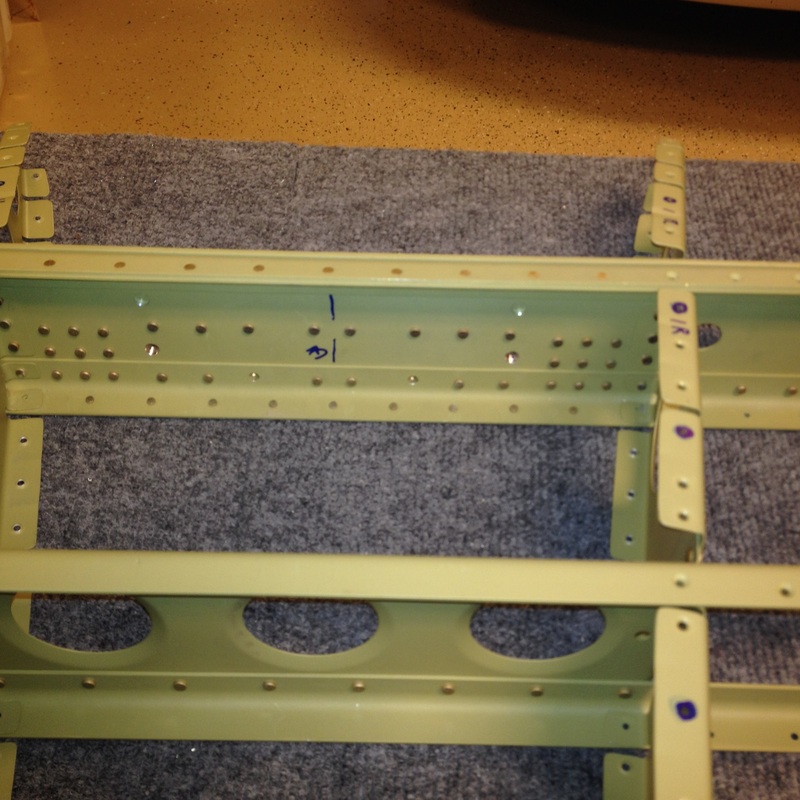
- This is the start of the stab build, match drilling the spars, there are 2 of them
- Instructions are good, but it is best to read the entire kit and the read the section you are building once again, then read and do each step in order
- This is our third build and we are deviating slightly by building the parts and building up using cleco's and then taking things apart, de-burring and priming all but the skins. The skins are Alclad and do not need priming on the interior in my mind unless you live on the beach and then it is still debateble
- After the above process we will go back and rivet things together per the instruction order.
- Hours to date 351
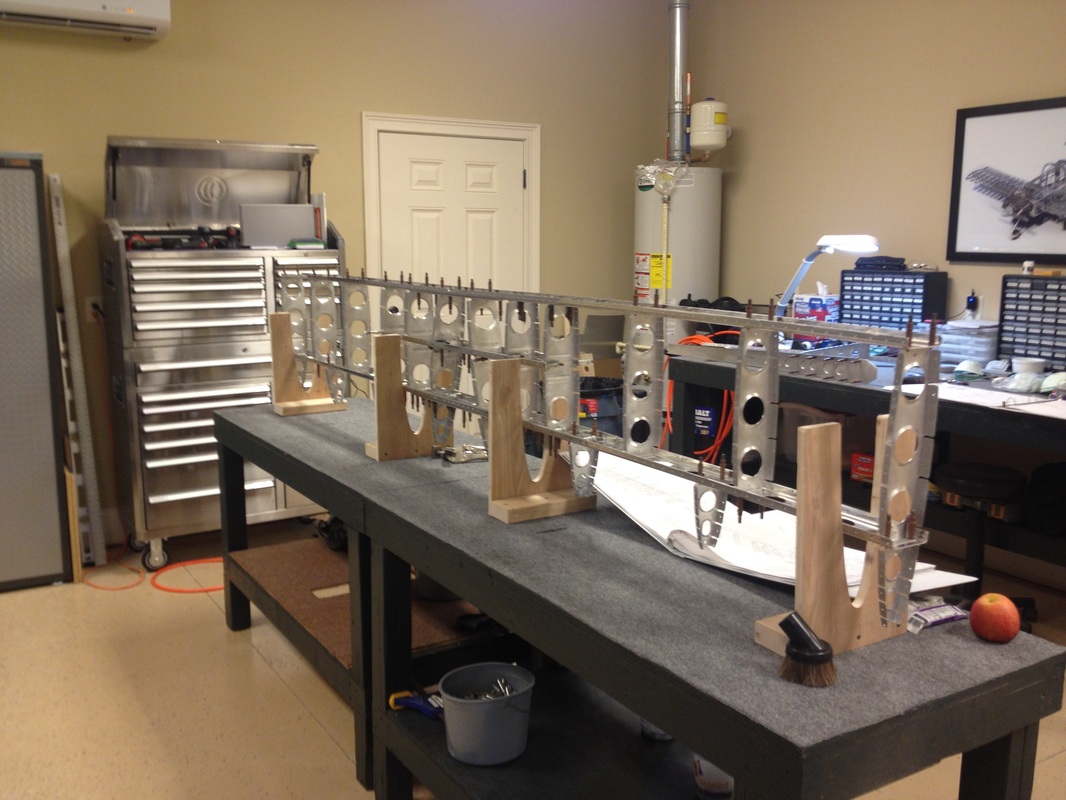
Stabilizer jig to hold the assembly together for riveting
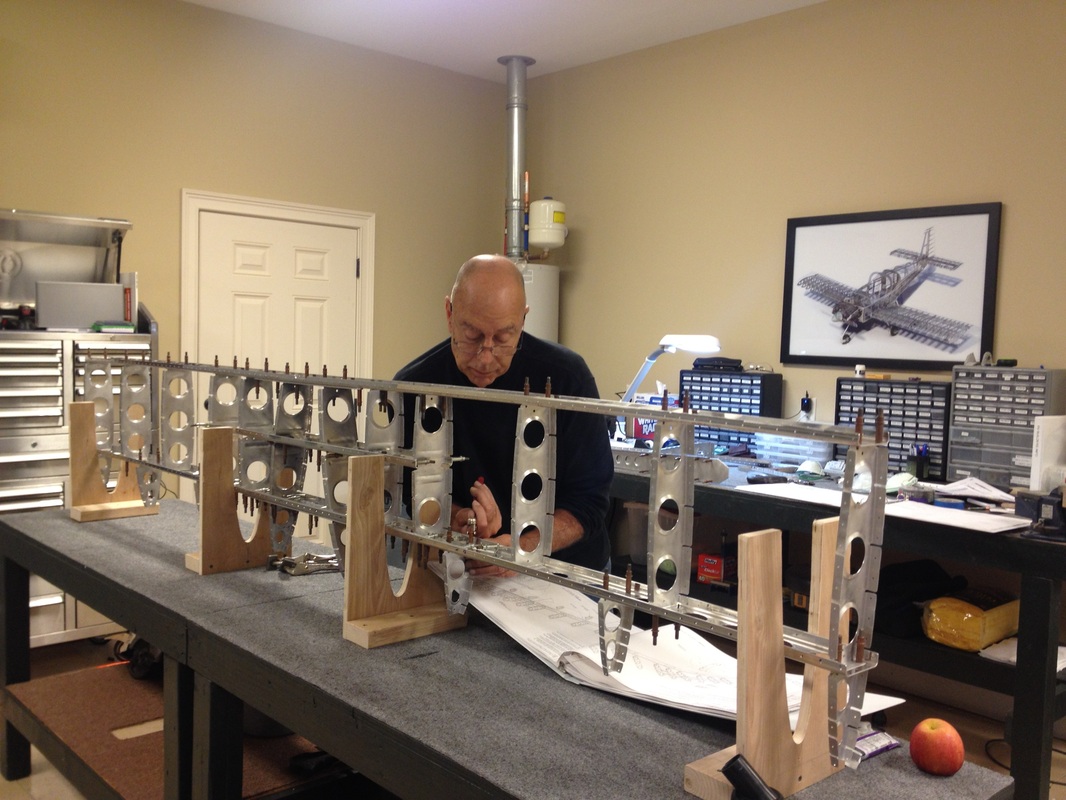
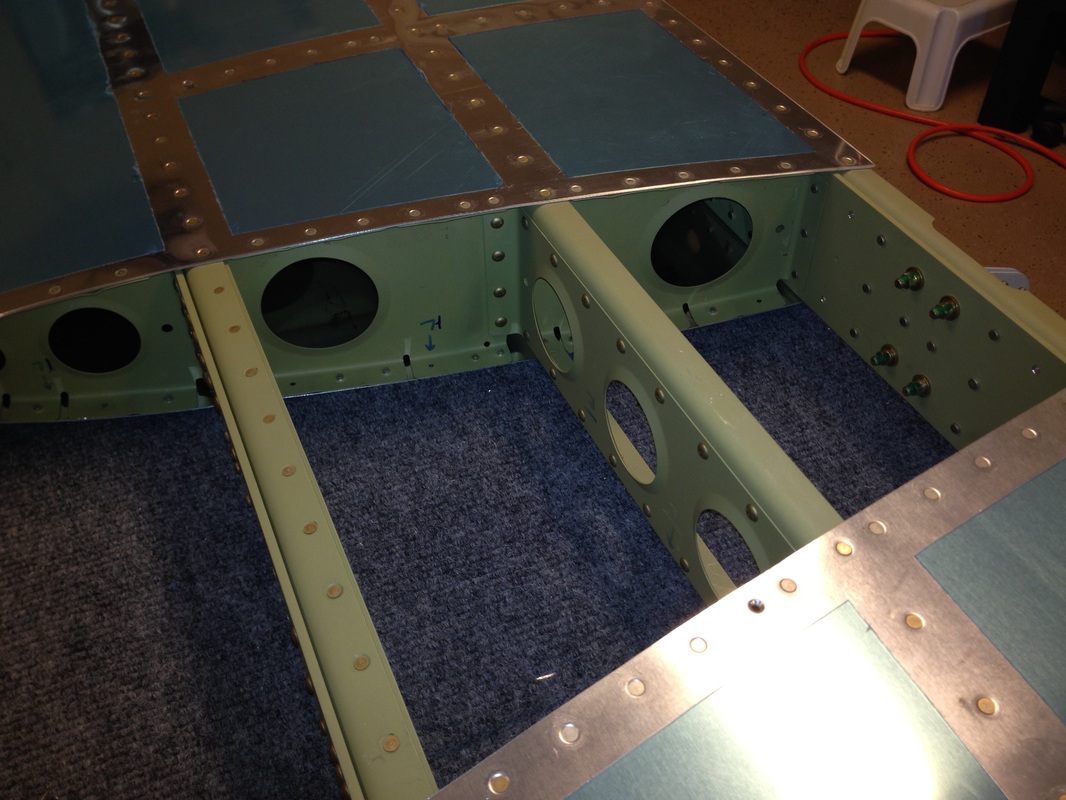
Getting all the parts match drilled and clecoed in place to check fit and assembly
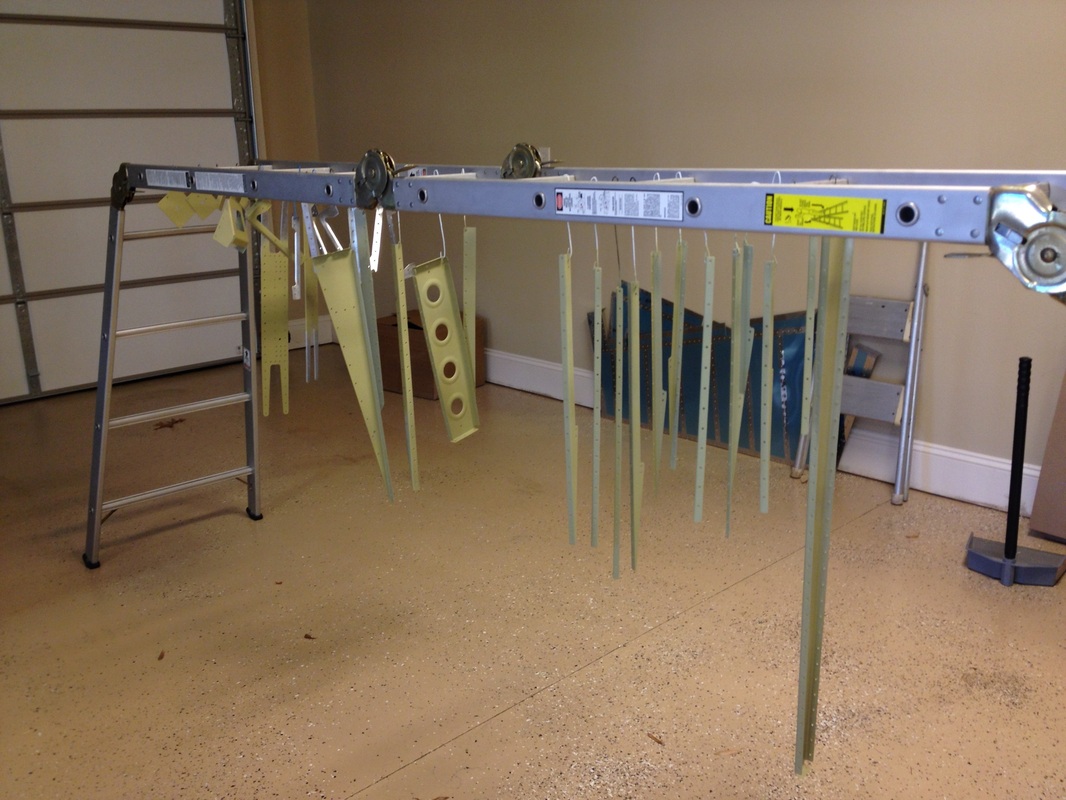
Priming parts with ALZO, stuff is the best, though very expensive and deadly without protection while spraying. We use a good respirator, goggles and do all the spraying out doors and up wind. You need to respect chemicals while building. Read the data sheets.

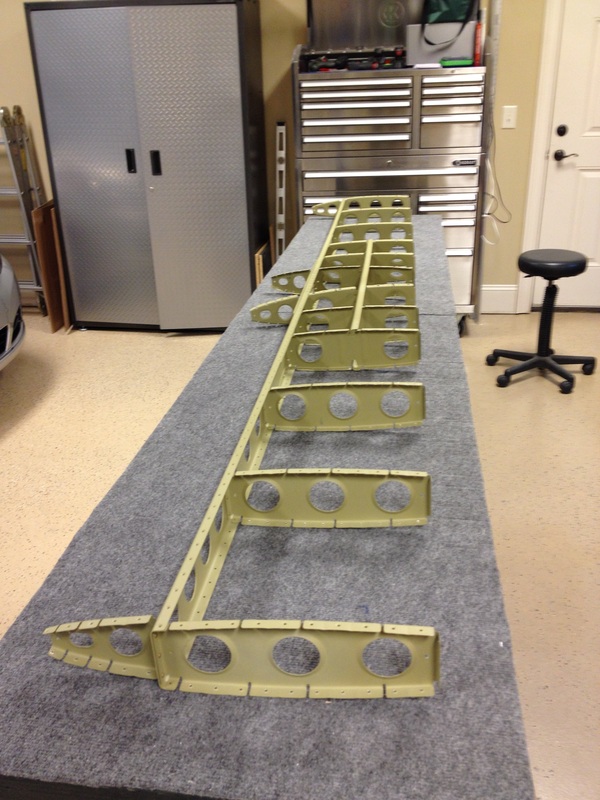
Two stabilizer spars before riveting
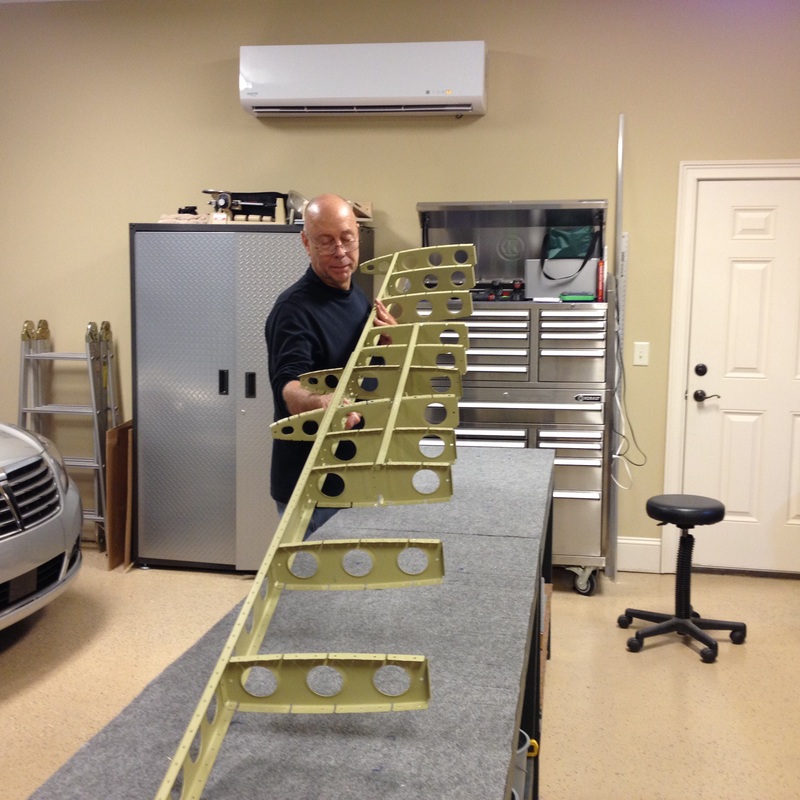
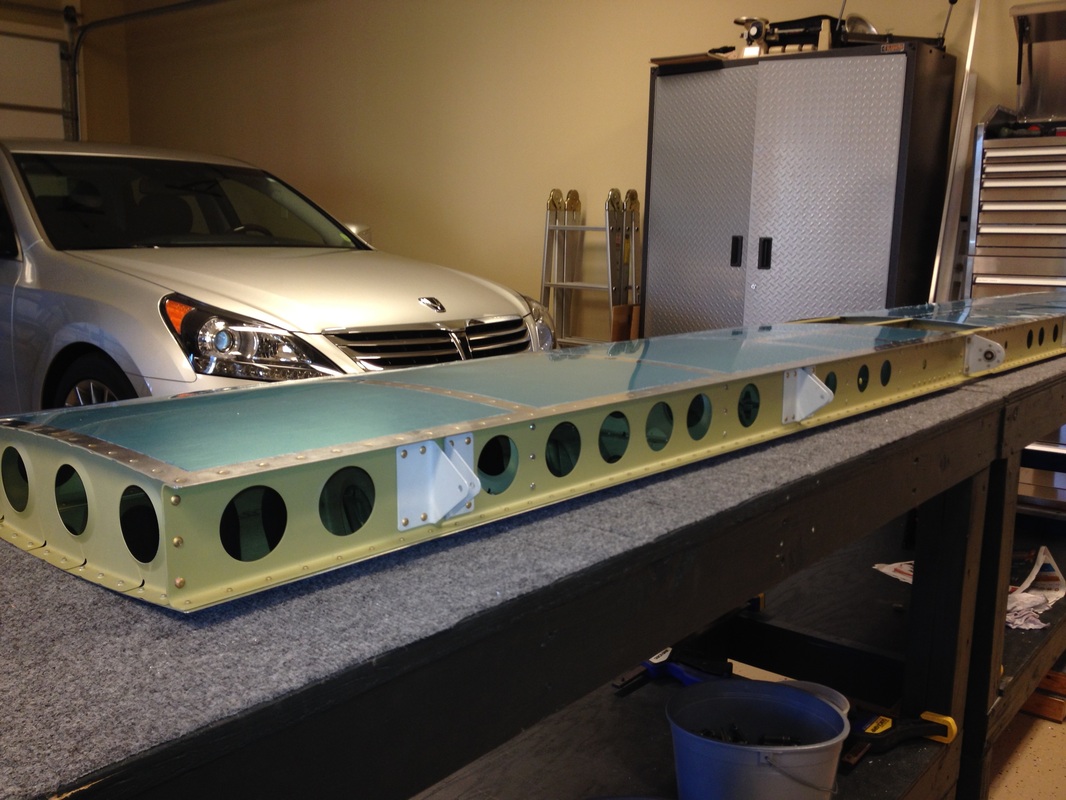
The stabilizer frame assembly ready to slide into the skins in the jig for rivet bucking
We squeezed most of the stabilizer parts together with a few exceptions.
There are a lot of rivets in the stab, as you can see.

We bucked all the skin rivets except around the edges. It is safer to squeeze these rivets since you are on the edge of the assembly. We use a pneumatic squeezer every where we can, the results are just better esthetically and once the squeezer is set up it is much faster.
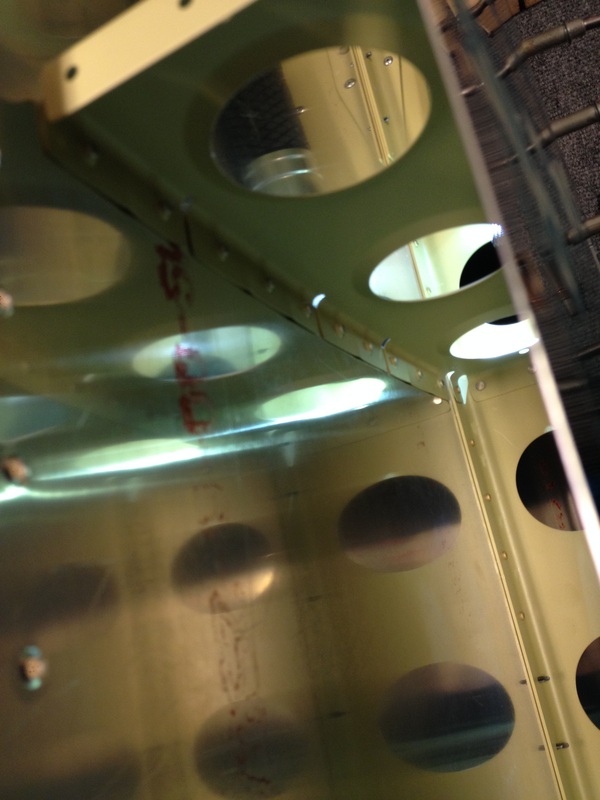
Lots of rivets in this part. It is so much bigger and stronger and heavier than my RV 7 stabilizer.
The Stabilizer is now complete with the exception of the fiberglass tips, we will do these with the elevator and rudder tips en mass.
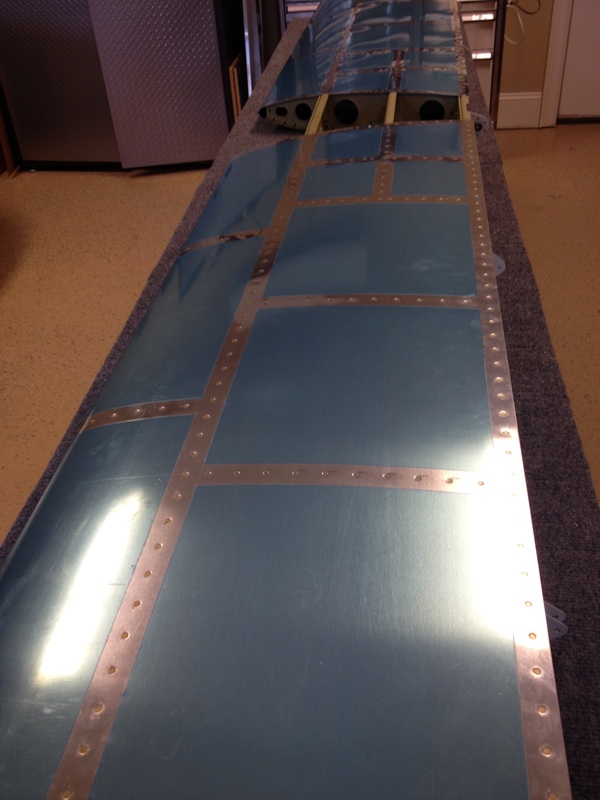
Skin riveting turned out OK. We are out of practice and have a few more small distortions in the skin. The nose ribs are tough because of the curve and lack of mass, the spars are the easy ones to drive. Go slow and use lower pressure, and you will get less distortion.
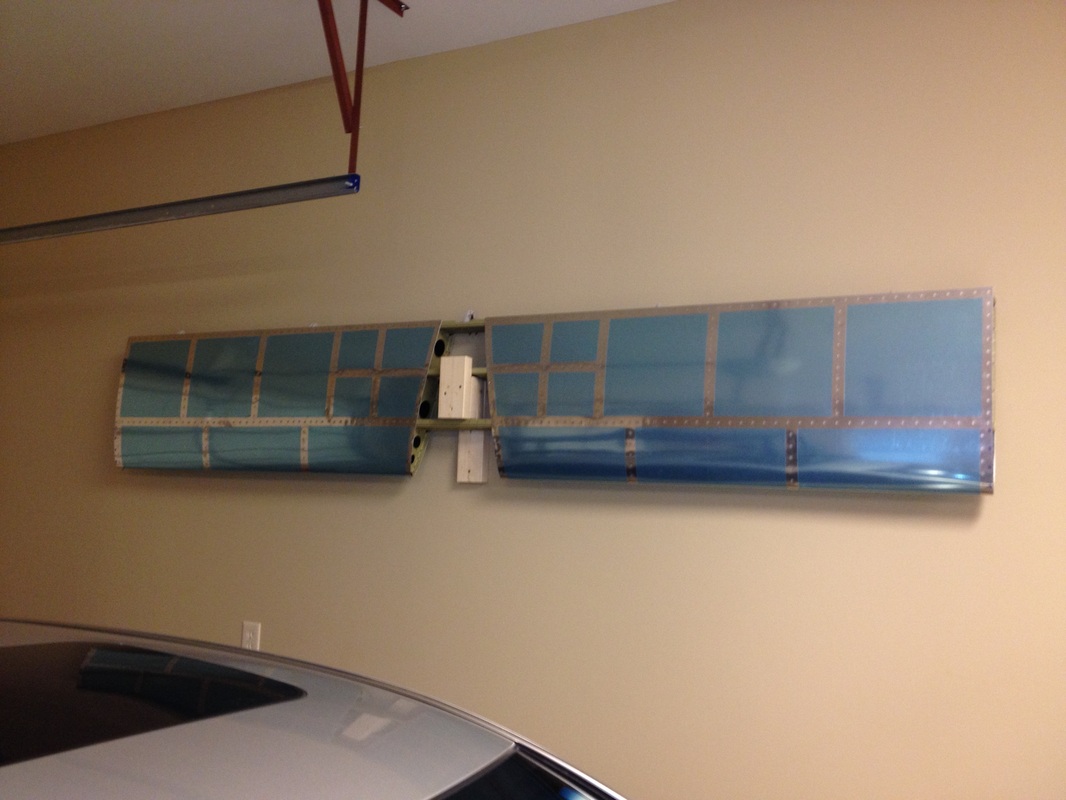
Stabilizer hung on the wall for safe keeping
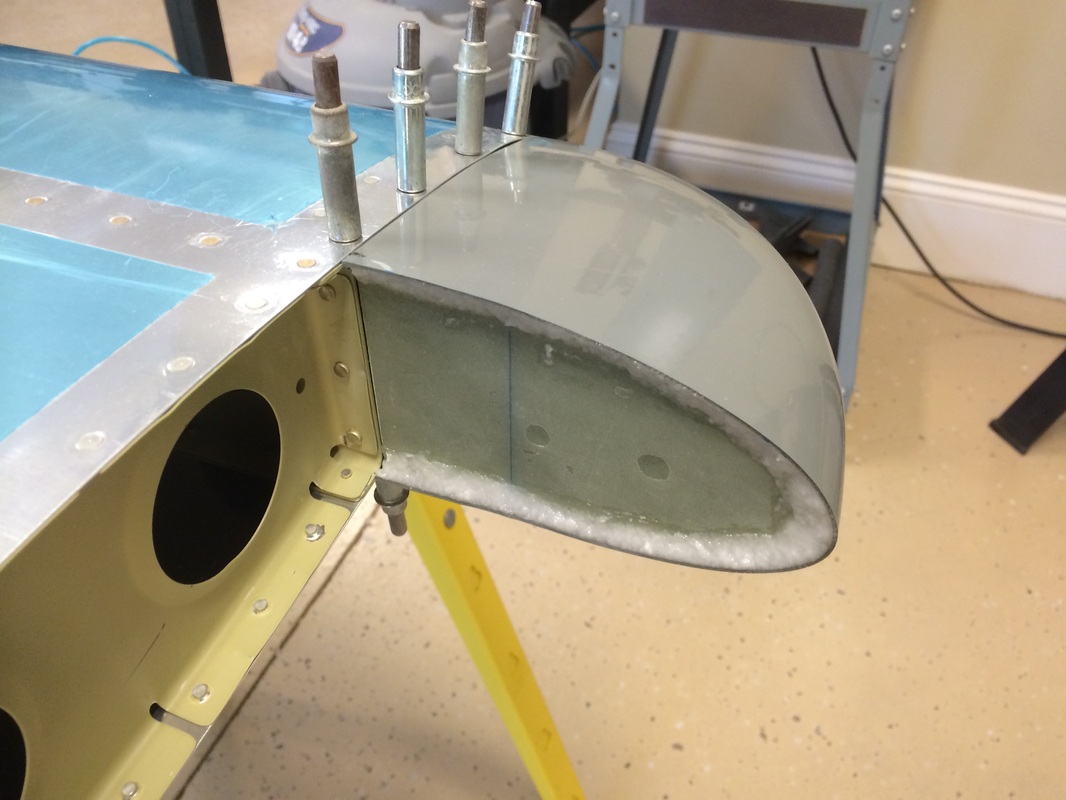
Here I'm starting to fit the stabilizer front tip. I started with a small trim and then used my very small Proxon belt sander and removed just enough material to get the elevator to pass through the top side. Then turn the stab over and do it again. Once the elevator clears I start working on the gap, but not until the front face of the elevator in filled with Dyna Delite body filler and sanded to the final shape. I use Super fill in a few place on my RV 7A and in shrank over time, not so with the Dyna Delite.

I laid these up on a sheet of aluminum bent to the same angle as the stabilizer tip and covered the sheet with peel ply. This is per the plans except I used lighter glass and laid up 5 layers with peel ply on both side and rollers out the excess epoxy. Very strong and not very heavy.
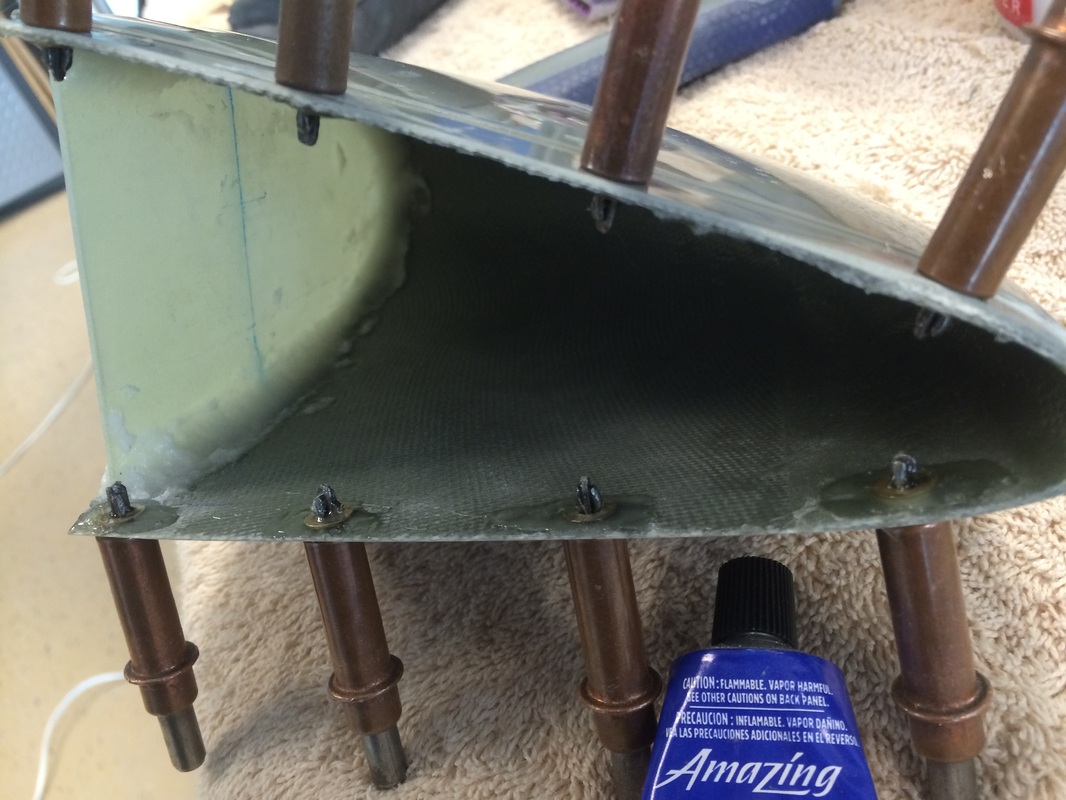
After fitting the inside of the tip via successive sanding I used a mixture of epoxy and floc to bond them in place. This is very strong and the tips are now very stiff.
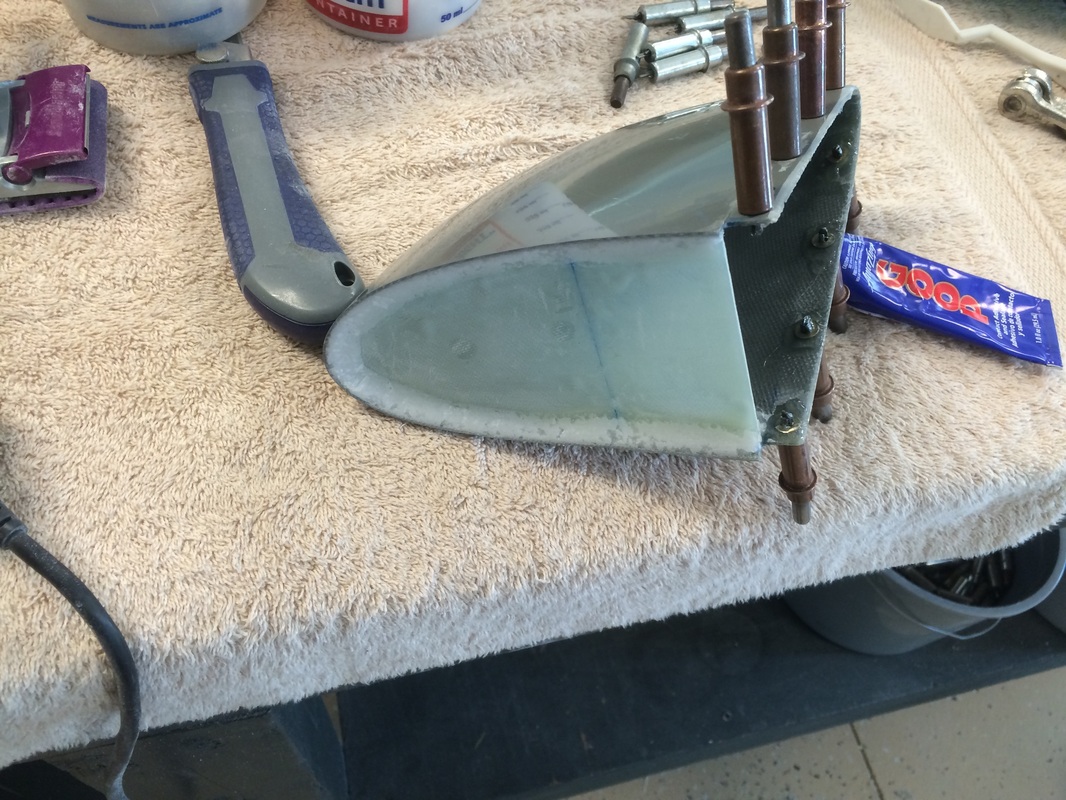
Tip cover layup cut to size and installed with epoxy and flox mixture.
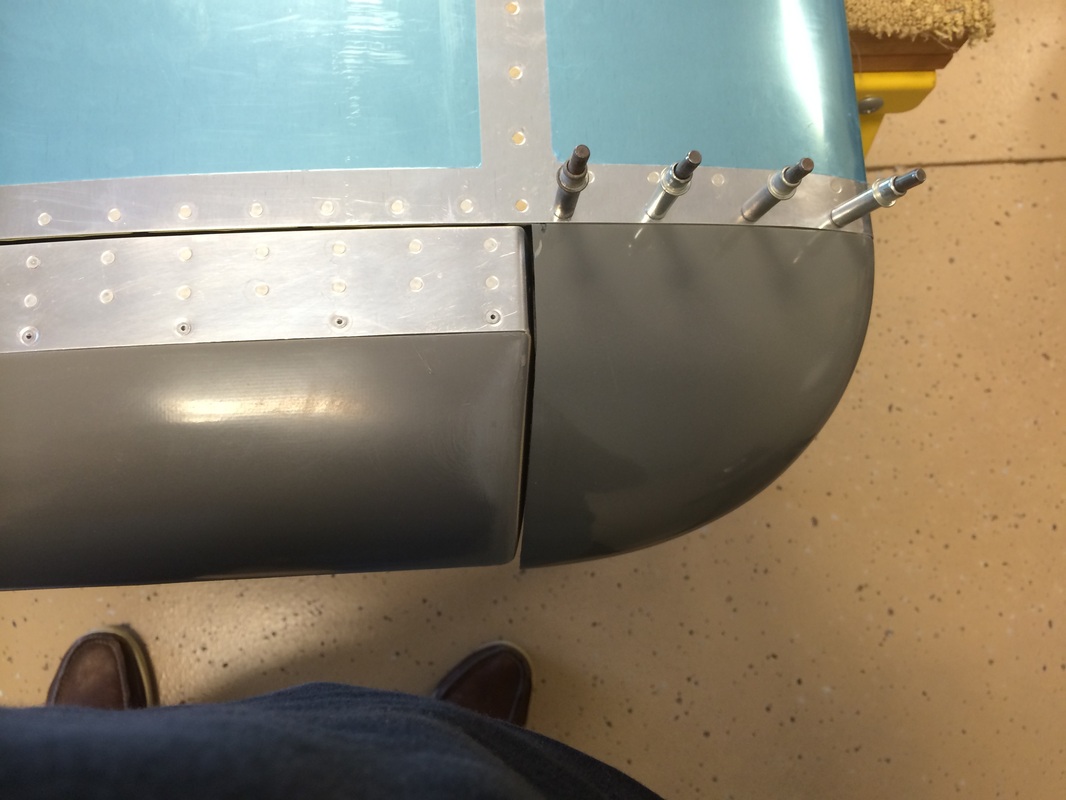
I use # 4 thin washers to back up the glass tips for the CS4-4 pops which want to pull through the fiberglass. I guess it would most likely be ok but the tips are not quite the same profile as the stabilizer and I wanted the them to pull up tight to the skin. This is also a carry over from the RV - 7, it worked for me.

Dyna-Delite body filler, light, strong and does not shrink under paint.

Stabilizer tips after finishing .
