Carl & Rafael's RV 14A Builders Site
  • Home
  • Aiken Airport KAIK
  • Previous Builds
  • Carl's RV 7A
  • Rafael's RV 12
  • About the RV 14
    • RV 14A Specifications
    • RV 14A Performance
  • Work Shop
  • Empennage
    • Kit Delivery
    • Vertical Stabilizer - Sec. 1 thru 6
    • Rudder - Sec. 7
    • Stabilizer - Sec. 8
    • Elevator - Sec. 9
    • Rear Fuselage - Sec. 10 thru 12
  • Wings
    • Kit Delivery
    • Spars - Sec. 13
    • Main Wing Parts - Sec. 14
    • Ribs - Sec. 14
    • Wing Assembly - Sec. 14 Thru 17
    • Fuel Tanks - Sec. 18
    • Bottom Wing Skins - Sec. 20
    • Flaps - Sec. 21
    • Ailerons - Sec. 22
    • Aileron Control System - Sec. 23
    • Wing Tips - Sec. 24
    • Aileron Trim - Optional
  • Fuselage
    • Kit Delivery
    • Mid Fuse Bulkheads - Sec. 25
    • Mid Fuse Lower Structure - Sec. 26
    • Firewall - Sec. 27
    • Fwd Fuse Lower Structure - Sec. 28
    • Fwd Mid Fuse Side Structure - Sec. 29
    • Aft Fuselage Attach - Sec. 30
    • Fuel System - Sec. 31
    • Baggage Area - Sec. 32
    • Interior Painting - End Sec. 32
    • Rudder and Brake Systems - Sec. 33
    • Flap Actuation System - Sec. 34
    • Upper Fwd Fuselage - Sec. 35
    • Aileron & Elevator Systems - Sec. 36
    • Roll Over Structure - Sec. 37
  • Finishing Kit
    • Finishing Kit Delivery
    • Canopy and Window - Sec. 38
    • Seat-backs - Sec. 39
    • Landing Gear and Engine Mount - Sec. 40A
    • Wing Attachment - Sec. 41
    • Miscellanea - Sec. 42
    • Engine & Propeller Delivery
    • Engine Installation - Sec. 43
    • Spinner & Propeller - Sec. 44
    • Cowling - Sec. 45
    • Tricycle Gear Legs & Fairings - Sec. 46A
  • Firewall Forward
    • Engine Specifications
    • Cowl Baffle - Sec. 47
    • Exhaust System - Sec 48
    • Fuel & Oil Systems - Sec. 49
    • Control Cables - Sec. 50
    • Firewall Forward Misc. - Sec. 51
  • Panel & Instrumentation
    • Panel
    • Wiring & Equipment
    • Sensors
    • Avionics
    • Landing Lights - OP52
  • Move to KAIK & Final Ass'y
    • Empennage Installation
    • Wing Installation
    • Odds and Ends
  • Fiberglass & Body work
  • Weight & Balance
  • FAA Inspection & First Flight
  • Phase I & Changes
  • Interiors
  • Paint Design & Painting
    • Scheme Designers
    • Glo Custom
  • RV Builders Forum
  • RV 14 Builder Sites
  • Builder's Location
  • Closing Thoughts
  • Picture Page

Mid Fuselage Lower Structure - Section 26

Picture
The start of ribs for the seat and baggage area with much more to come.
Picture
Picture
Set belt anchors and snap bushing clips
Picture
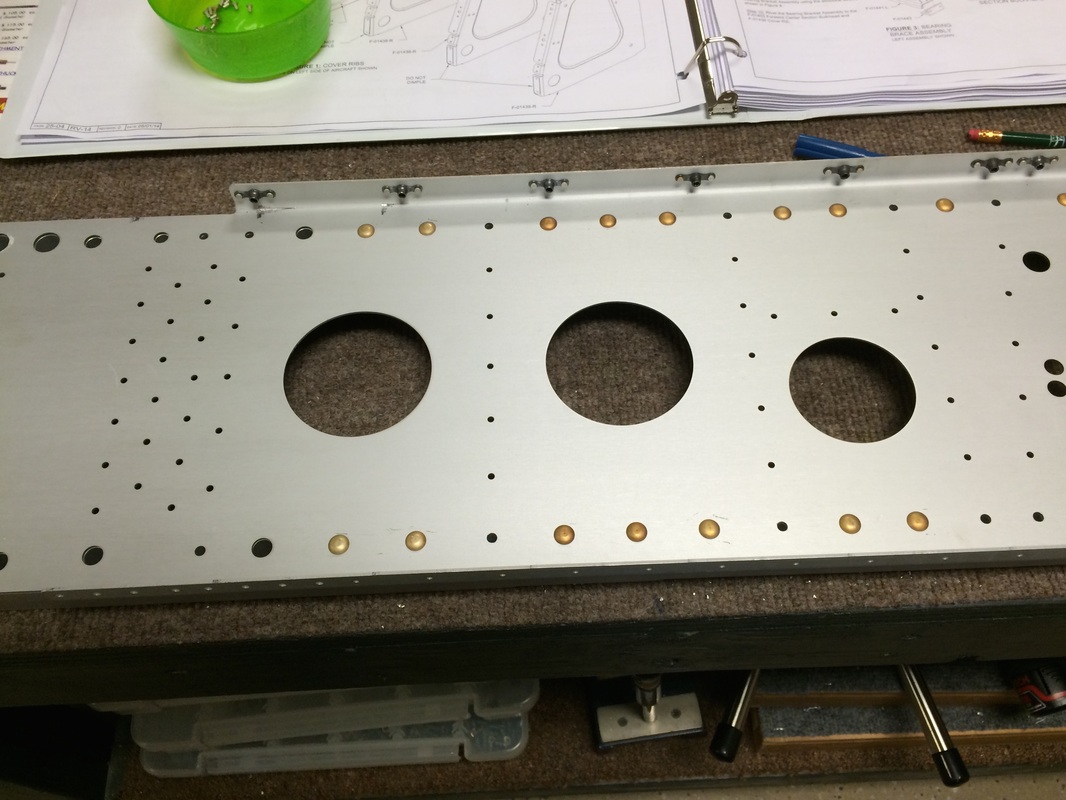
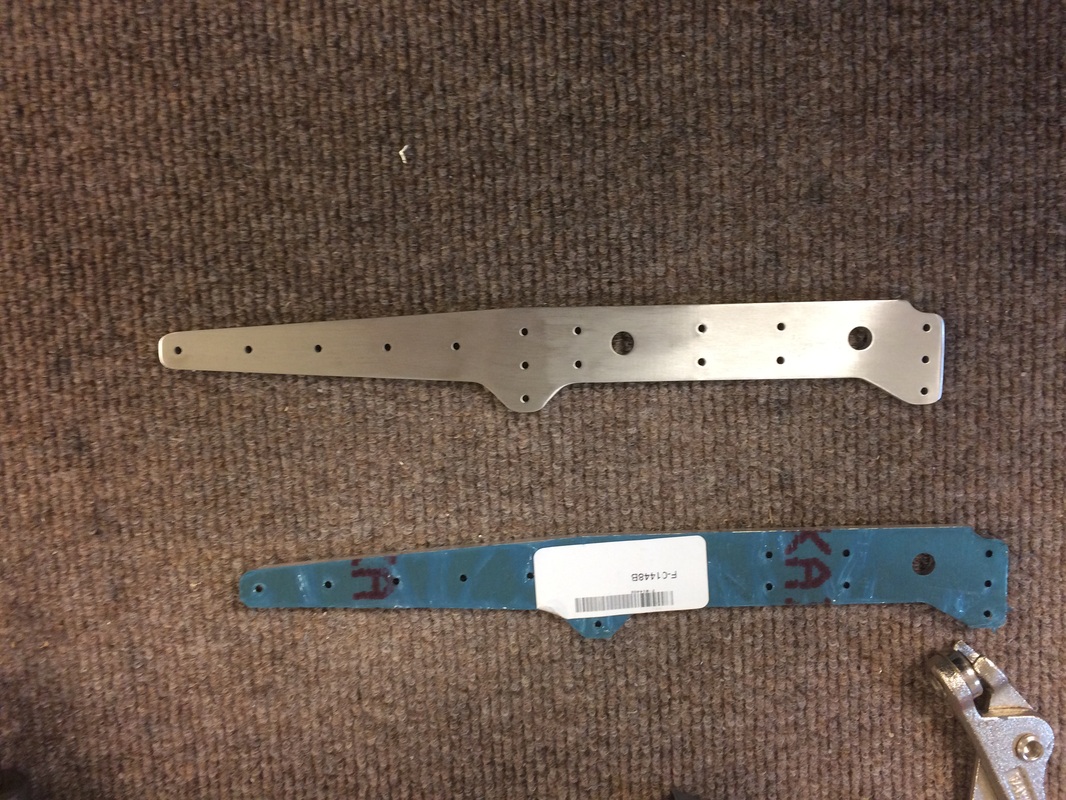
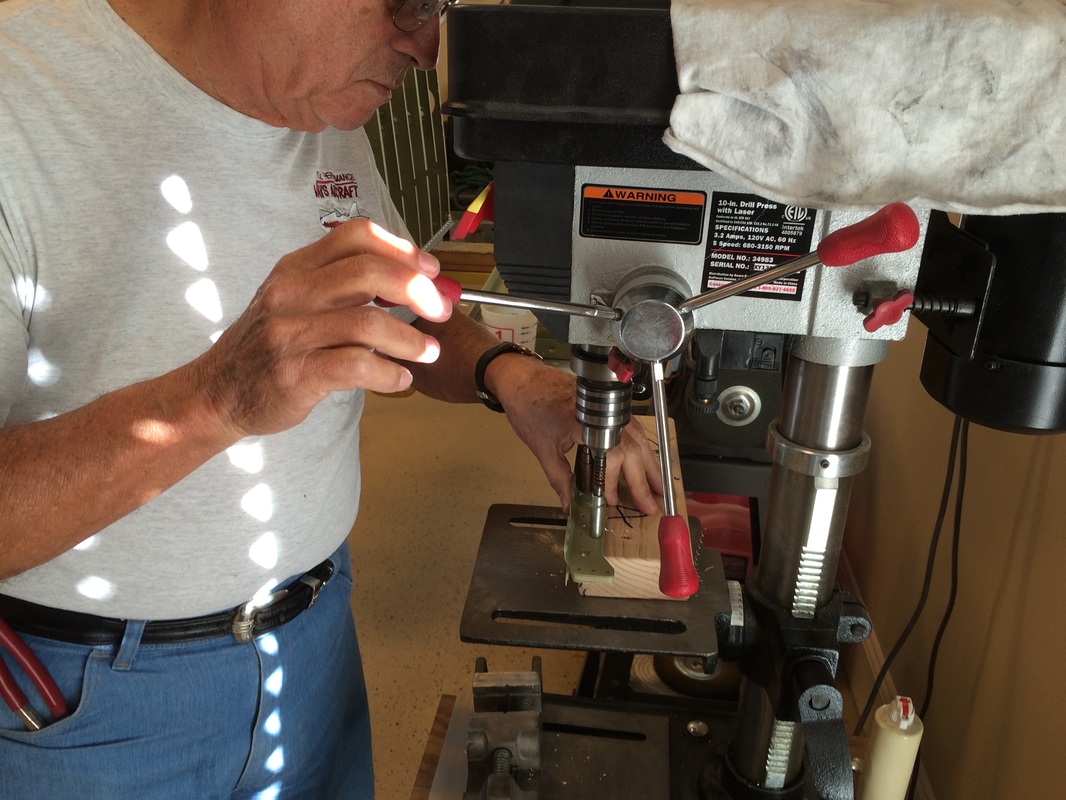
Rafael countersunk for the planets and riveted them in place. The bottom flange also need countersinking for the bottom dimples skin.
Picture
Mid spar section after countersinking.
Picture
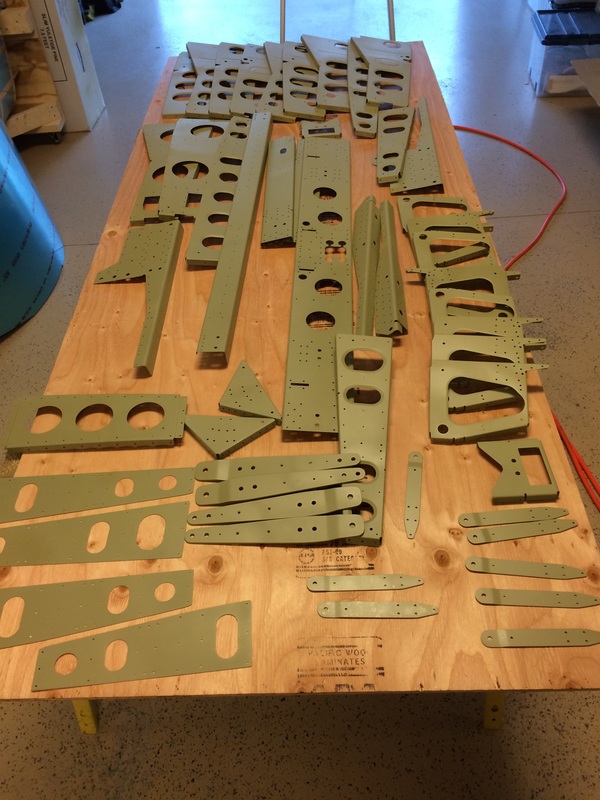
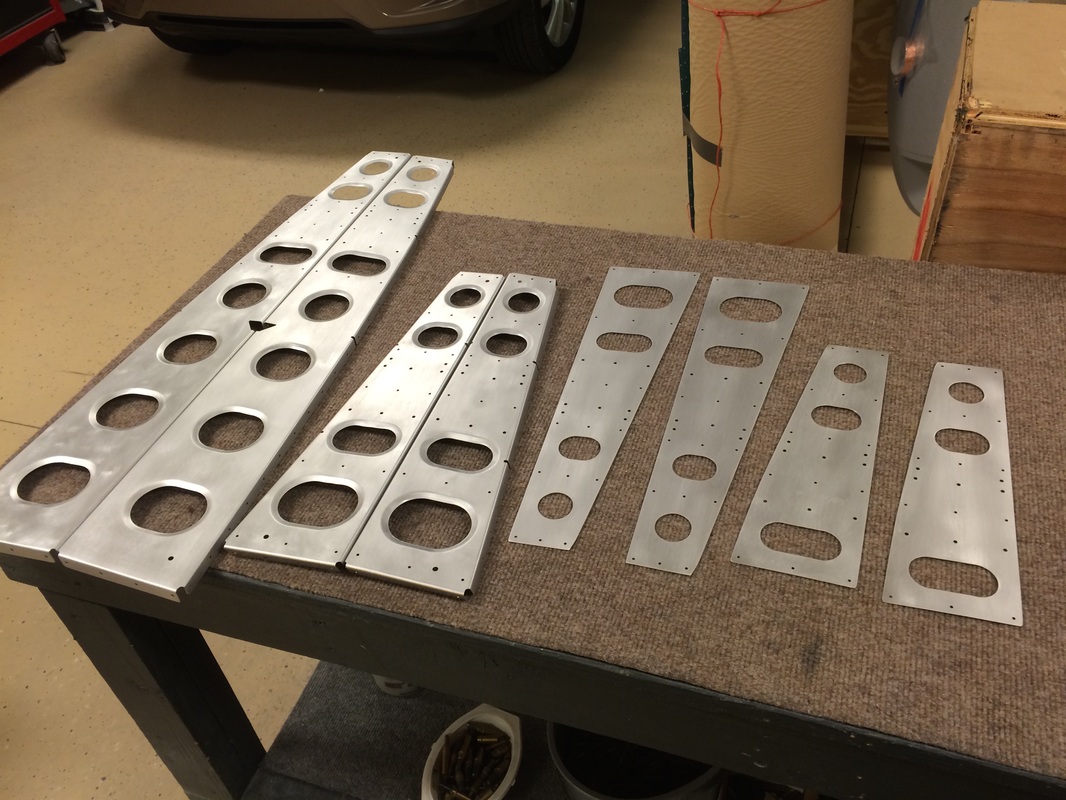
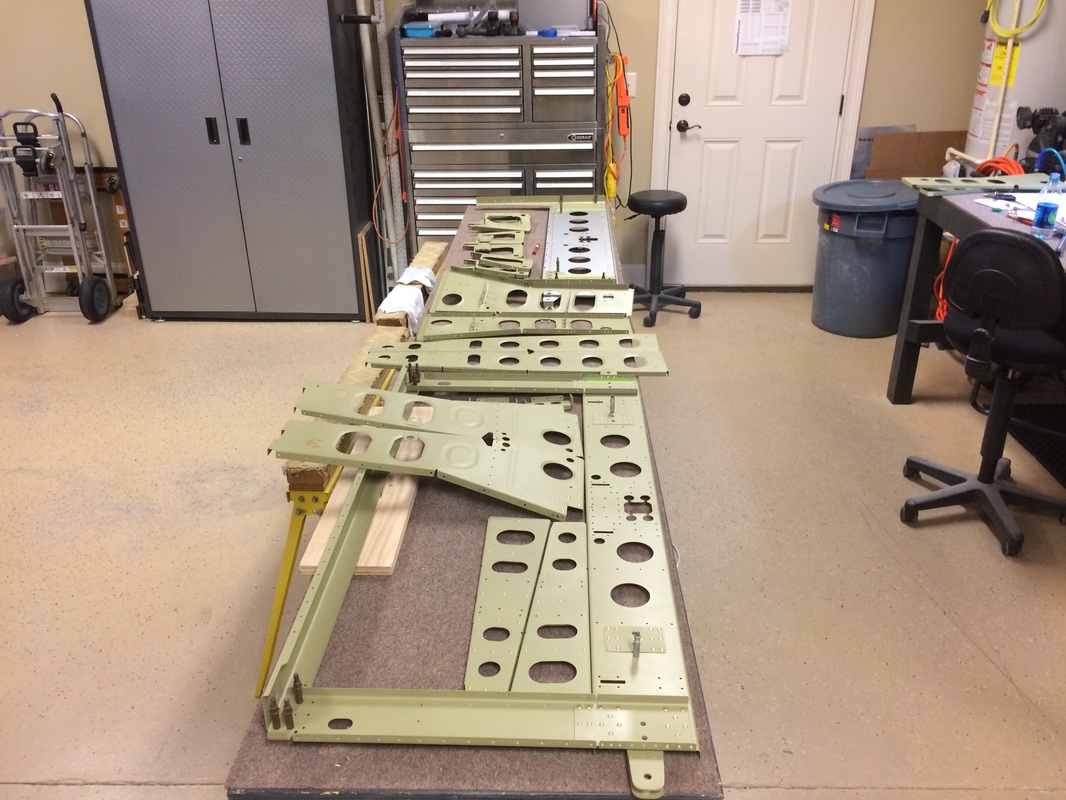
Parts for Section 25 & 26 after priming with AKZO
Picture
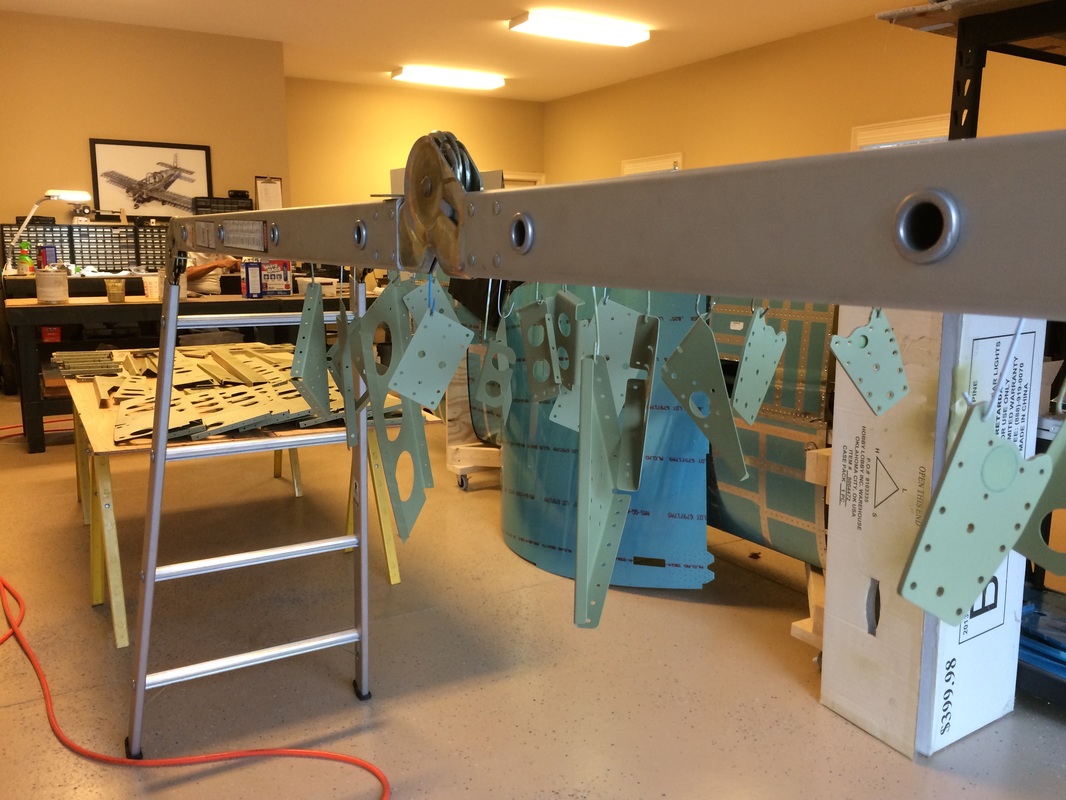
More parts after priming and hanging out to dry.
Picture
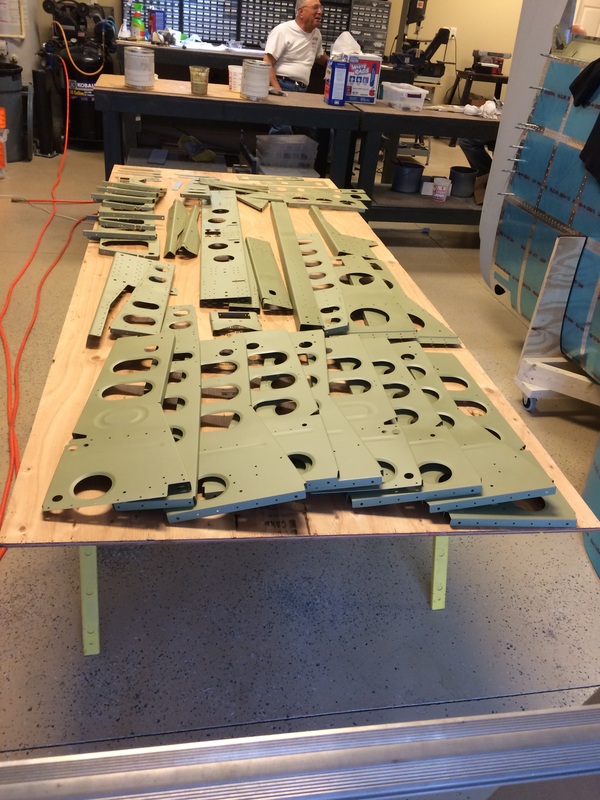
Holy cow, there are a lot of parts in the fuselage kit.
Picture
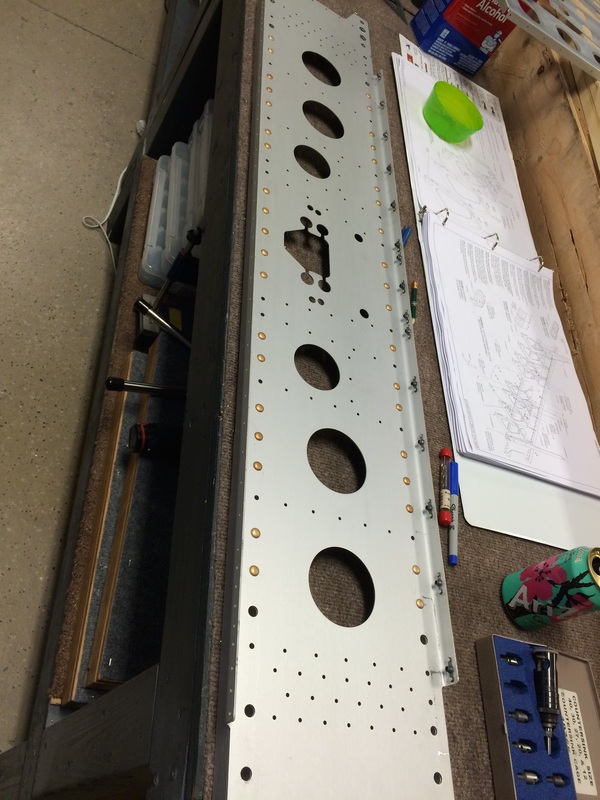
More parts, but these have the snap bushing clips riveted on them.
Picture
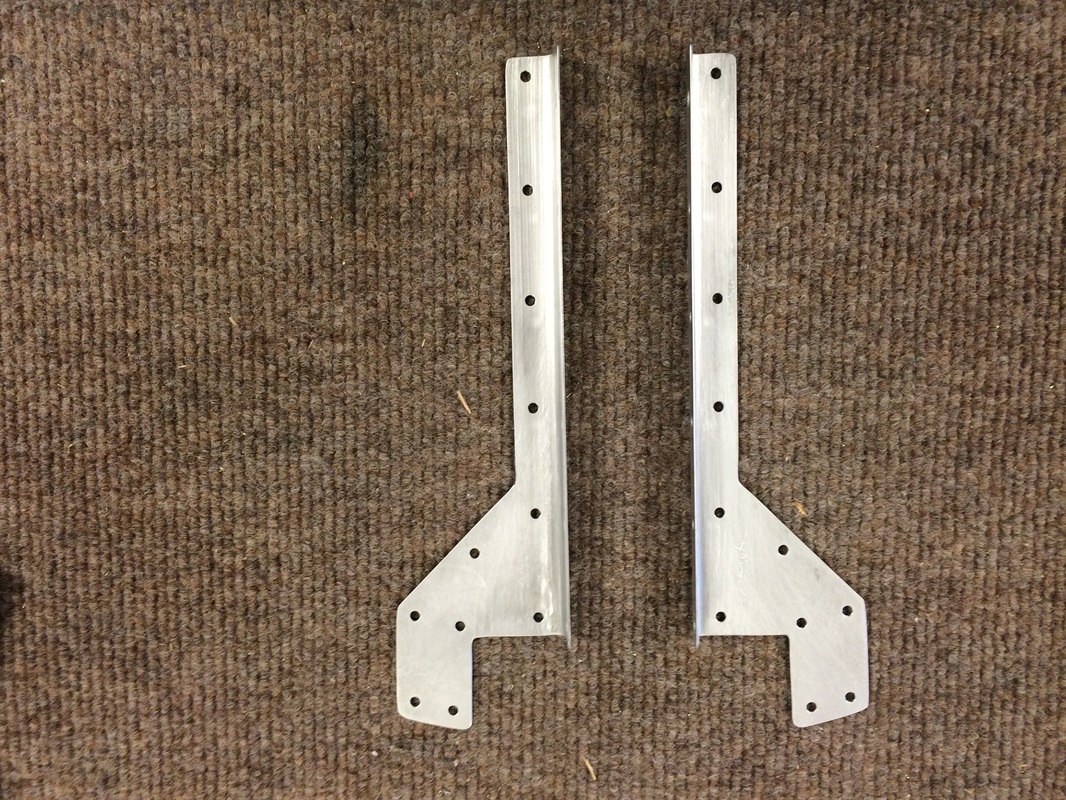
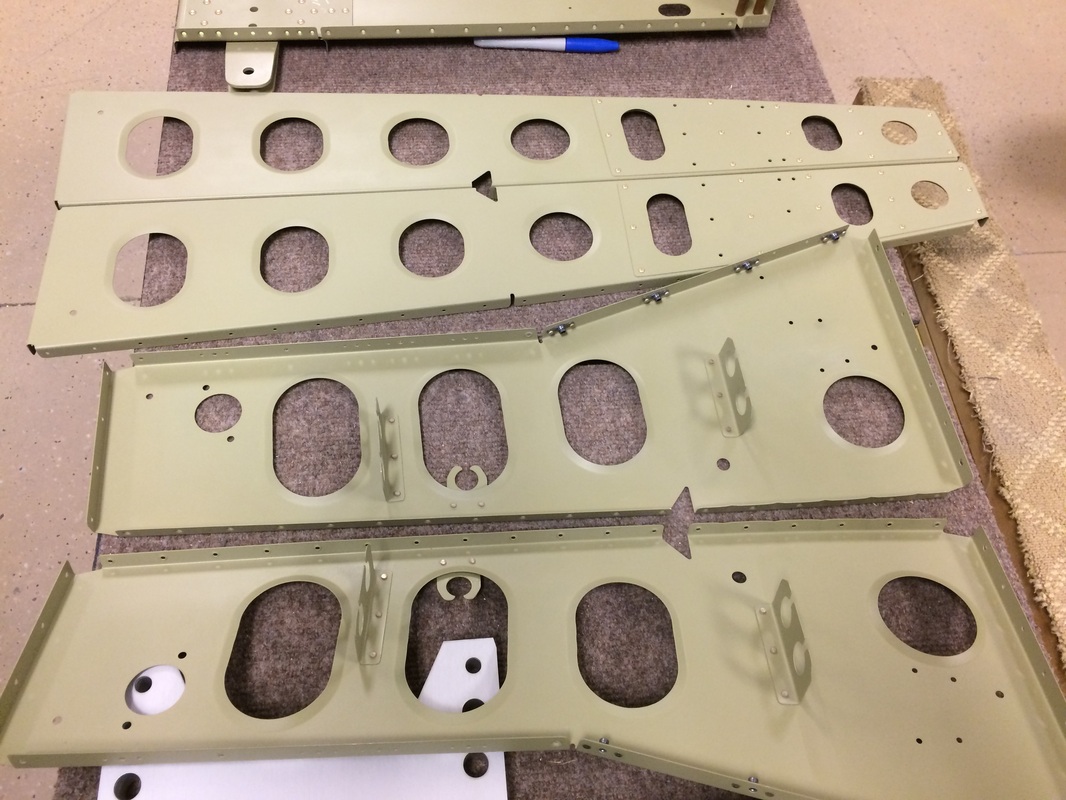
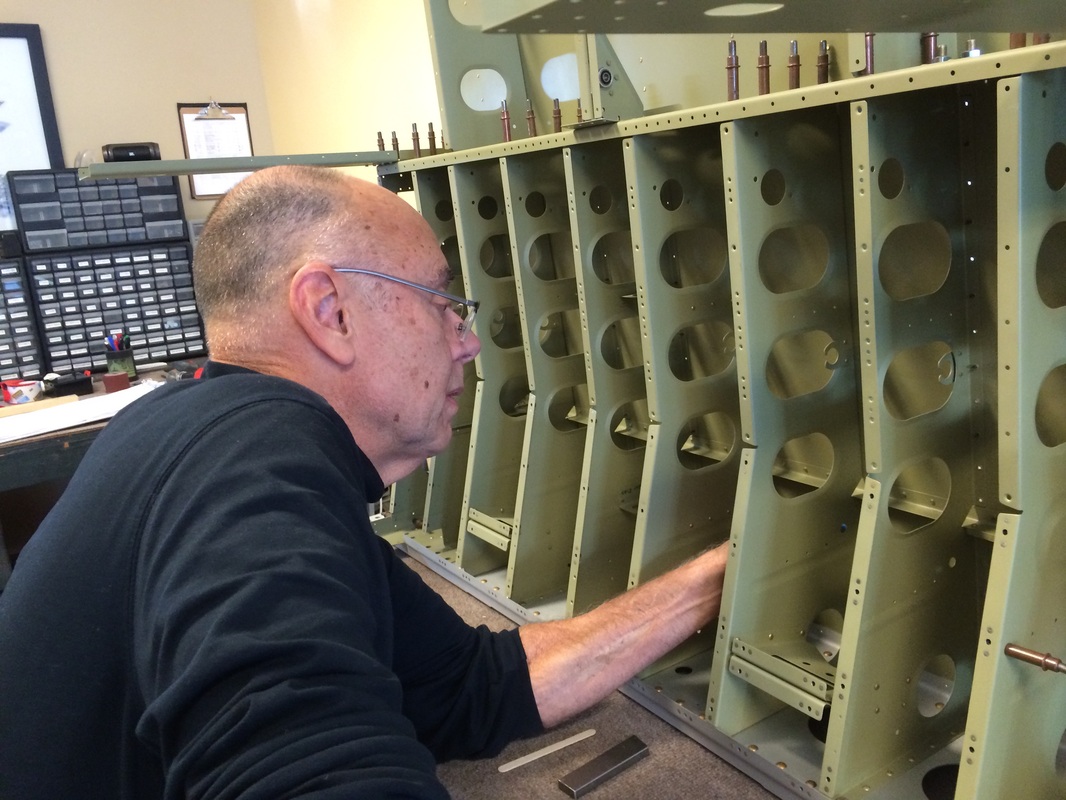
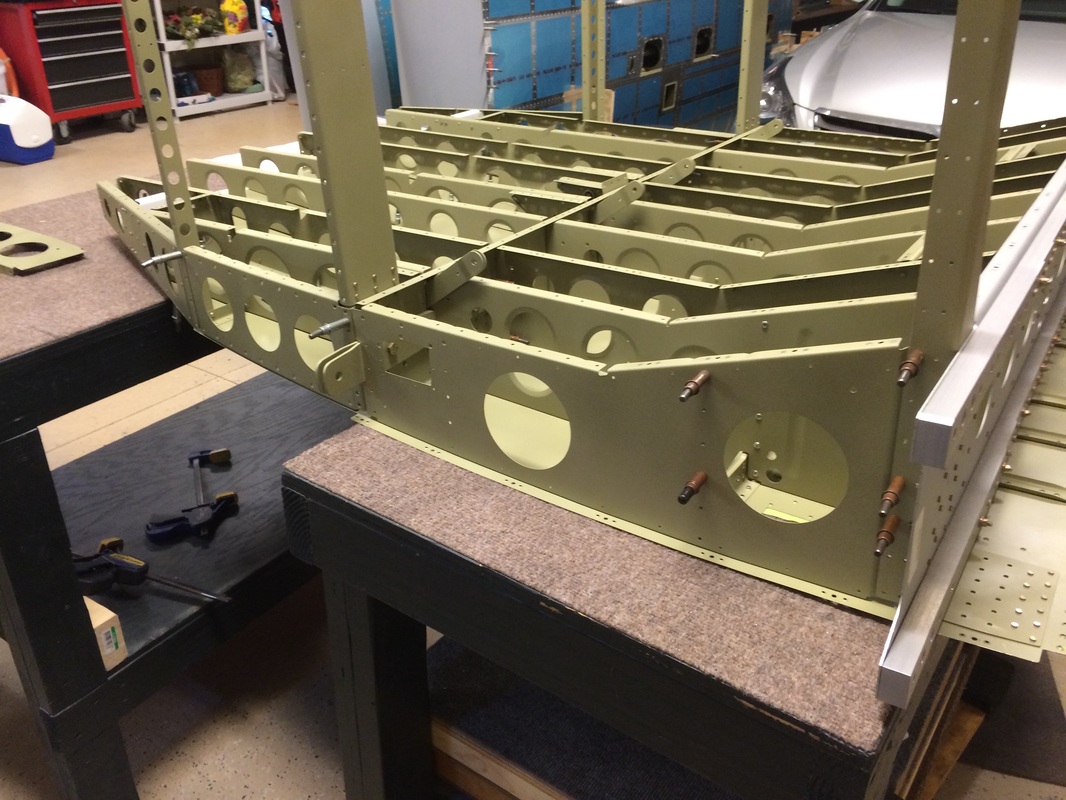
Seat ribs that will get riveted and bolted to the spar carry through bulkhead
Picture
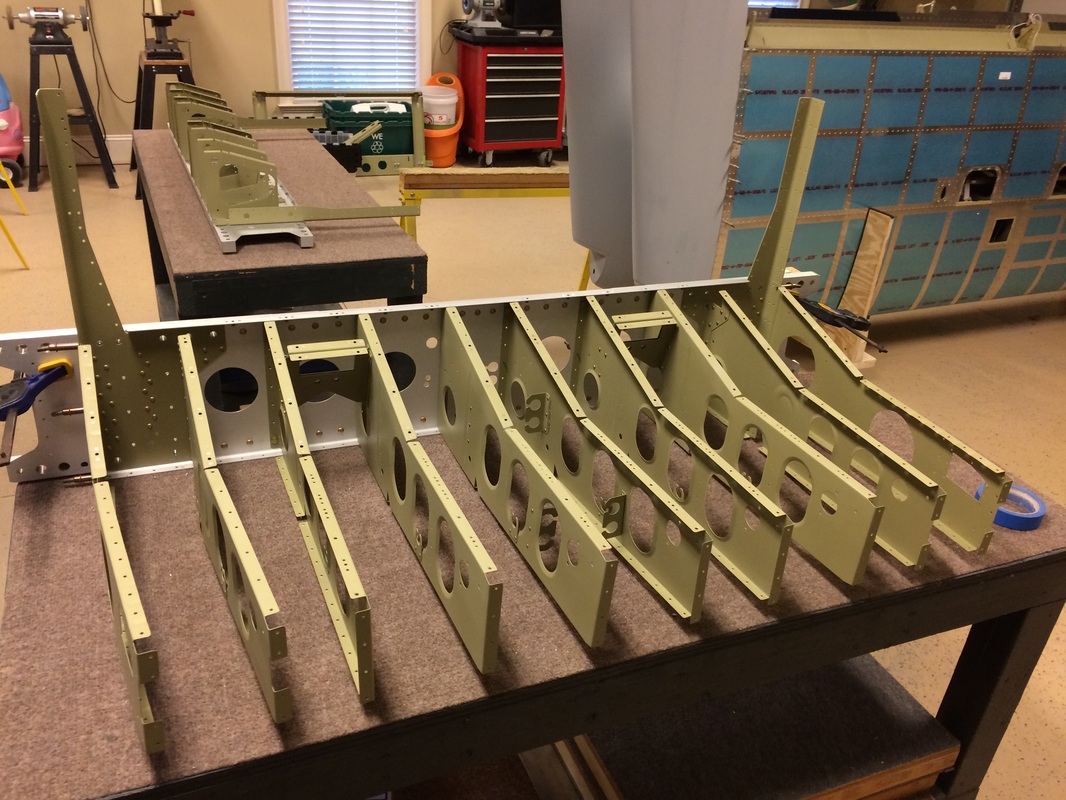
Here is the rear spar carry through bulkhead with the seat ribs bolted and riveted in place. The fuselage frames are coming together, soon the floor gets riveted in place. This is pretty good since we just got the fuselage kit 2 weeks ago.
Picture
Side view of the seat frames attached to the rear spar carry through.
Picture
Cutting the rectangle for the landing gear ing the floorboards
Picture
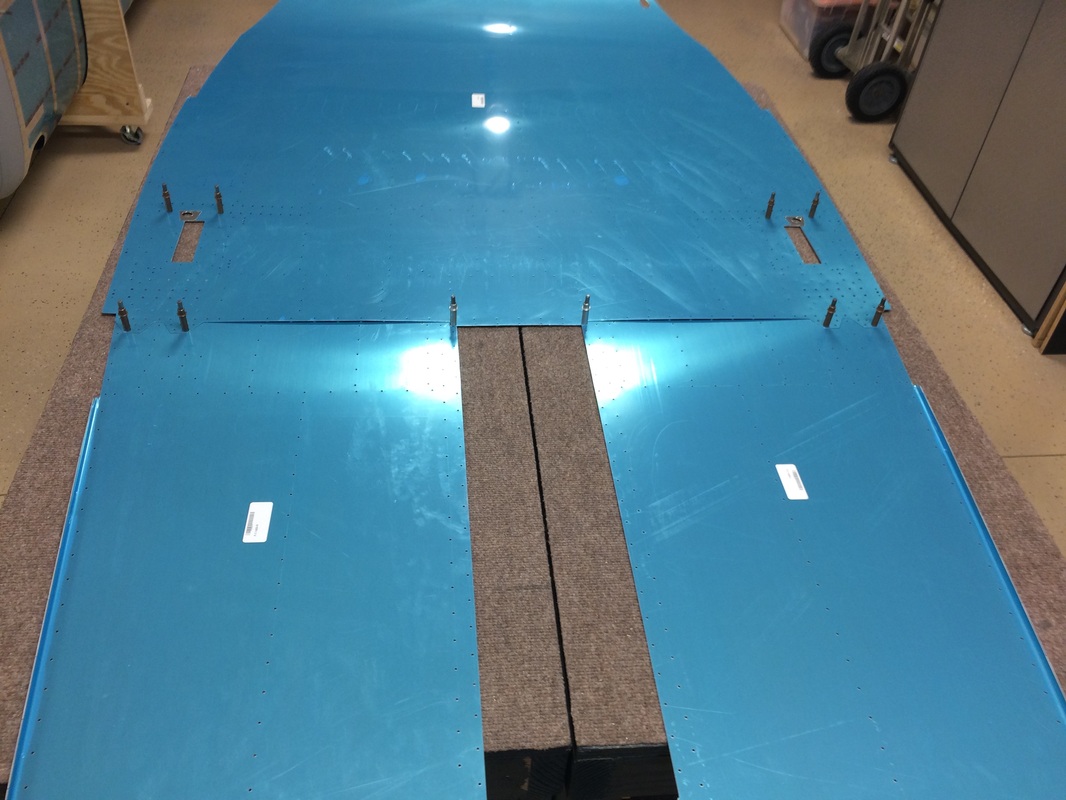
These are the front and midsection skins being mated and prepped for dimpling and priming
Picture
Picture
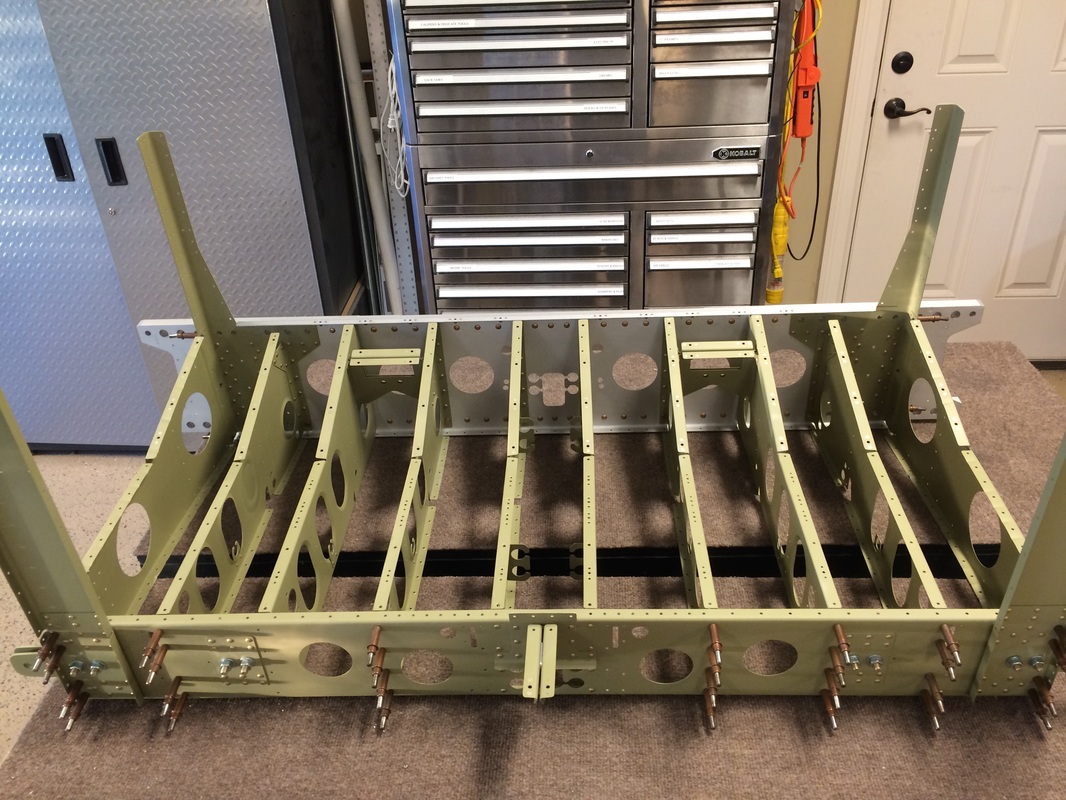
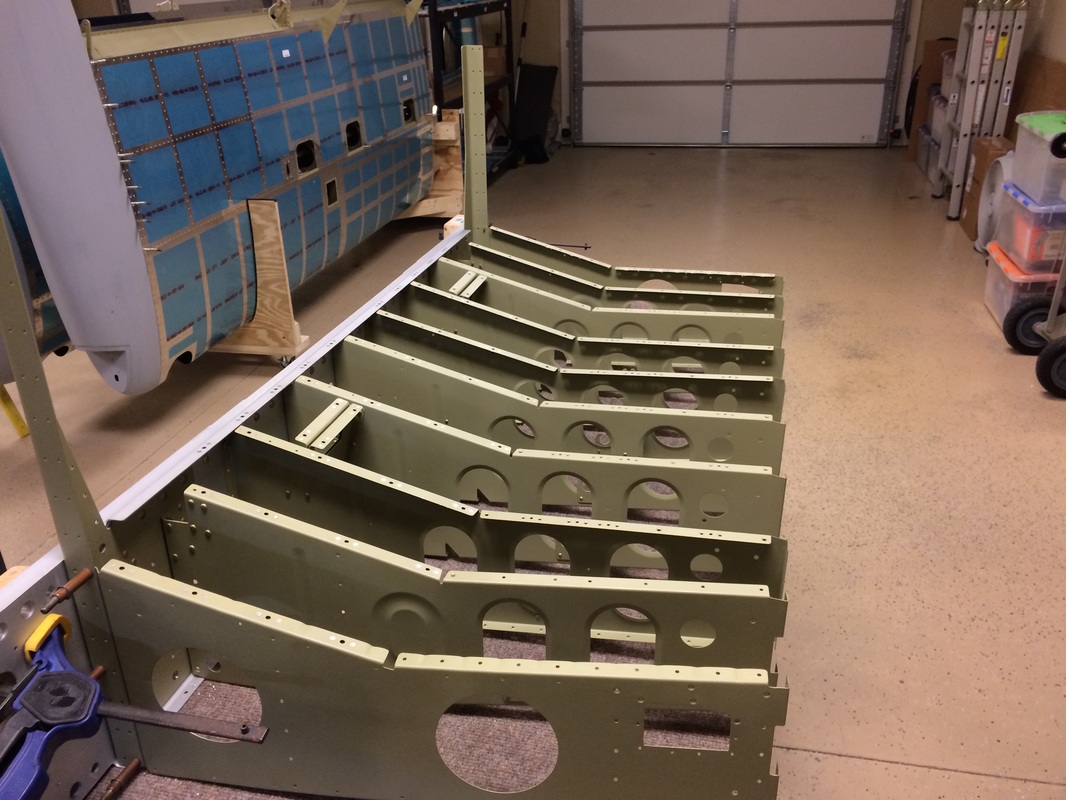
We are starting to get the fuselage frame together, note the idler has been riveted to the rear spar bulkhead.
Picture
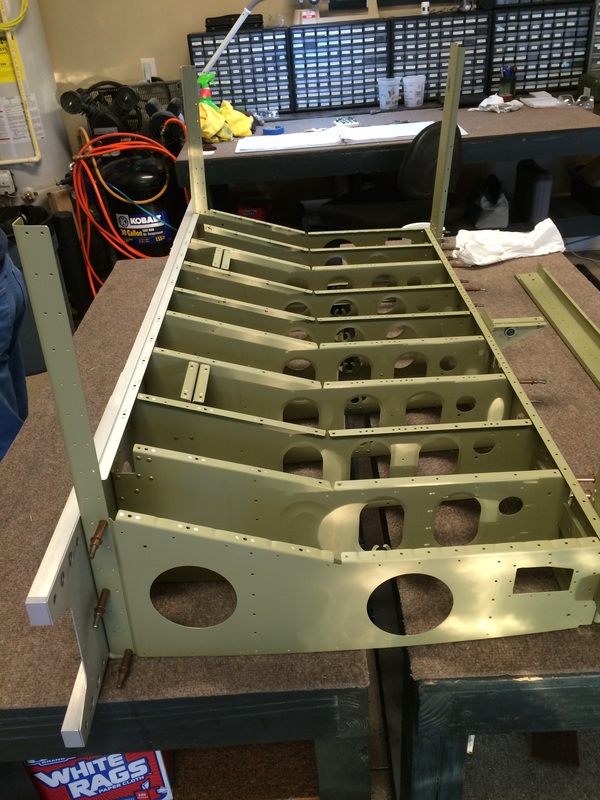
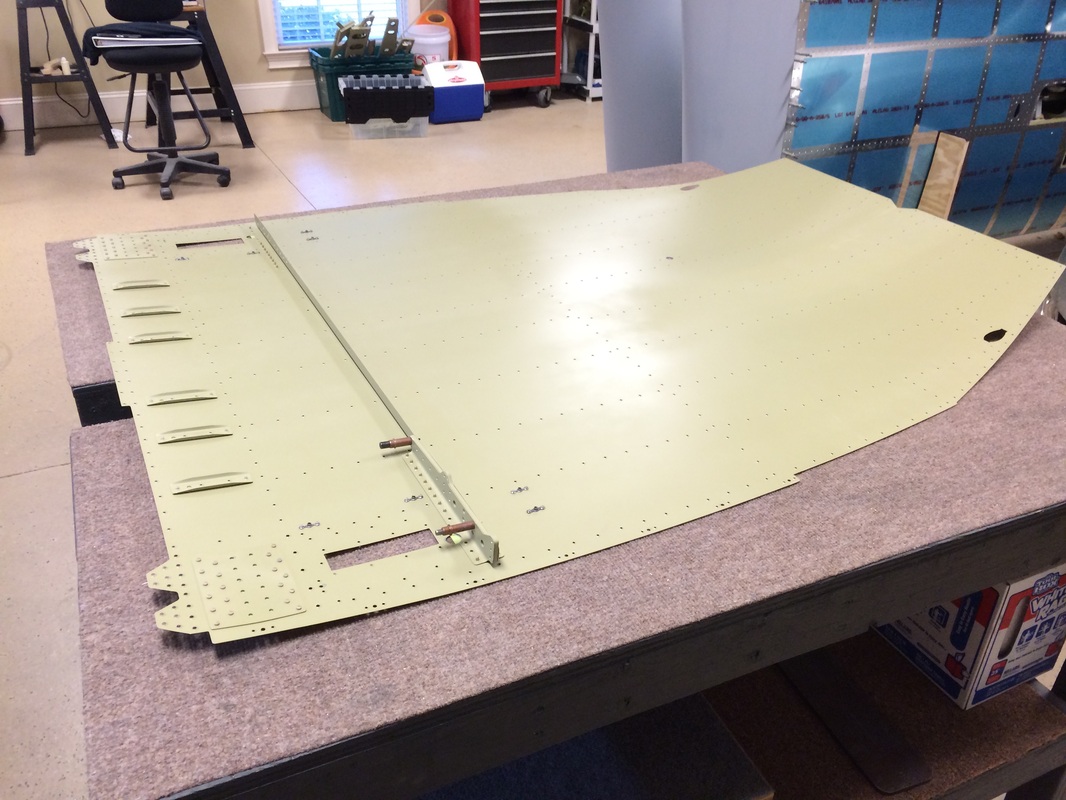
Top view of the midsection assembly
Picture
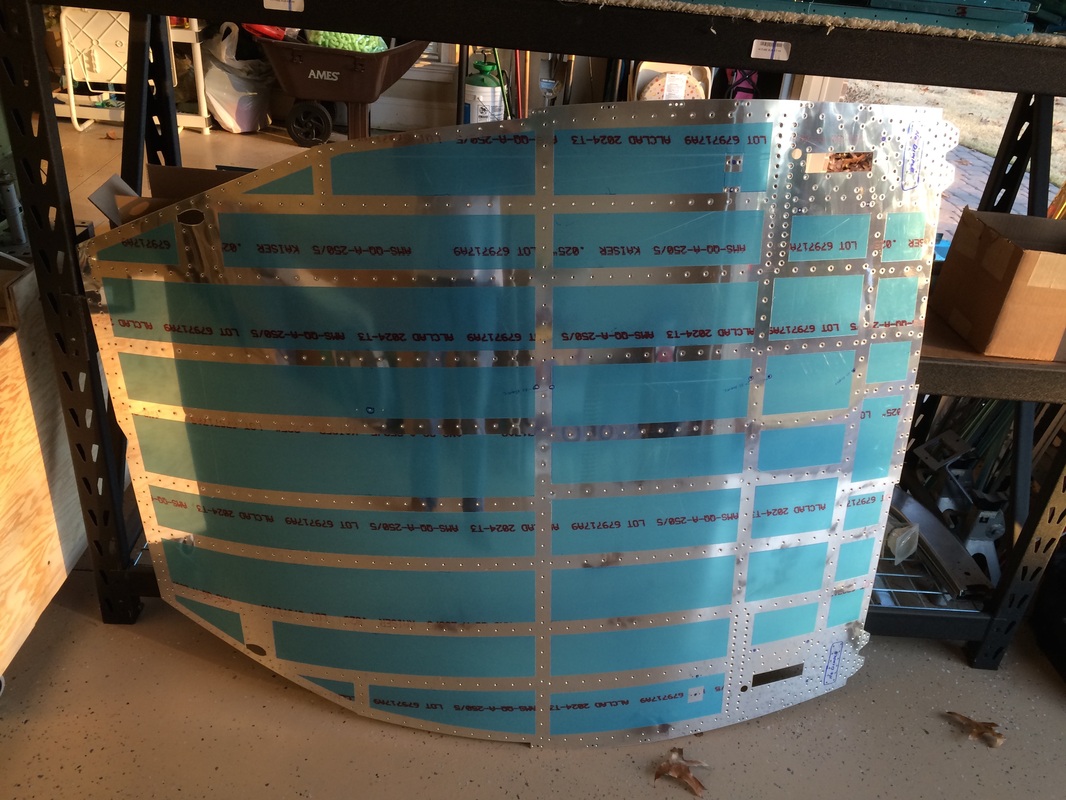
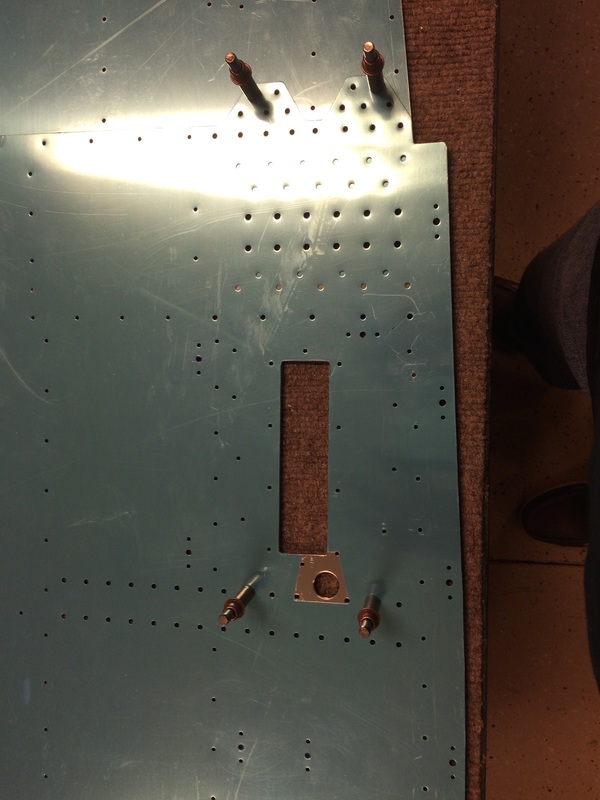
the bottom skin after dimpling per the plans
Picture
Picture
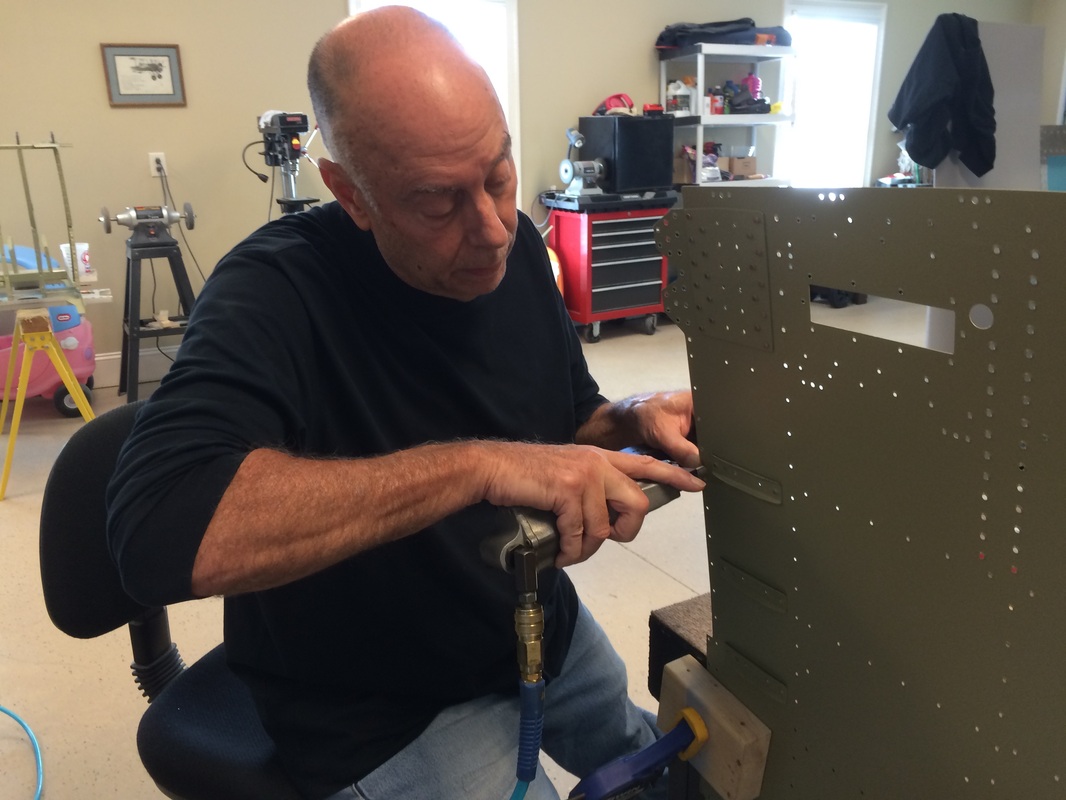
Riveting the stiffeners to the lower skin
Picture
Picture
Picture
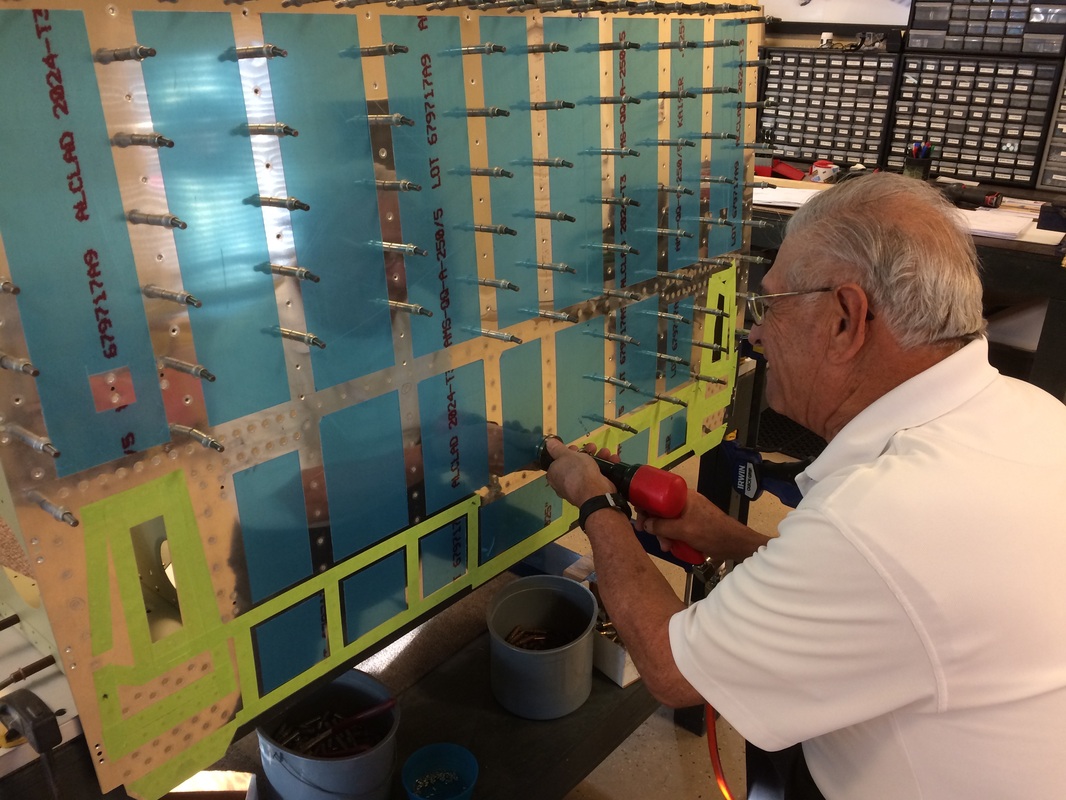
Rafael doing the riveting with our favorite 2" flush mushroom set
Picture
Here I am with the bucking bar, in most cases I use a tungsten bucking bar
Picture
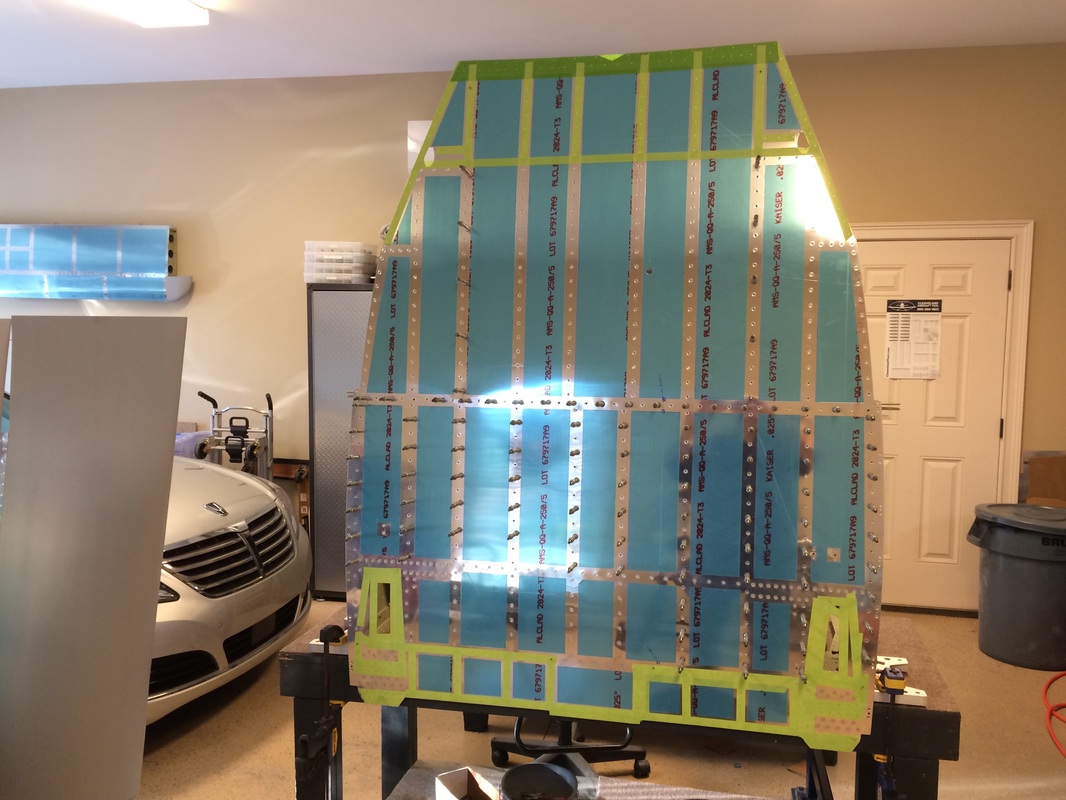
We mounted the floor assembly vertically to allow easy access for riveting and bucking
Picture
Picture
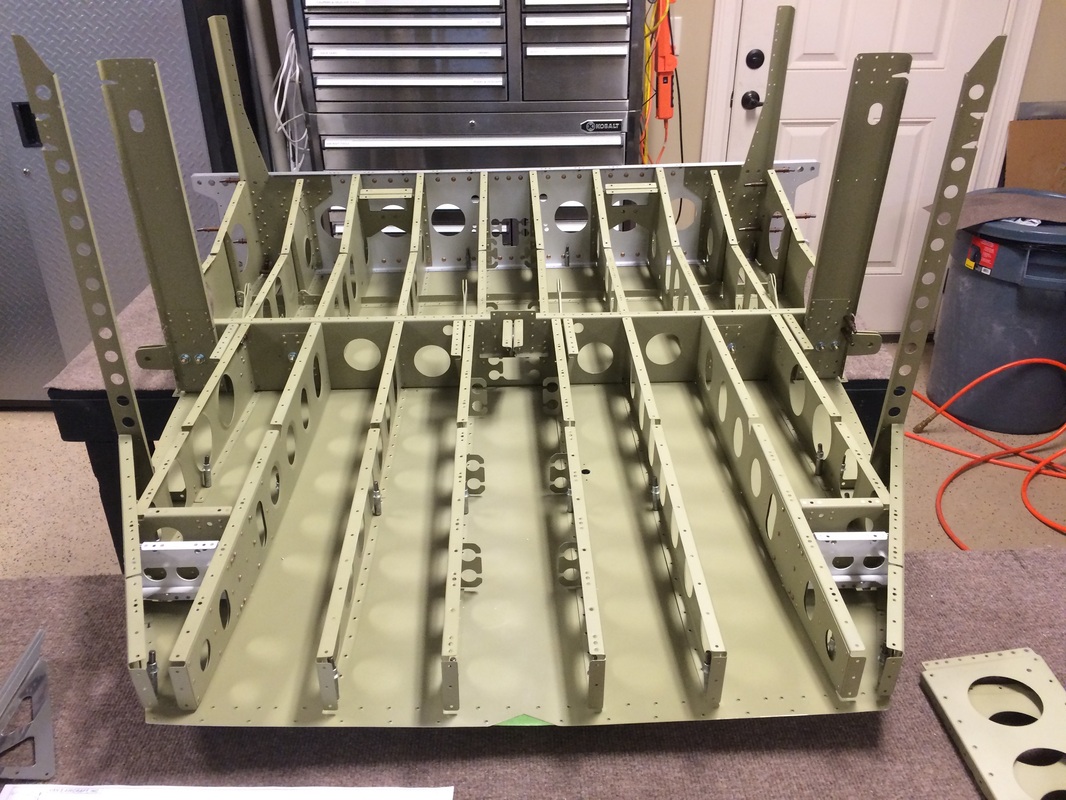
Mid lower fuselage structure after riveting
Powered by Create your own unique website with customizable templates.