Carl & Rafael's RV 14A Builders Site
  • Home
  • Aiken Airport KAIK
  • Previous Builds
  • Carl's RV 7A
  • Rafael's RV 12
  • About the RV 14
    • RV 14A Specifications
    • RV 14A Performance
  • Work Shop
  • Empennage
    • Kit Delivery
    • Vertical Stabilizer - Sec. 1 thru 6
    • Rudder - Sec. 7
    • Stabilizer - Sec. 8
    • Elevator - Sec. 9
    • Rear Fuselage - Sec. 10 thru 12
  • Wings
    • Kit Delivery
    • Spars - Sec. 13
    • Main Wing Parts - Sec. 14
    • Ribs - Sec. 14
    • Wing Assembly - Sec. 14 Thru 17
    • Fuel Tanks - Sec. 18
    • Bottom Wing Skins - Sec. 20
    • Flaps - Sec. 21
    • Ailerons - Sec. 22
    • Aileron Control System - Sec. 23
    • Wing Tips - Sec. 24
    • Aileron Trim - Optional
  • Fuselage
    • Kit Delivery
    • Mid Fuse Bulkheads - Sec. 25
    • Mid Fuse Lower Structure - Sec. 26
    • Firewall - Sec. 27
    • Fwd Fuse Lower Structure - Sec. 28
    • Fwd Mid Fuse Side Structure - Sec. 29
    • Aft Fuselage Attach - Sec. 30
    • Fuel System - Sec. 31
    • Baggage Area - Sec. 32
    • Interior Painting - End Sec. 32
    • Rudder and Brake Systems - Sec. 33
    • Flap Actuation System - Sec. 34
    • Upper Fwd Fuselage - Sec. 35
    • Aileron & Elevator Systems - Sec. 36
    • Roll Over Structure - Sec. 37
  • Finishing Kit
    • Finishing Kit Delivery
    • Canopy and Window - Sec. 38
    • Seat-backs - Sec. 39
    • Landing Gear and Engine Mount - Sec. 40A
    • Wing Attachment - Sec. 41
    • Miscellanea - Sec. 42
    • Engine & Propeller Delivery
    • Engine Installation - Sec. 43
    • Spinner & Propeller - Sec. 44
    • Cowling - Sec. 45
    • Tricycle Gear Legs & Fairings - Sec. 46A
  • Firewall Forward
    • Engine Specifications
    • Cowl Baffle - Sec. 47
    • Exhaust System - Sec 48
    • Fuel & Oil Systems - Sec. 49
    • Control Cables - Sec. 50
    • Firewall Forward Misc. - Sec. 51
  • Panel & Instrumentation
    • Panel
    • Wiring & Equipment
    • Sensors
    • Avionics
    • Landing Lights - OP52
  • Move to KAIK & Final Ass'y
    • Empennage Installation
    • Wing Installation
    • Odds and Ends
  • Fiberglass & Body work
  • Weight & Balance
  • FAA Inspection & First Flight
  • Phase I & Changes
  • Interiors
  • Paint Design & Painting
    • Scheme Designers
    • Glo Custom
  • RV Builders Forum
  • RV 14 Builder Sites
  • Builder's Location
  • Closing Thoughts
  • Picture Page
Picture
Note: Section 1 through 5 are general building instructions and best practices, Section 6 is the vertical stabilizer
Vertical Stabilizer:  We Started building parts, and it feels sooooo good.
  • Match drilled pieces per the plan
  • Filed and de-burred all of the edges
  • Buffed the edges with the Scotch-Brite wheel
  • Fluted the ribs to straighten and fit the parts together to ensure proper fit
  • Hours to date: 46
Picture
You need to start some where, and this part is a good place to get some experience with the construction manual
Picture
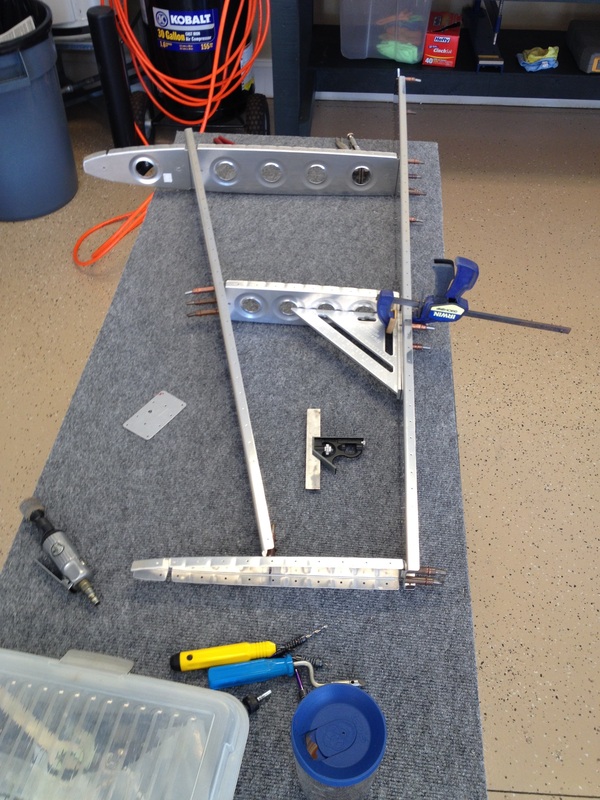
Vertical Stab cleco'ed together, we will un-assemble and prime the internal ribs and spars and then rivet it together
Picture
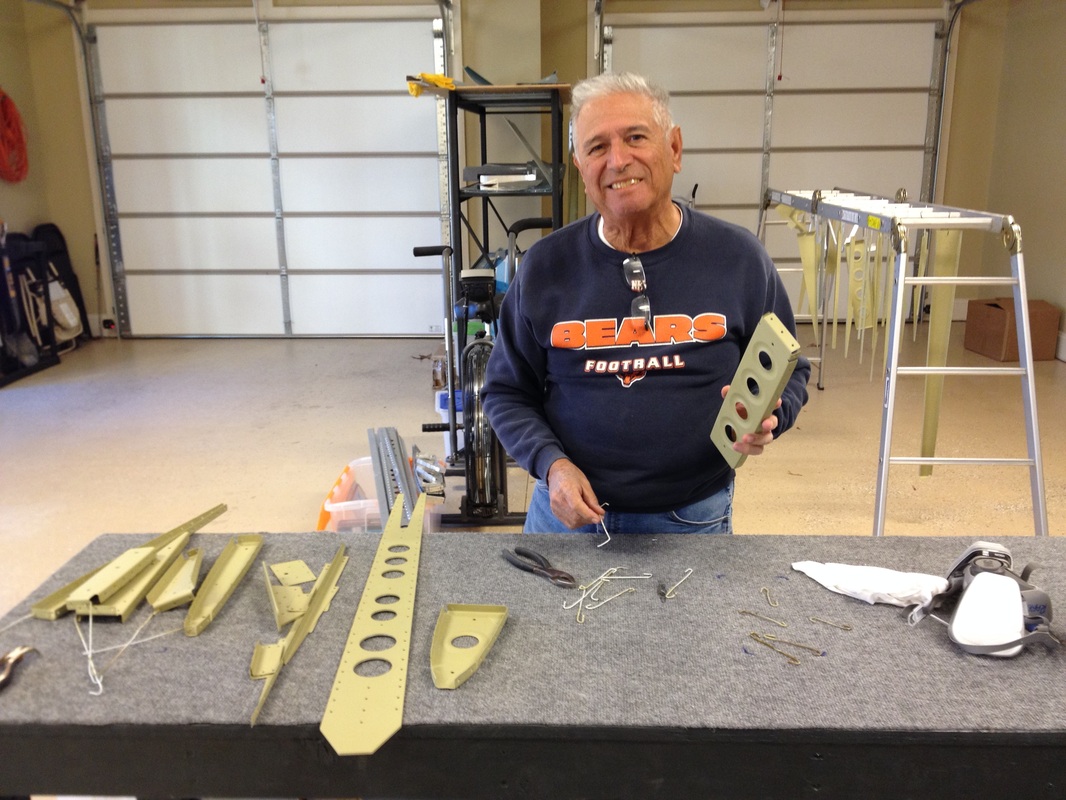
Vertical stabilizer parts after priming with AKZO 2 part epoxy primer, we love this stuff but it can kill you without the appropriate breathing protection.
Picture
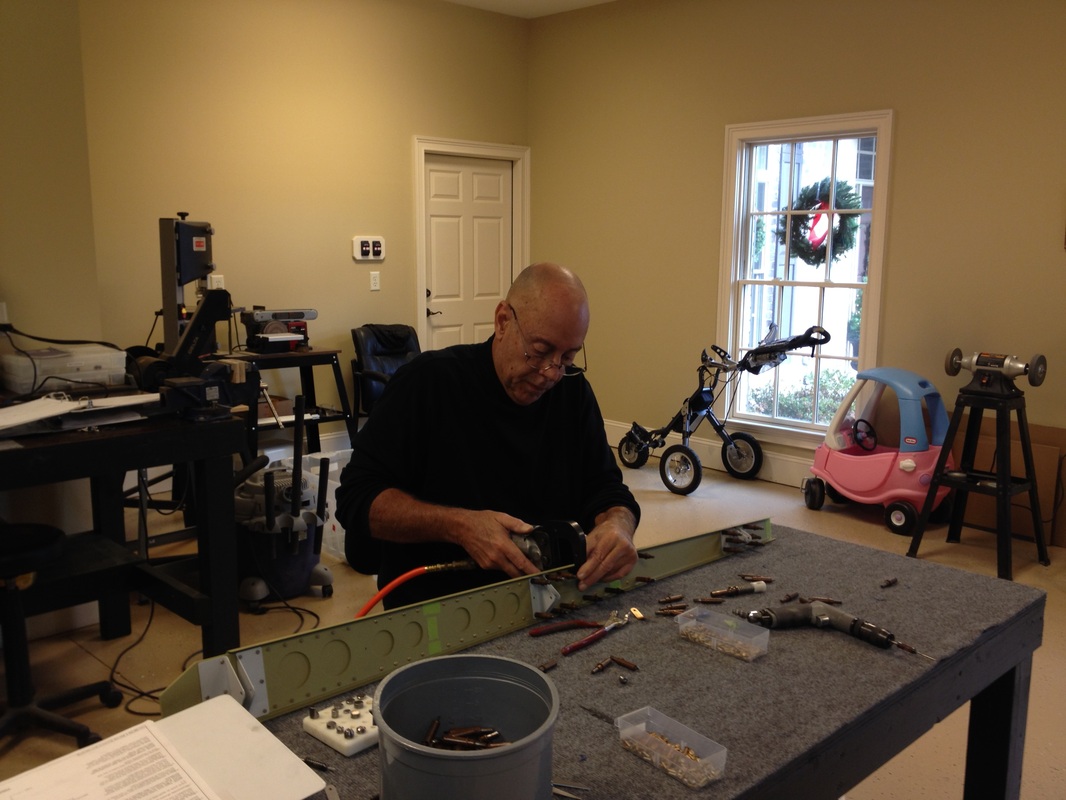
This is me building the vertical stabilizer rear spar
Picture
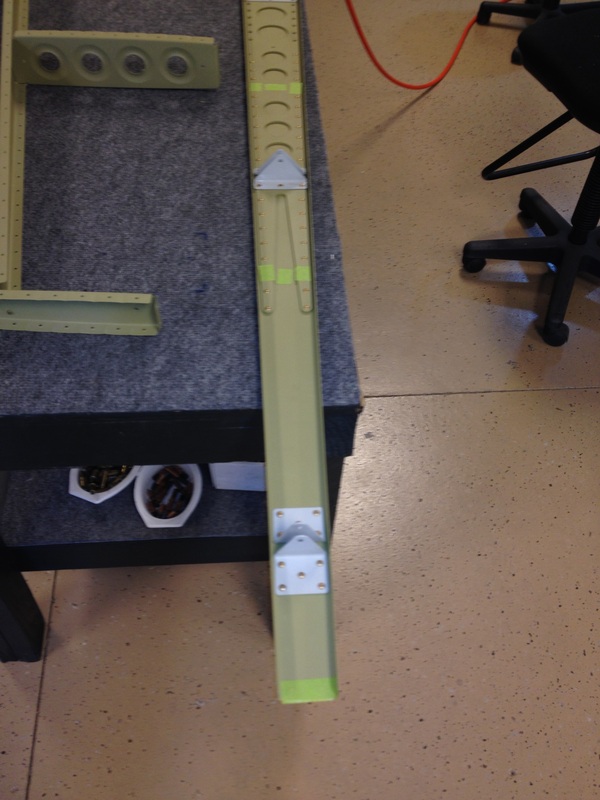
The vertical stabilizer spar after riveting and ready for final installation
Picture
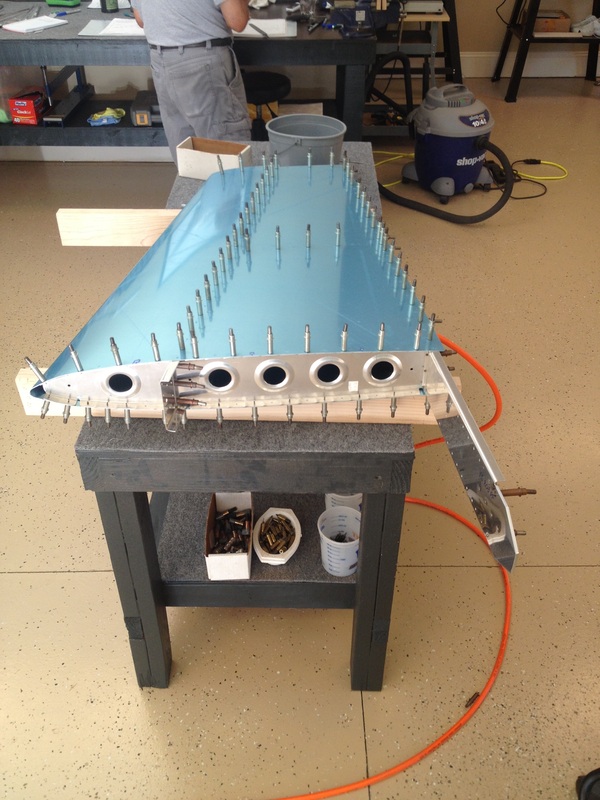
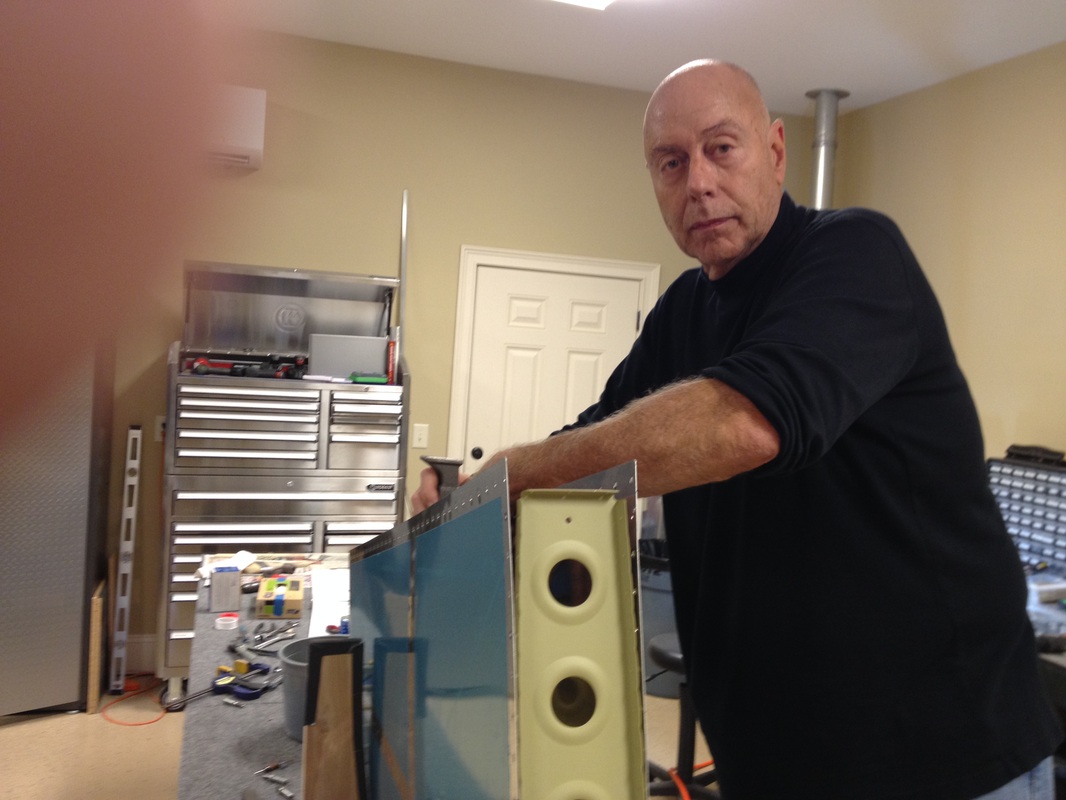
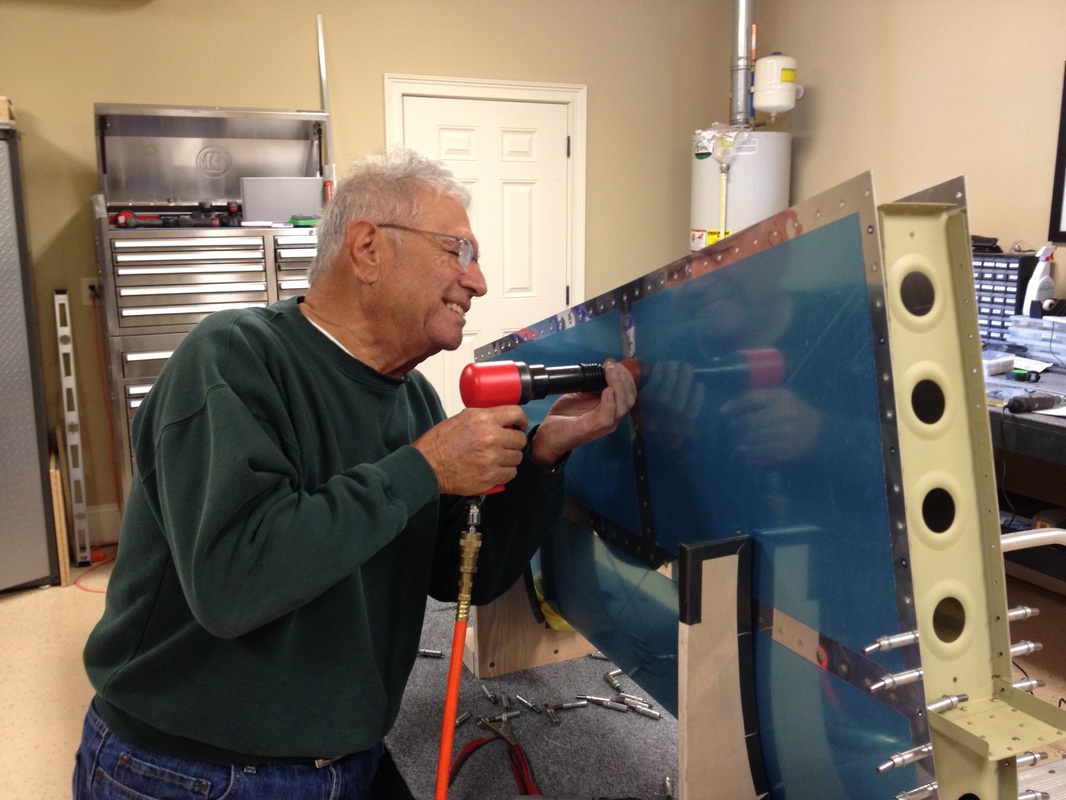
Making sure the vertical fin goes together properly, I usually buck and Raf usually shoots, this works for us
Picture
Rafael mans the rivet gun and I man the bucking bar, but right now I'm taking the picture instead. We finished the vertical stabilizer in this session except for the fiberglass tips. Per the manual, we will come back to these later in the build.
Picture
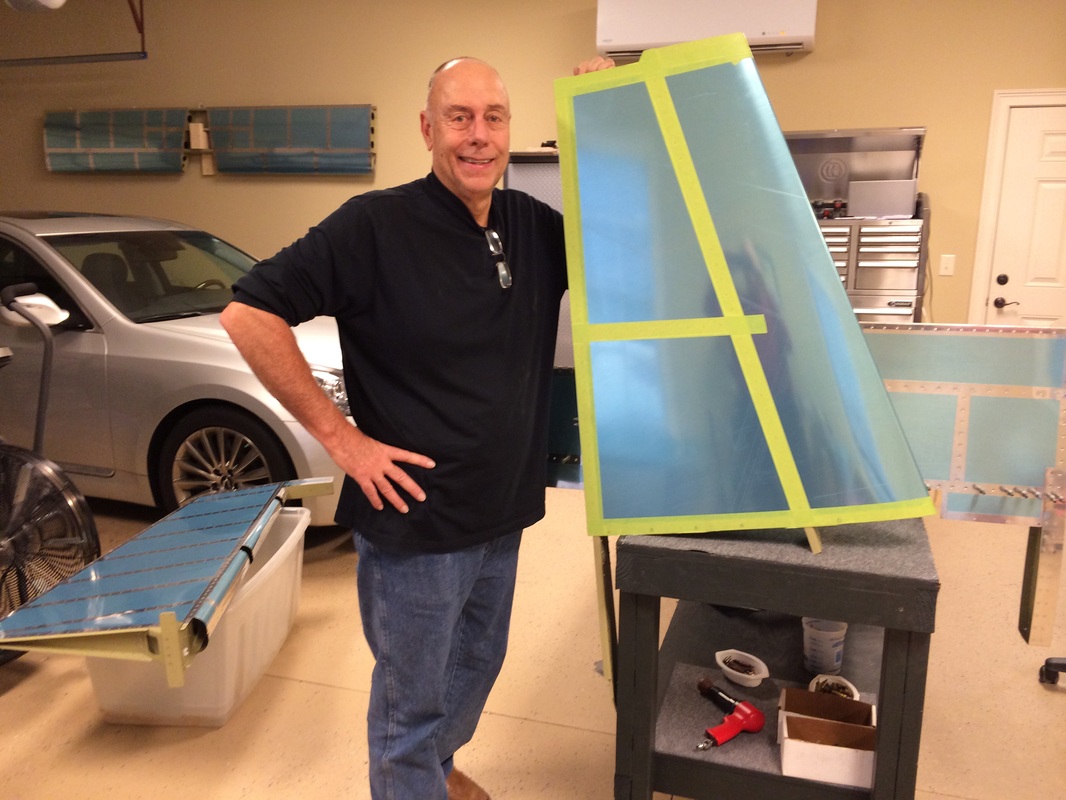
I left the blue film on until final airplane assembly on the RV 7, this worked out well. I had no issues pulling the film off after 2 years and it really did provide scratch protection. I put some painters tape over the rivet line, so we could slide it under Rafa's bed for storage, without a worry about scratching.
Picture
Installing the vertical stabilizer tip back plate
Picture
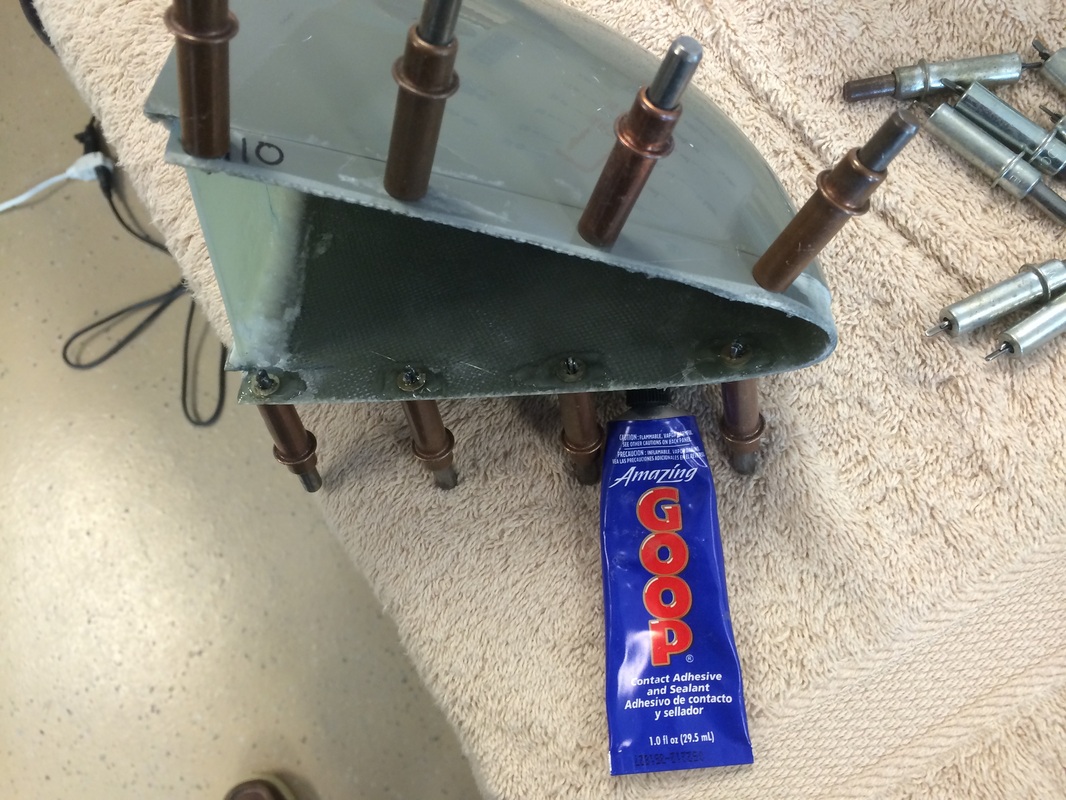
Here is a view of the backplate bonded in place with epoxy and glass fiber. We also used #4 washers to back up the fiberglass and keep the pull rivets from pulling in to or thorough the fiberglass. I bonded the washers in place with goop, works great to keep the washers in place while pulling the rivets.
Picture
After filling, priming and a lot of sanding.
Picture
Vertical Stab tip completed.
Powered by Create your own unique website with customizable templates.